Color grading is an extremely important part of filmmaking and photography process.
Smart color grade can make the difference between visually interesting shot and a dull one. It can help convey the story and set the atmosphere for the whole film. When properly done, color grade can take average footage or image and transform it into visually interesting one. It can really enhance the viewing experience.
However, color grading can also ruin a beautiful footage if done improperly and destroy all the hard work put into filming it.
It is extremely important to follow a few simple rules when it comes to color grading in order to make sure it enhances your footage. When you’re using 3D LUTs as a part of your color grading process, it is even of higher importance to follow these simple rules.
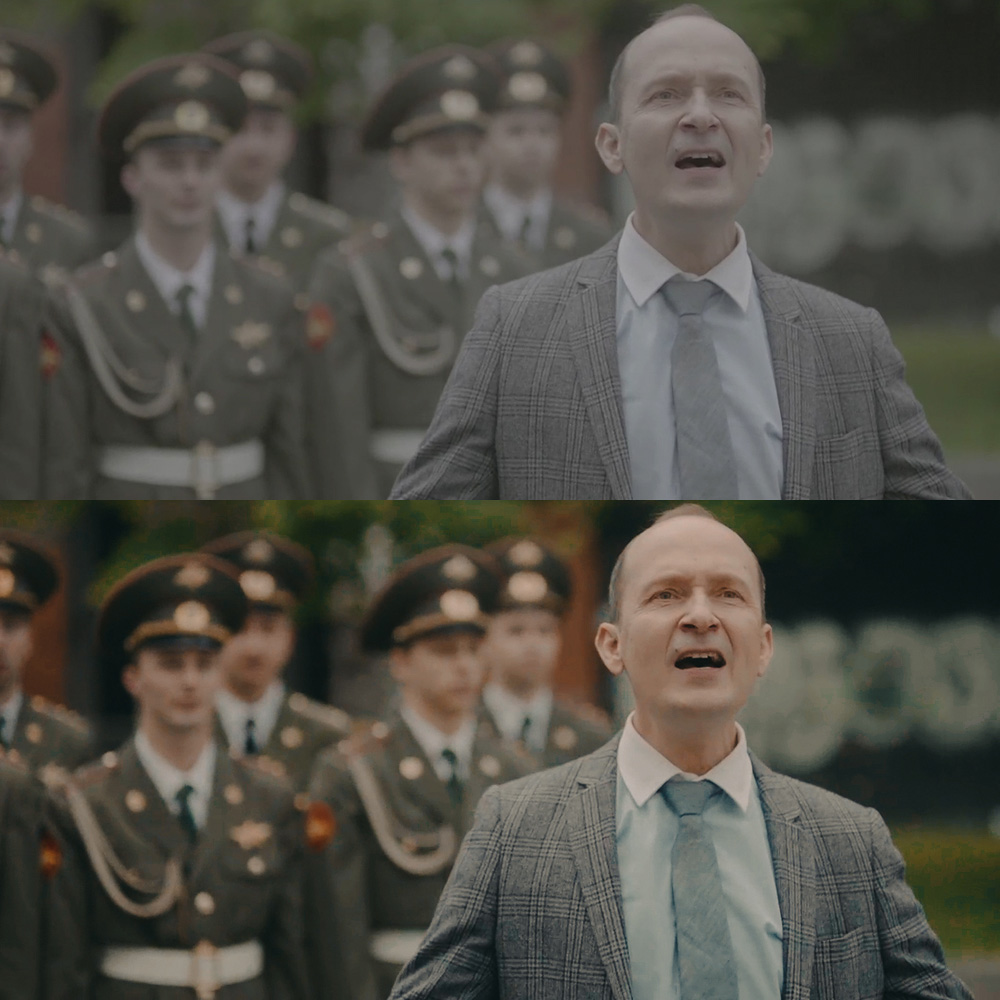
3D LUTs are nothing new. They’ve been part of the filming industry for years and colorists and DITs have been using them successfully in their workflows for ages. Recently though they’re starting to be embraced by individual filmmakers and photographers.
What is a LUT?
LUT stands for Look Up Table. In short, LUT is a table used to map one color space to another. For example, a LUT can remap a log image into Rec.709 space or it can be used to apply a preset look for any given image or footage.
LUTs are commonly used to calculate preview colors for a monitor or digital projector of how an image will be reproduced on another display device. However, LUTs may be used as a starting point for color grading.
It is useful to think of LUTs using the following equation:
Result = Source Material + LUT
LUT in this case represents the difference needed to make up between the result and the source material.
In practical and simplified terms, a LUT is a look which you can apply to your image or footage in order to correct it or give it a distinctive, creative, starting point for your final color grade.
1D and 3D LUTs
There are two types of LUTs we can use in the color grading process.
- 1D LUTs – These LUTs may be useful for setting contrast, the white point of a display, or overall color balance adjustments but they do little to convey the complexities needed for creating a good looking image when grading.
- 3D LUTs – These LUTs overcome the limitations of 1D LUTs by placing color and luma in a 3D space, a much more representative way of how color works in real world. 3D LUTs are much more useful for capturing and relaying complex color grades than a 1D LUTs.
What types of LUTs are there?
Log normalisation LUTs
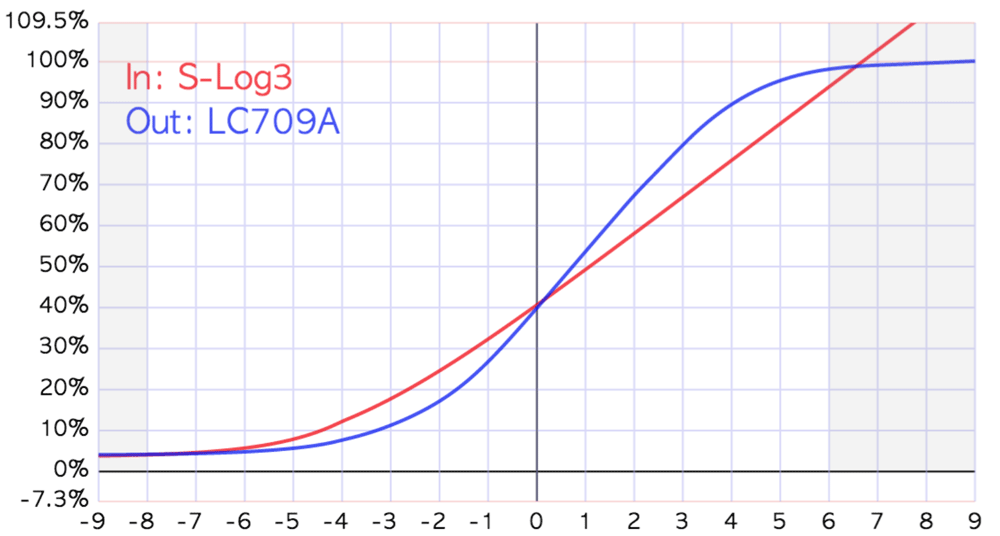
These LUTs are used to normalise or tone map log images or footage into a standard color space such as Rec.709. Log encoding is a logarithmic encoding of the scene, meaning that the relation between exposure measured in stops and the signal is constant over a wide range. Each stop of exposure increases the signal by the same amount. This is done in order preserve as wide dynamic range as possible in the recorded image. The overall shape of the log curve is similar to the exposure curves of film negatives.
Because of fundamental differences between a sensor and negative film, however, the color characteristics remain different. When viewed on an HDTV or computer screen for example, log images tend to look washed out. This is because a) the logarithmic scene encoding is different from the display specific image encoding and b) the colors cannot be reproduced by the gamut of the display.
Enter log normalisation LUTs. These LUTs simply tone map log images into a viewable color space such as Rec.709.
In order to show a grayscale characteristic and color reproduction that is visually correct, the log material needs to be tone-mapped for the right encoding and transformed into the target color space. 1D LUT can perform the tone-mapping so the resulting image will at least have a grayscale characteristic suitable for display. The transform into the target color space, however, needs to be done with a 3D LUT. This type of LUT contains both, the grayscale and the color transformation.
Film emulation LUTs
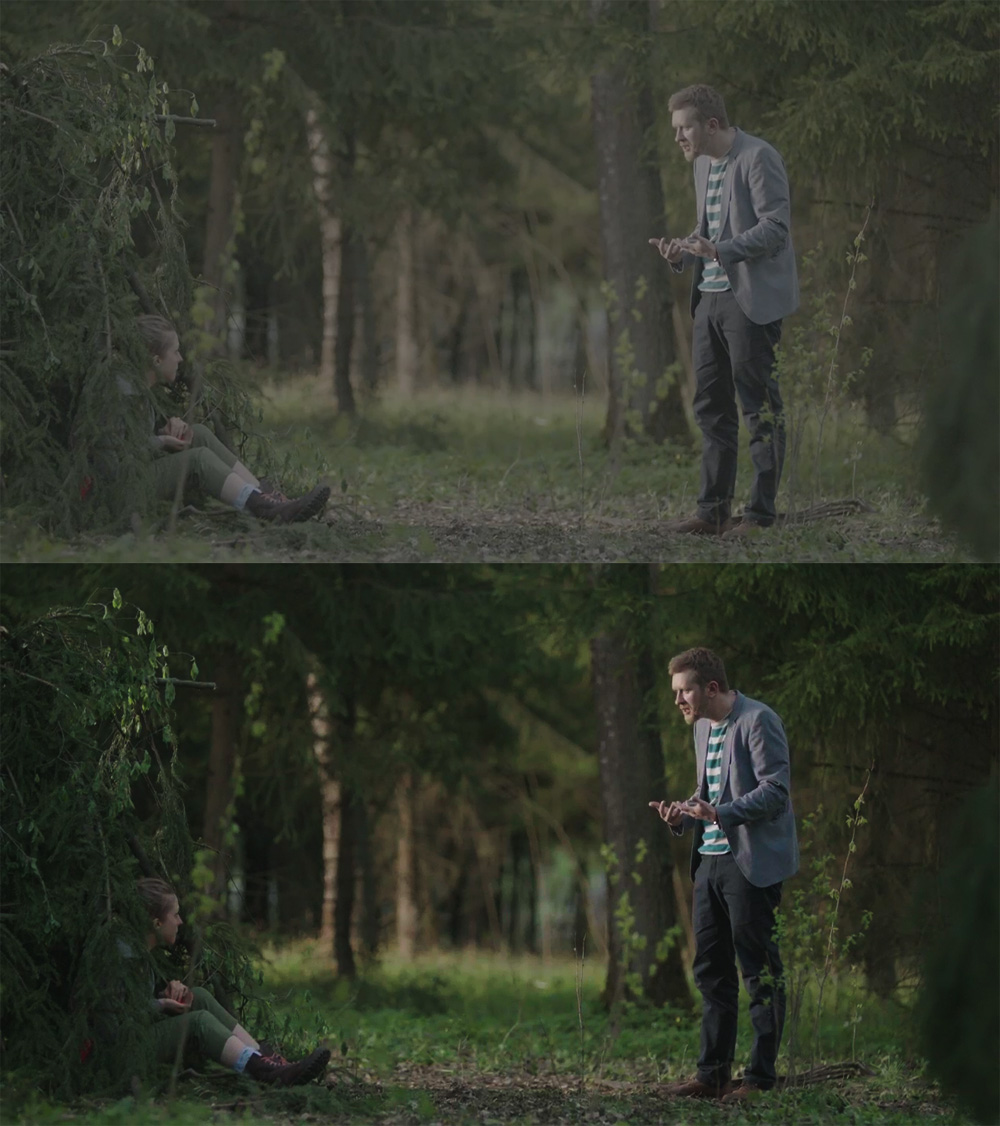
Film emulation 3D LUTs are a result of meticulous matching between high-end scans of film stock and digital material. By matching hundreds or even thousands of individual hues of color, the film emulation LUTs are the closest thing to representing the characteristics of a real film stock.
While it’s practically impossible to create a true film emulation LUT, meaning the characteristics of the material with the film emulation LUT that are identical to film stock, it’s possible to get accurate results simulating the characteristics of the film stock.
The idea behind these 3D LUTs is that they’re not to be used as a starting point for the color “look” but rather as an emulation of a specific film stock. Therefore, film emulation 3D LUTs are usually more subtle in their characteristics.
Creative LUTs
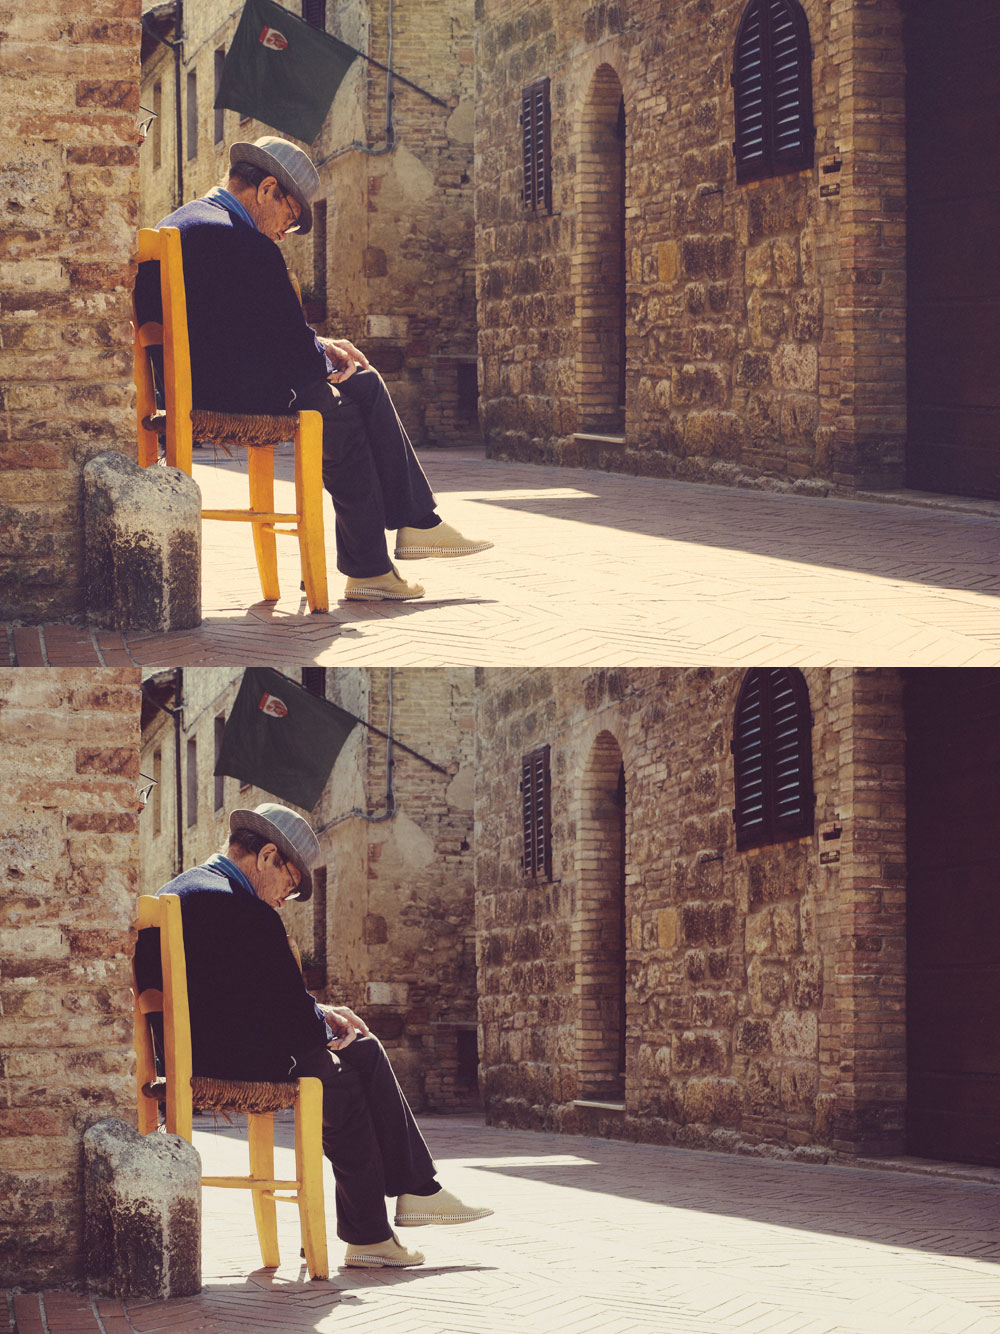
Creative LUTs are, as their name implies, to be used for creating different creative looks or rather as a starting point for creating a creative look for your footage or images. These LUTs usually offer bolder looks with distinctive color characteristics. Creative LUTs allow you to achieve a highly sophisticated creative look with a single click and this is their true power.
Creative LUTs can save you hundreds of hours of guesswork.
Getting the ‘pro’ look can be tough. By using high quality creative LUTs you can save hundreds of hours of guesswork trying to achieve the perfect color grade.
LUTs Limitations
When using 3D LUTs as a part of your color grading process it is extremely important to understand what LUTs can and cannot do for you and what are their limitations.
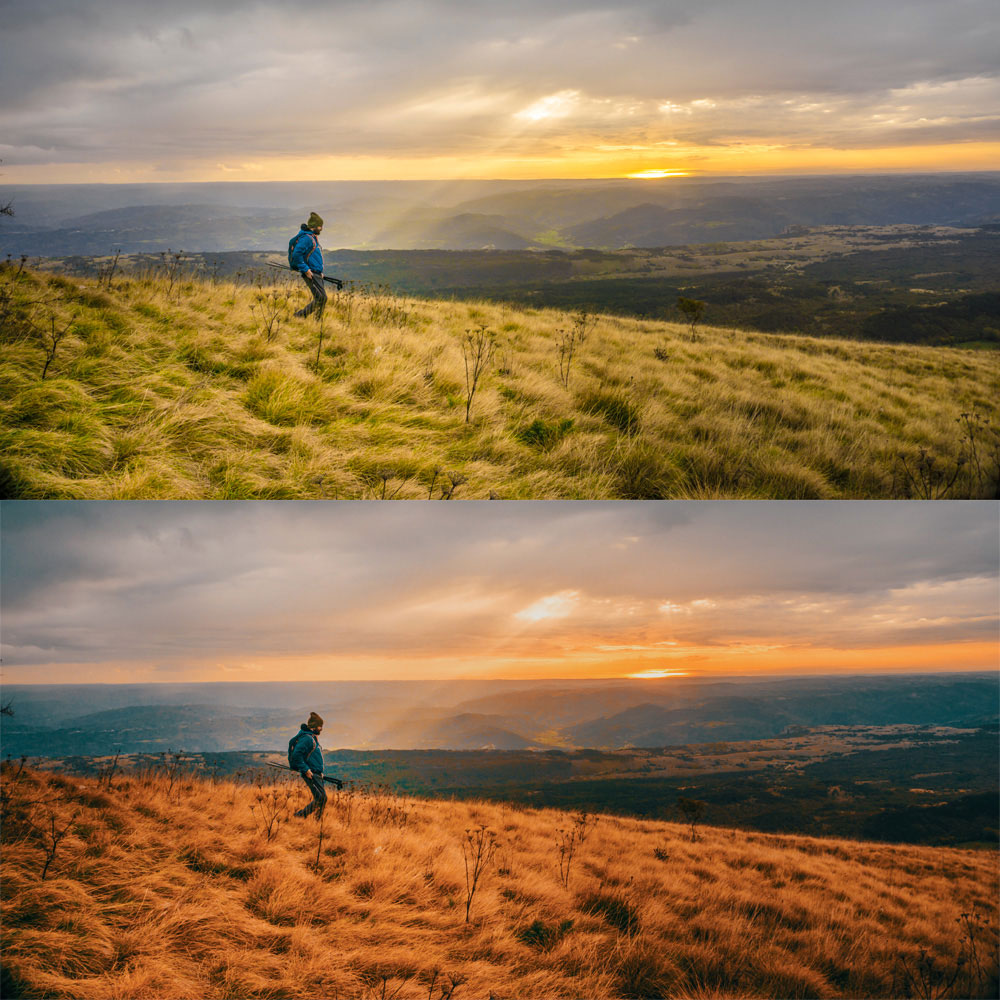
First, it is important to understand that all LUTs are calibrated for properly exposed images and will yield predictable results only if used on such images. Over exposed, or underexposed images, images with blown out highlights and completely black shadows will result in less than optimal color grades.
LUTs are calibrated for properly exposed images.
In some cases, there may be a few LUTs calibrated to work properly on under or over exposed images but it will always be either of the two. A LUT cannot produce a satisfactory result for both under and over exposed images.
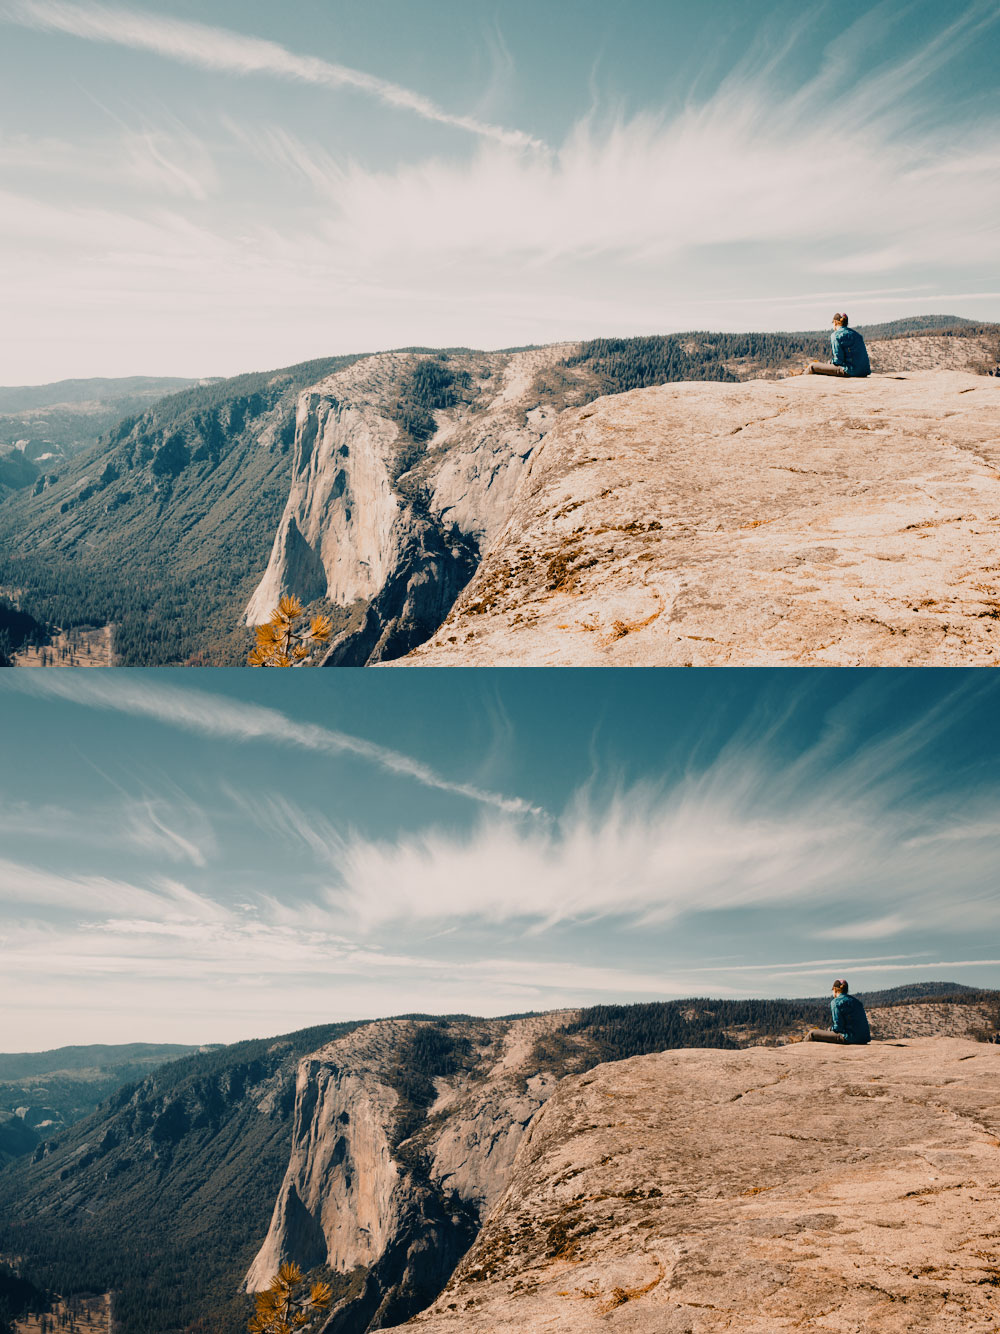
Second, LUTs are calibrated to produce satisfactory results for properly white balanced images. When you plan on using LUTs in color grading process, you should always match the white balance settings in your camera to the white point of you lighting sources. Only if you nail the white balance correctly will the LUTs produce predictable results.
LUTs are calibrated for correctly white balanced images.
You might get lucky and some LUTs may yield satisfactory results even if your white balance is incorrect but that’s not color grading. That’s guessing and being lucky. You don’t want to rely on luck in your workflow.
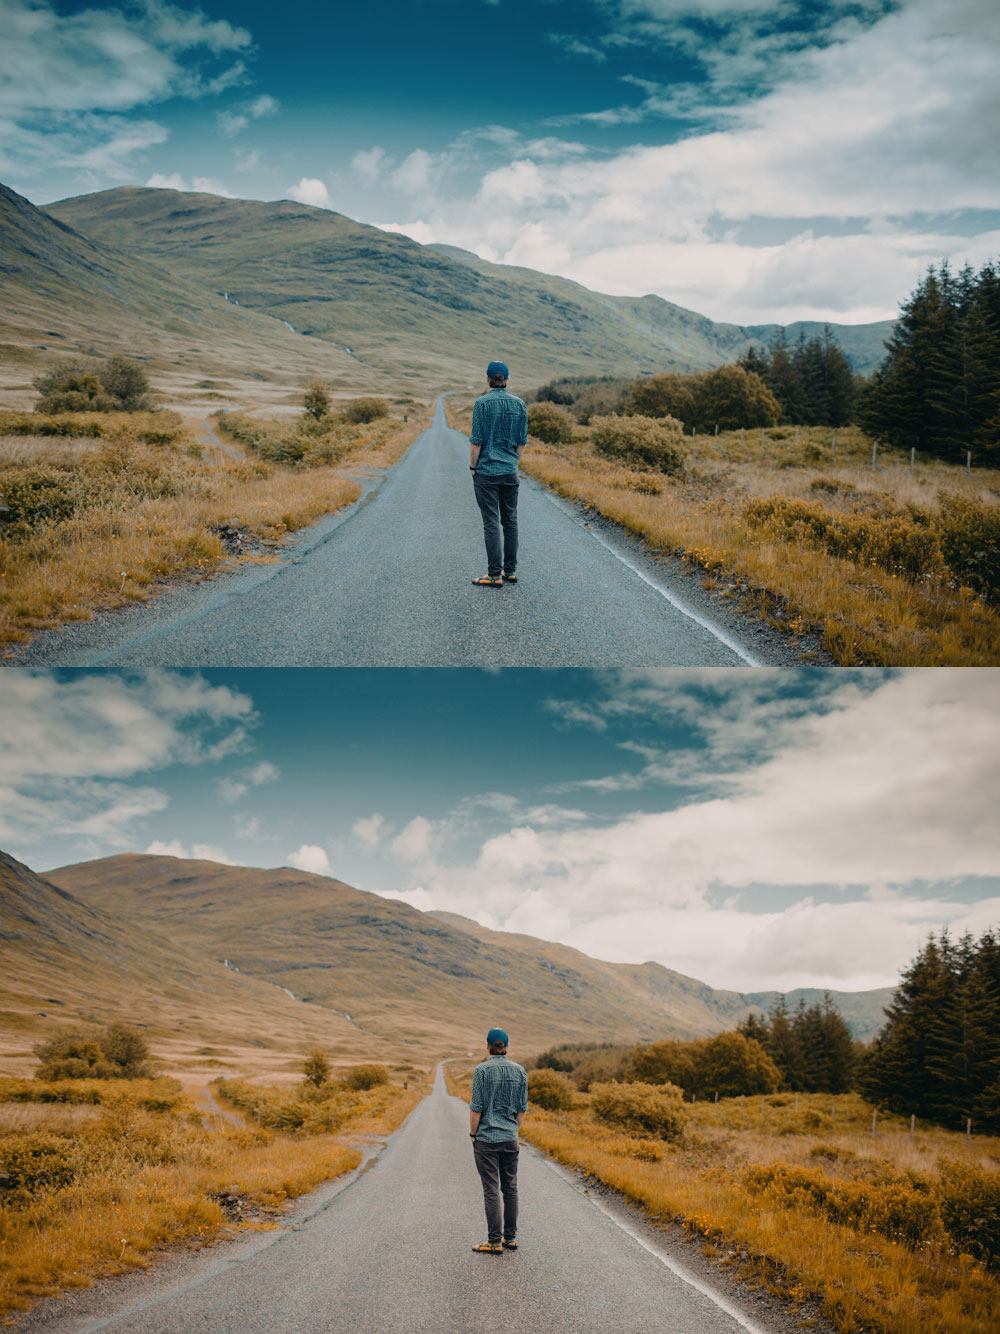
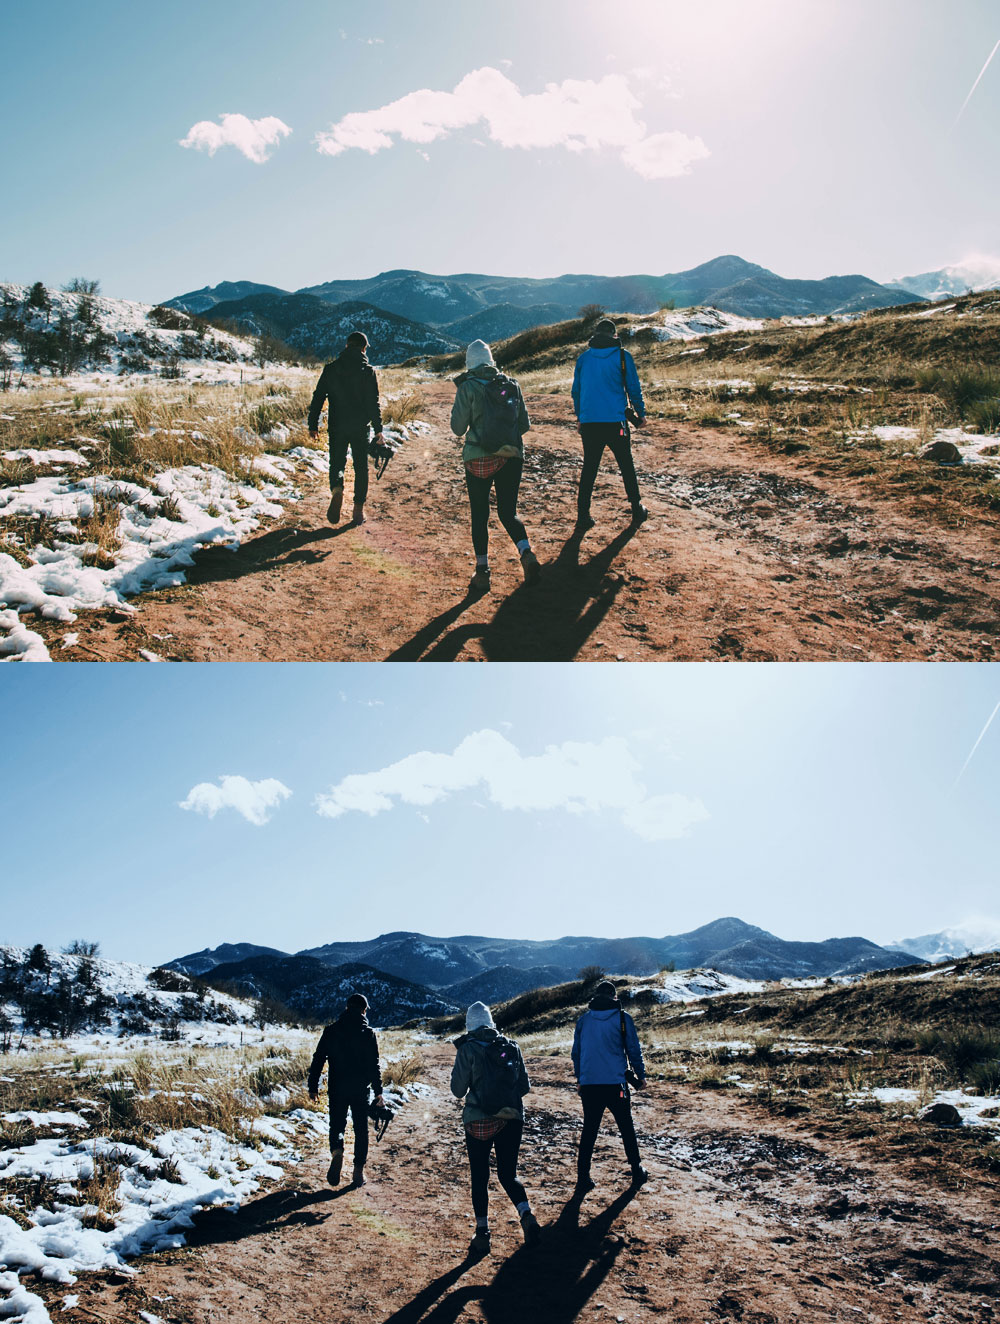
Third, think of the LUTs characteristics before applying it to your footage and make sure there’s logical connection between the two. It is important to remember that a creative LUT is not going to appear correctly in every possible situation. Always exercise a good judgment before applying a LUT. For example cold, blue-ish tinted LUTs will not look as good on sunny images as they will on images shot under overcast lighting conditions.
Always exercise a good judgment before applying a LUT.
As a thumb rule, if the LUT defies the laws of nature, it’s probably better using a different LUT.
There is one last thing to remember.
LUTs will not do your color grading for you!
Say what? Isn’t that the purpose of LUTs?
No.
Let me explain.
What is color grading
When we refer to a process called color grading we’re actually referring to a two step process.
- Color Correction
- Color Grading
Color correction is the process of manually tweaking your image or footage in order to find a correct balance between exposure, color temperature, contrast and light. Typically, color correction would require you to correct the white balance, adjust the shadows, midtones and highlights, contrast and set the overall balance for your image and footage.
This is something LUTs cannot do for you.
LUT cannot “know” if you properly exposed your image, if you used enough fill light and if you used a correct white balance for your type of lighting. Moreover, LUT cannot match your exposure and contrast shot to shot, especially if they differ in exposure, contrast and type of lighting used. This is something you’ll have to do manually. Color transitions contained within a specific LUT are always applied in the same manner and amount no matter the material. There are no shortcuts you can take here.
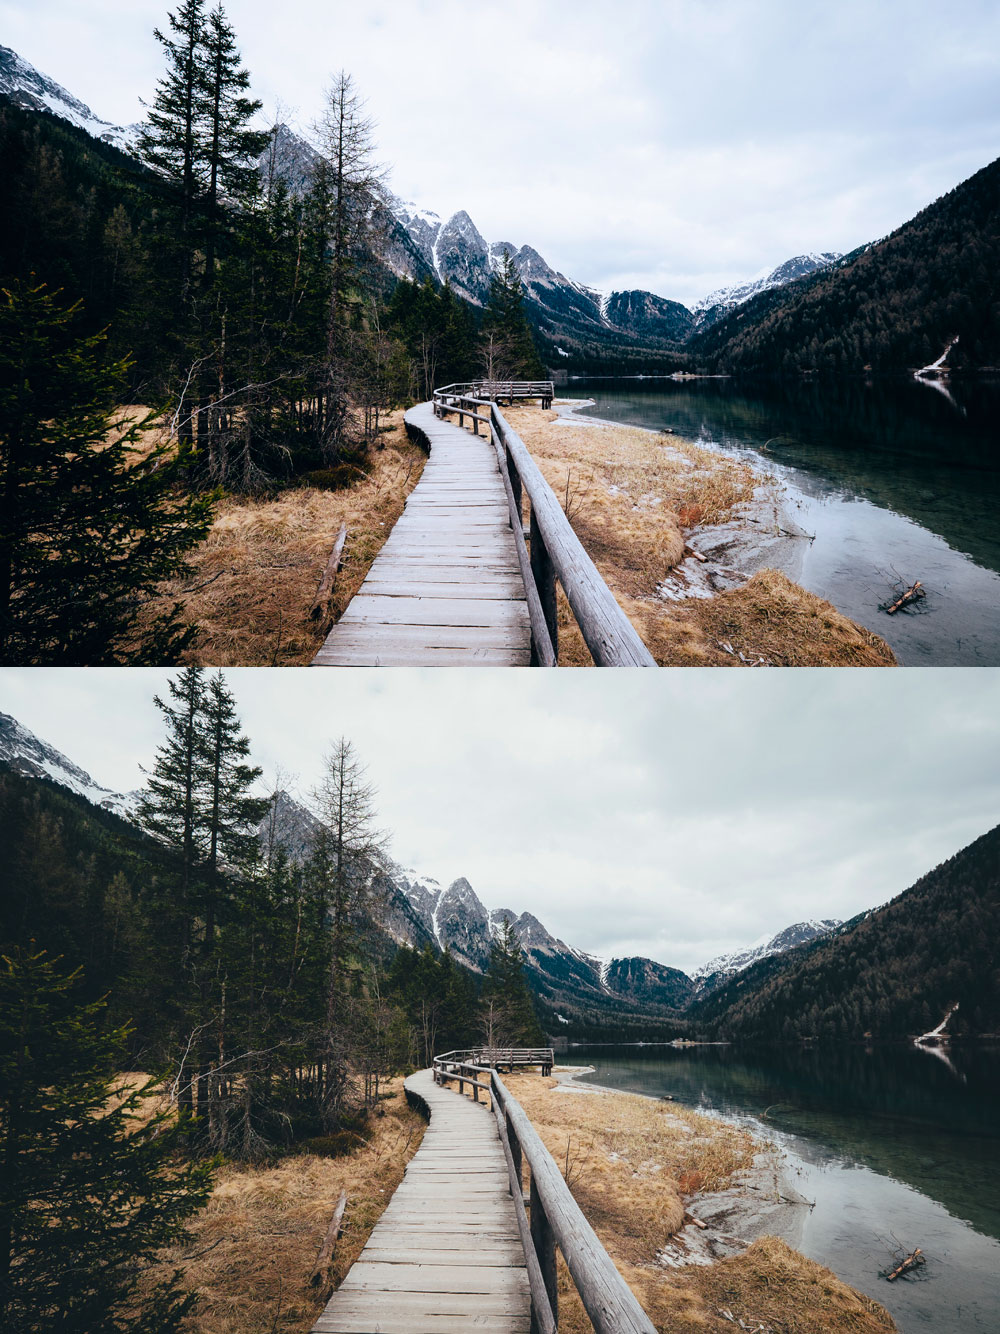
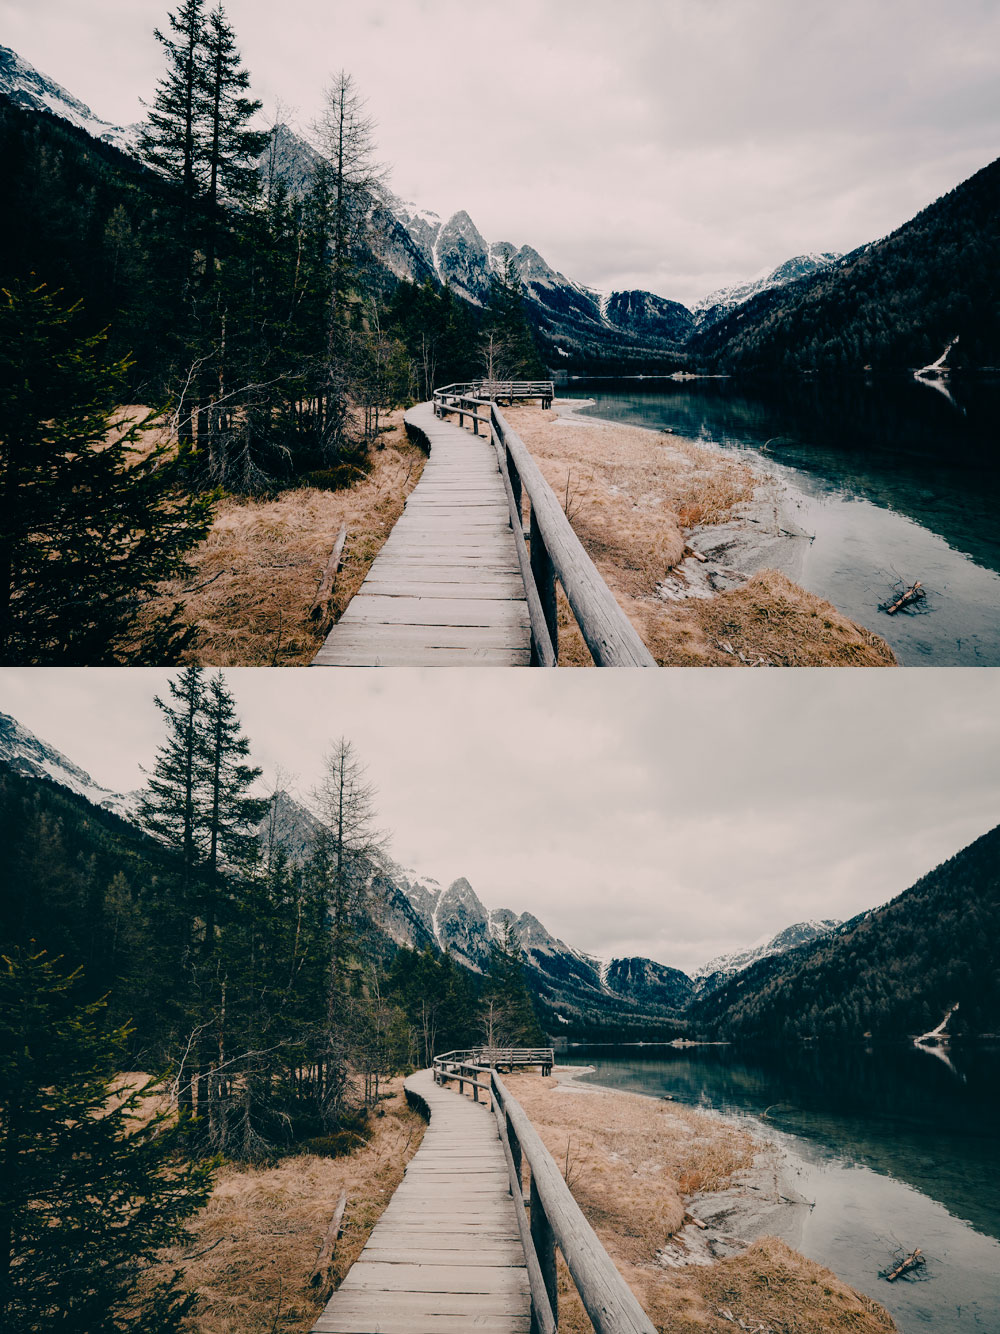
Color grading is the creative process or manipulating your images or footage so that further enhancements are made to image’s color, contrast, lighting within the image, color gradients and more.
Simply put, while color correction’s purpose is to normalize the image or the footage, color grading purpose it to creatively change it. Color grading relies heavily on proper color correction beforehand.
LUTs can greatly enhance your color grading process. They can save you time trying to achieve the perfect look, they can get you very close to your final result and they can help you achieve a look you otherwise may have a hard time achieving.
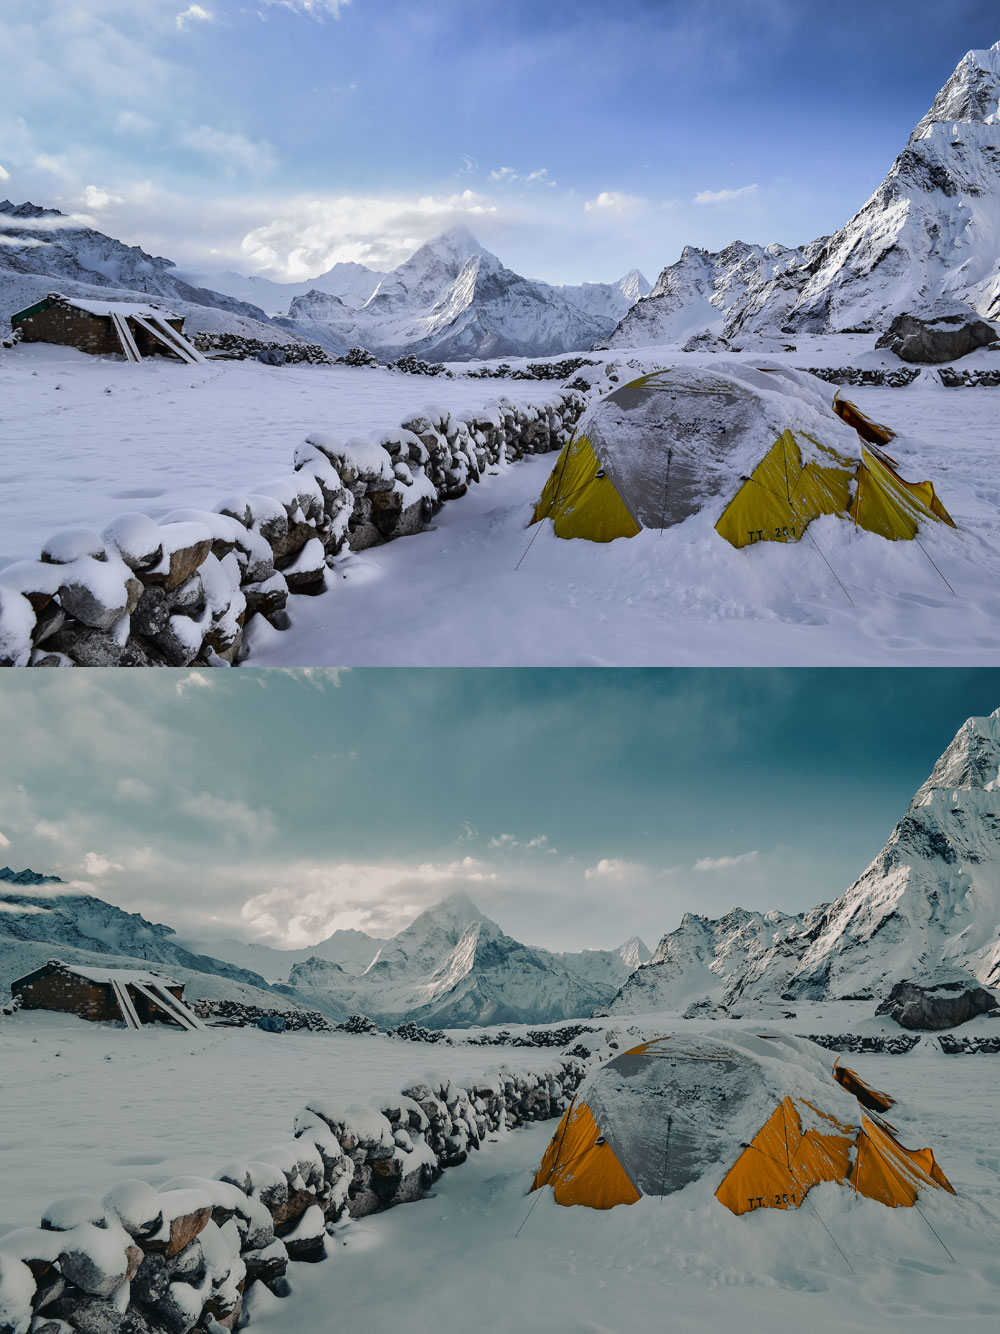
While technical aspects of color grading may be familiar to many aspiring filmmakers, editors, photographers and DPs, some may lack the creative vision necessary to achieve a certain look. After all, no matter how technically profound you are with your software of choice it won’t help you much, if you don’t know what you’re trying to achieve. In my opinion, this is the biggest strength of creative LUTs. They can bring you very close to your final color grade with utmost simplicity.
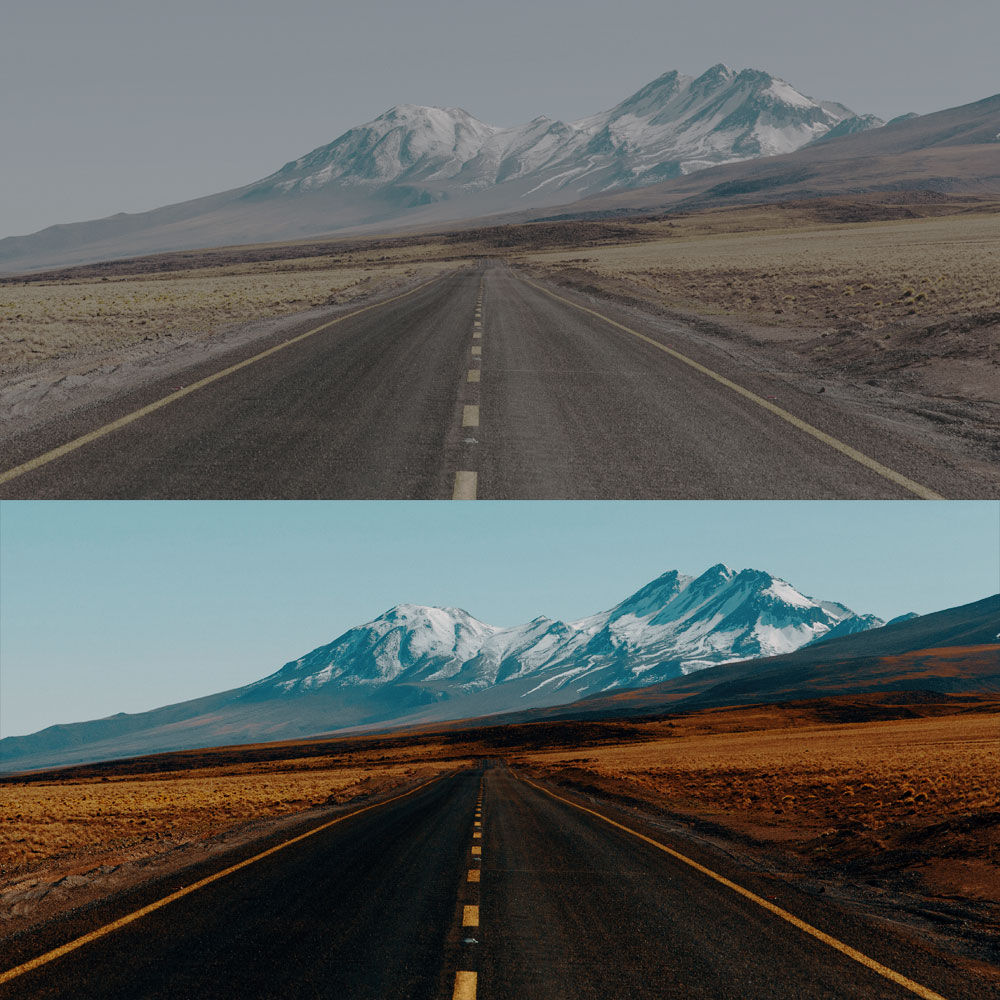
However, remember no two images are created equal so you’ll always have to exercise a good judgment when applying a LUT in the color grading stage and moreover you’ll always have to be prepared to make some manual tweaking to your image.
LUTs workflow
Now that we have better understanding of what LUTs are and what they can and cannot do to your image, let’s see how we can make the most out of them.
Step No. 1 – Normalising the image
The very first step we should perform when working with log footage or images is to normalize them. It’s extremely hard to impossible to judge exposure from log images let alone color. Therefore, before doing any basic corrections, we should apply a log normalisation LUT to our image or footage in order to re-map it into a workable looking image. It is possible to manually normalise footage or images however it is very time consuming task and can require a lot of trial and error before nailing the correct image.
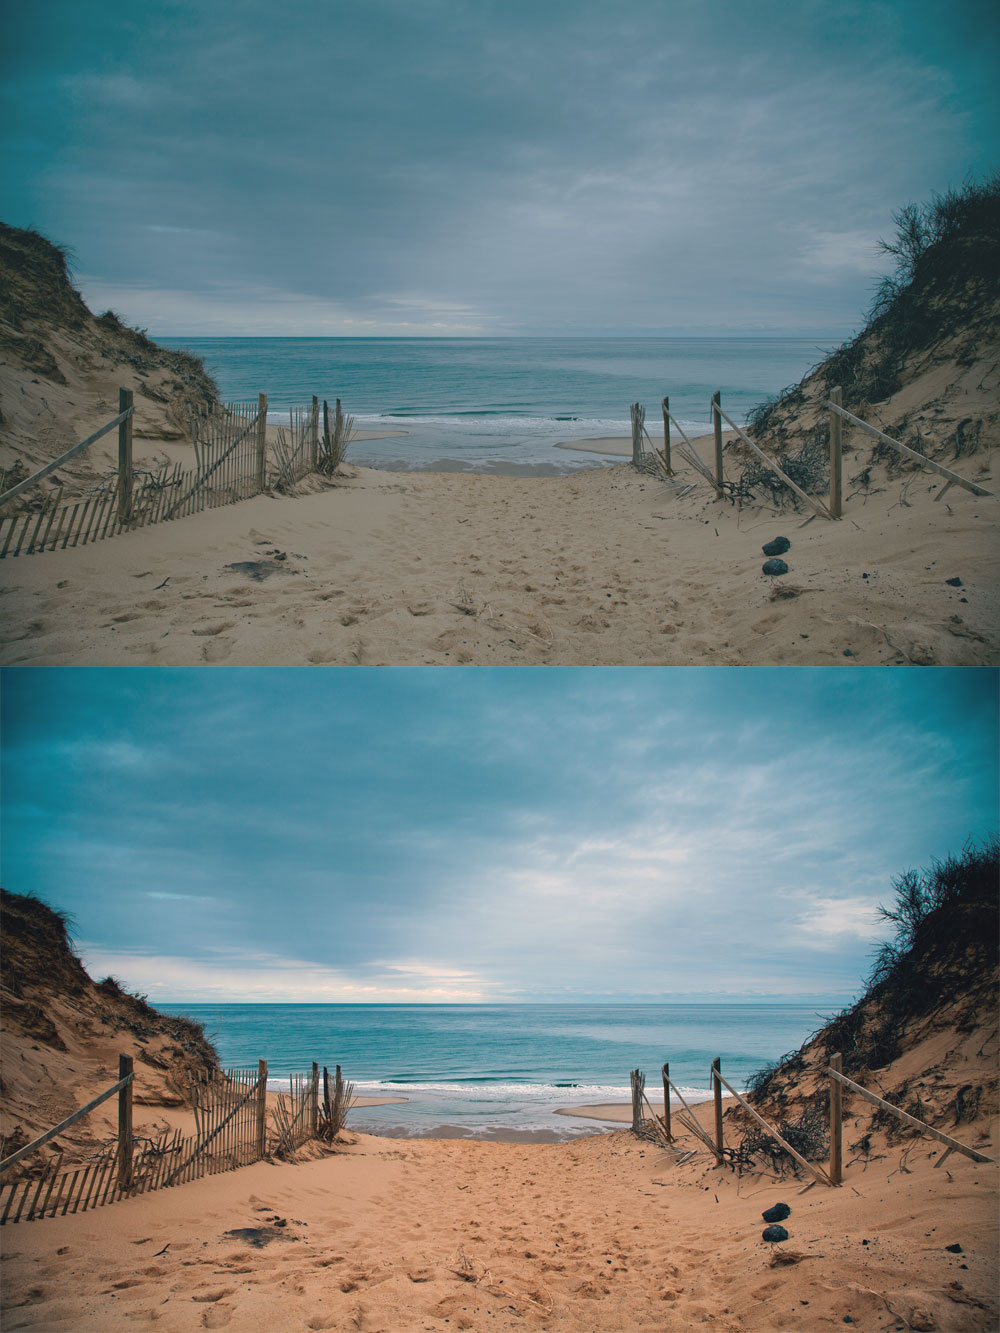
We at Lutify.me provide you with 16 different log normalisation LUTs that cover every possible log (or semi log) format out there. In order to normalize your image, open the Log Conversions folder within your 3D LUTs folder and apply the appropriate log LUT to your image.
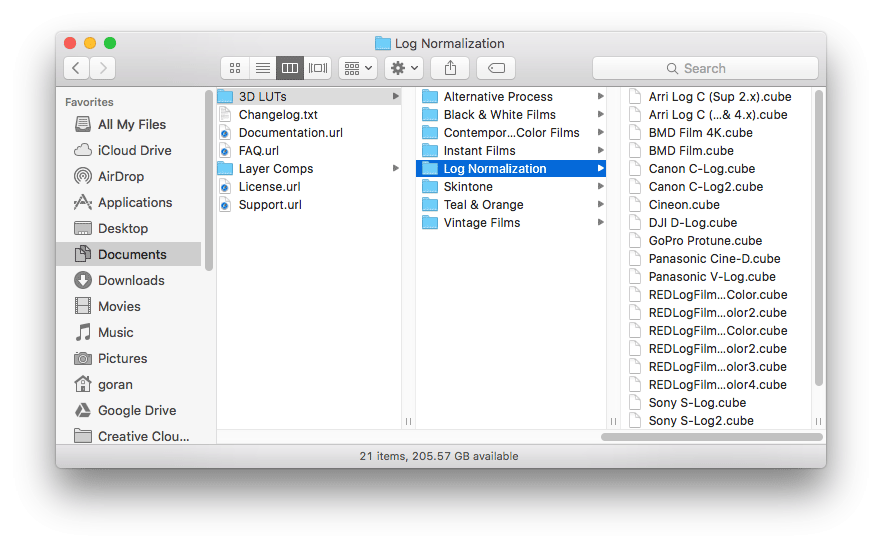
For example, if you’re working with Sony S-Log2 footage it makes sense to use the Sony S-Log2 log normalisation LUT. You should apply this LUT before any other corrections. If we’re applying the LUT inside Photoshop, we should apply it as the very first adjustment layer, as the first node in Davinci Resolve, as a Basic Correction LUT in Premiere Pro or as the first layer in Color Finale if we’re applying the LUTs in Final Cut Pro X with the help of Color finale plugin.
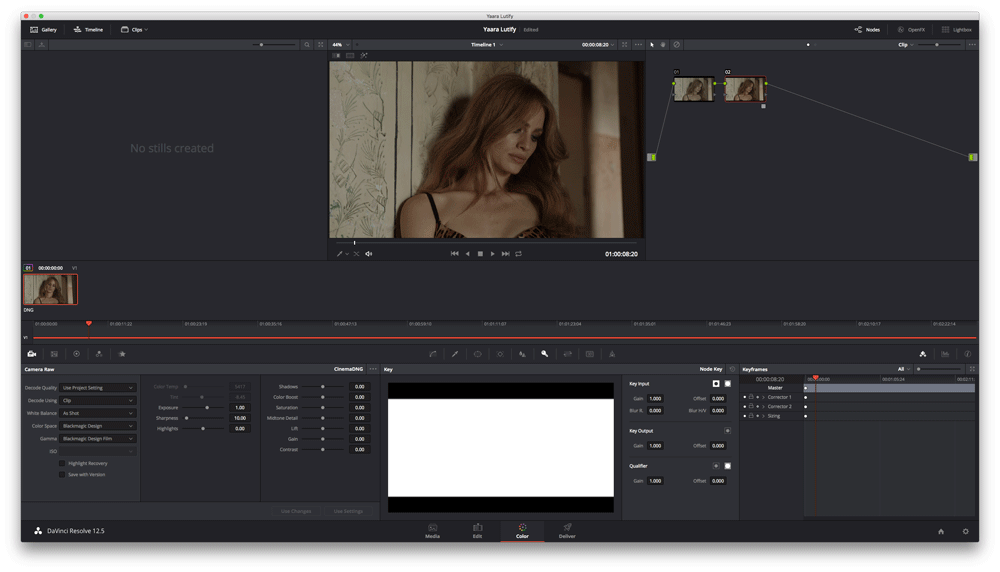
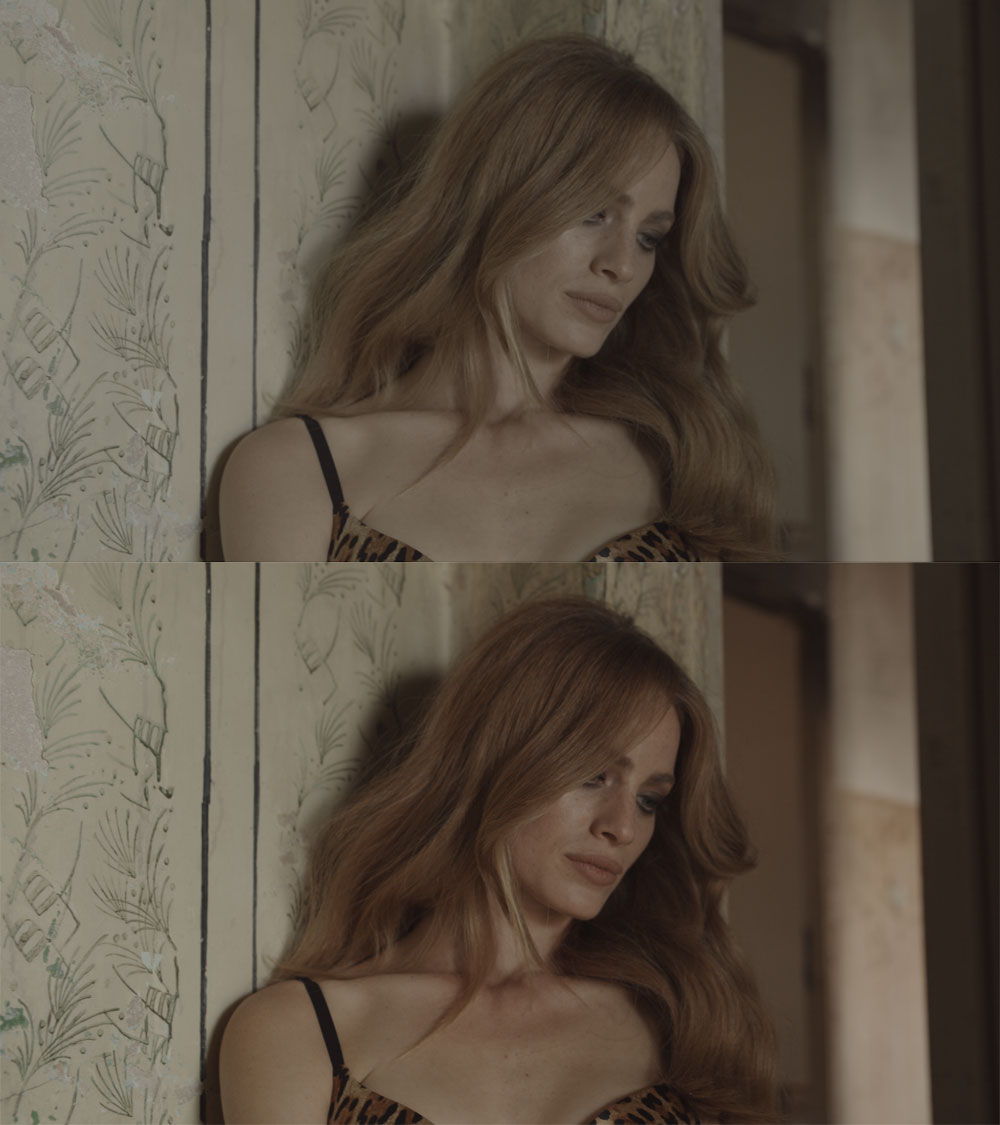
Note that it’s possible to use a different log normalisation LUT than the type of your log footage if it yields more satisfactory results to your eyes, however remember that it will not be a scientifically correct re-map into Rec.709 or sRGB color space. For example, lets assume we have Sony S-Log3 footage. It is possible to use the Cineon log conversion LUT instead of S-Log3 as the two are rather similar in characteristics. Main difference between the two is in the rolloff into highlights. While it’s not a scientifically correct log conversion, if it produces satisfactory results to your eyes, than by all mean do use it. Don’t forget to check your footage or image with a vectorscope, waveform and histogram to make sure the transition doesn’t hurt any essential parts of the image.
You can always dial back the log normalisation LUT if you want a lower contrast image.
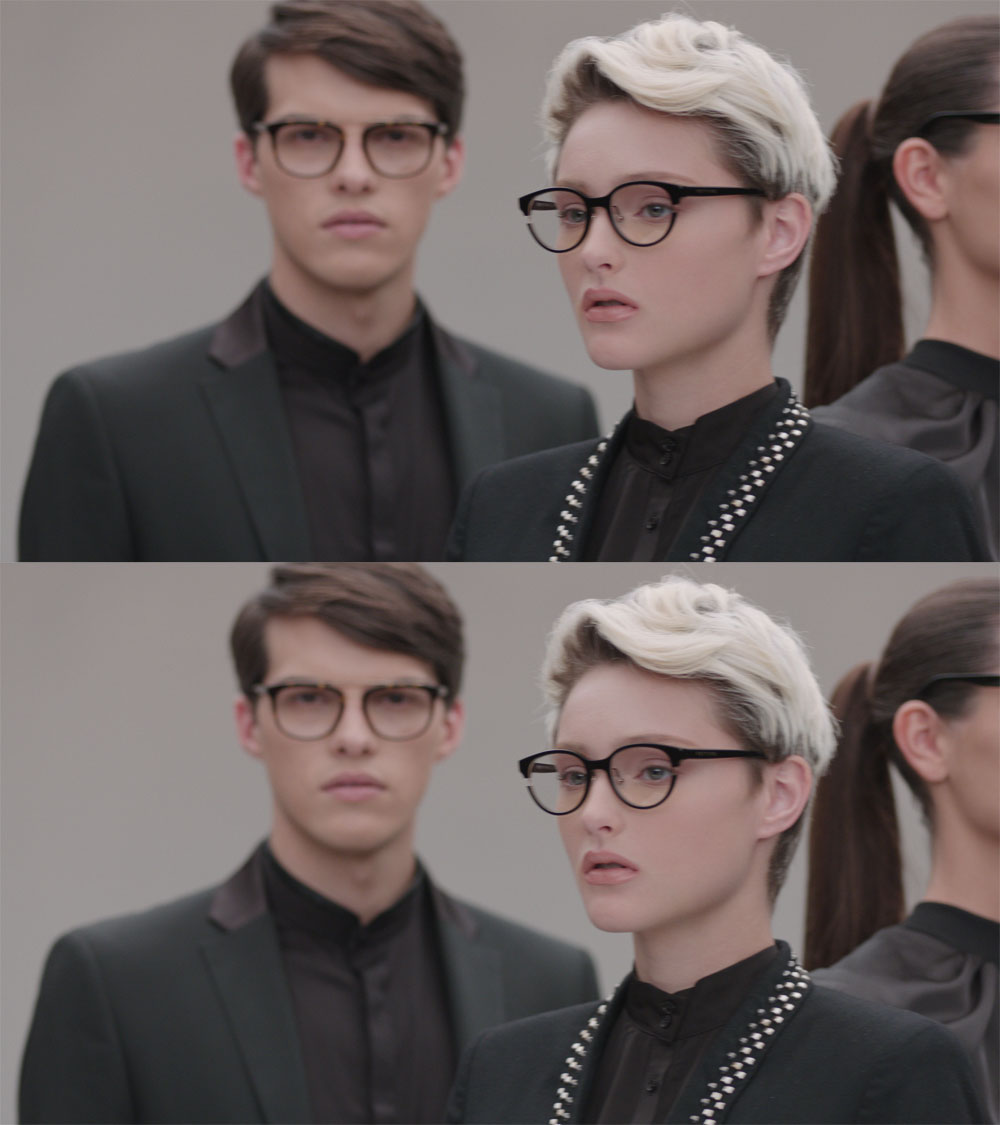
If you’re working with Rec.709 type of footage or stills (except for photos linearlly “developed” in Capture One software), log normalisation doesn’t apply to you. You can safely skip this step, but I still recommend being familiar with the log normalisation terms.
Step No. 2 – Color correction
Once we have our material normalised it’s time to do some basic color corrections. If you are working with a Rec.709 type of footage or stills photograph from your DSLR for example, your image is already normalised.
As I stated earlier, color correction is the process of manually tweaking your image or footage in order to find a correct balance between exposure, color temperature, contrast and light.
In perfect world your image would always be balanced. After applying the log normalization LUT you could simply go on and start the creative grading process. However, most of the time that’s not the case.
Images often suffer from over or under exposure, the contrast in the scene may be too high or too low and sometimes you simply forget to set the white balance to the correct value. Sometimes you’re trying to match several light sources and some light sources need more balancing. Either way, almost all images will need some sort of basic color correction.
Let’s take a look at the following example.

As we learned before, first we should normalize our footage. Since this was shot on Arri Alexa, we’ll use the Arri Alexa log normalization LUT from our Lutify.me package.
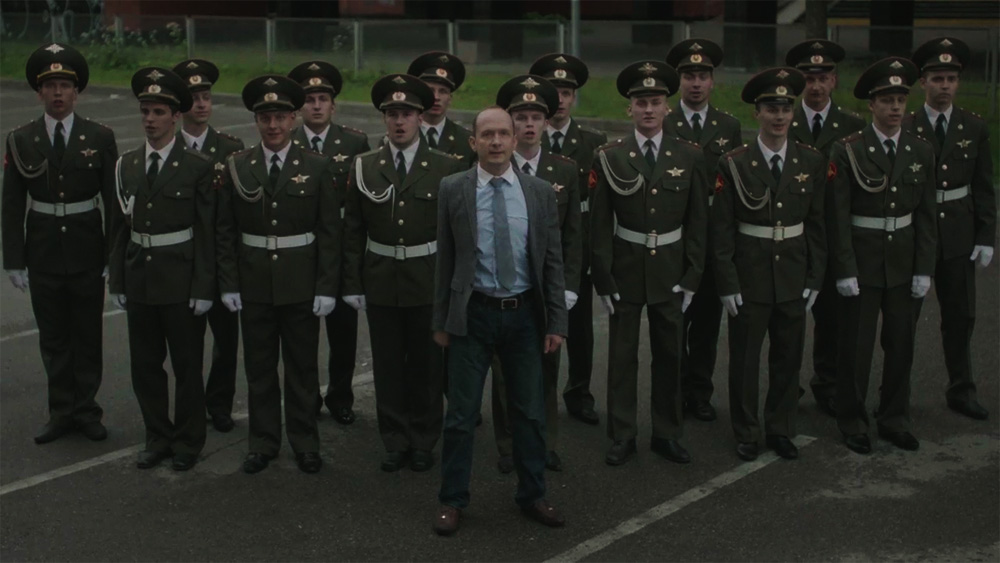
Once we have our image normalized, we can clearly see that it suffers from some under exposure. While this is subjective to a certain extent and we could simply leave the image that way and apply a LUT, I think it would benefit from some minor exposure adjustment. First let’s have a look at our image with a creative LUT applied without any exposure correction.
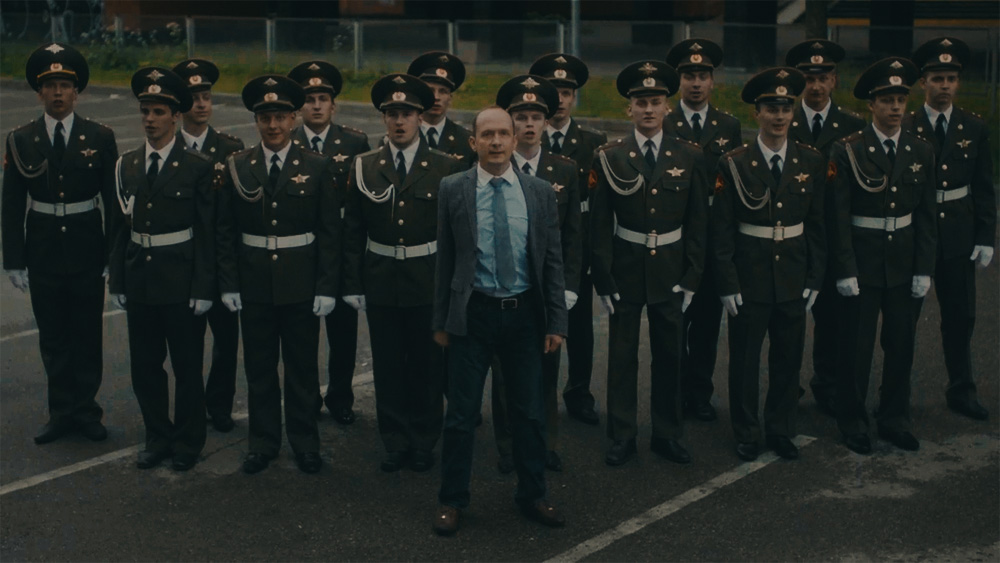
Now, let’s take a look at the same image with the same creative LUT applied albeit with some exposure correction.
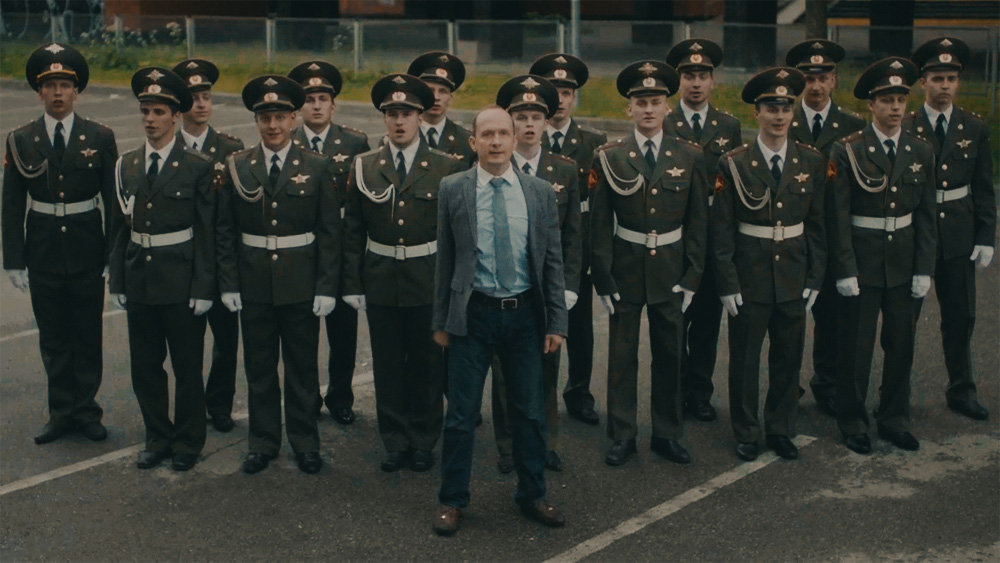
Makes all the difference. Doesn’t it?
And finally let’s have a look at both of our images with LUTs applied – with and without exposure correction.
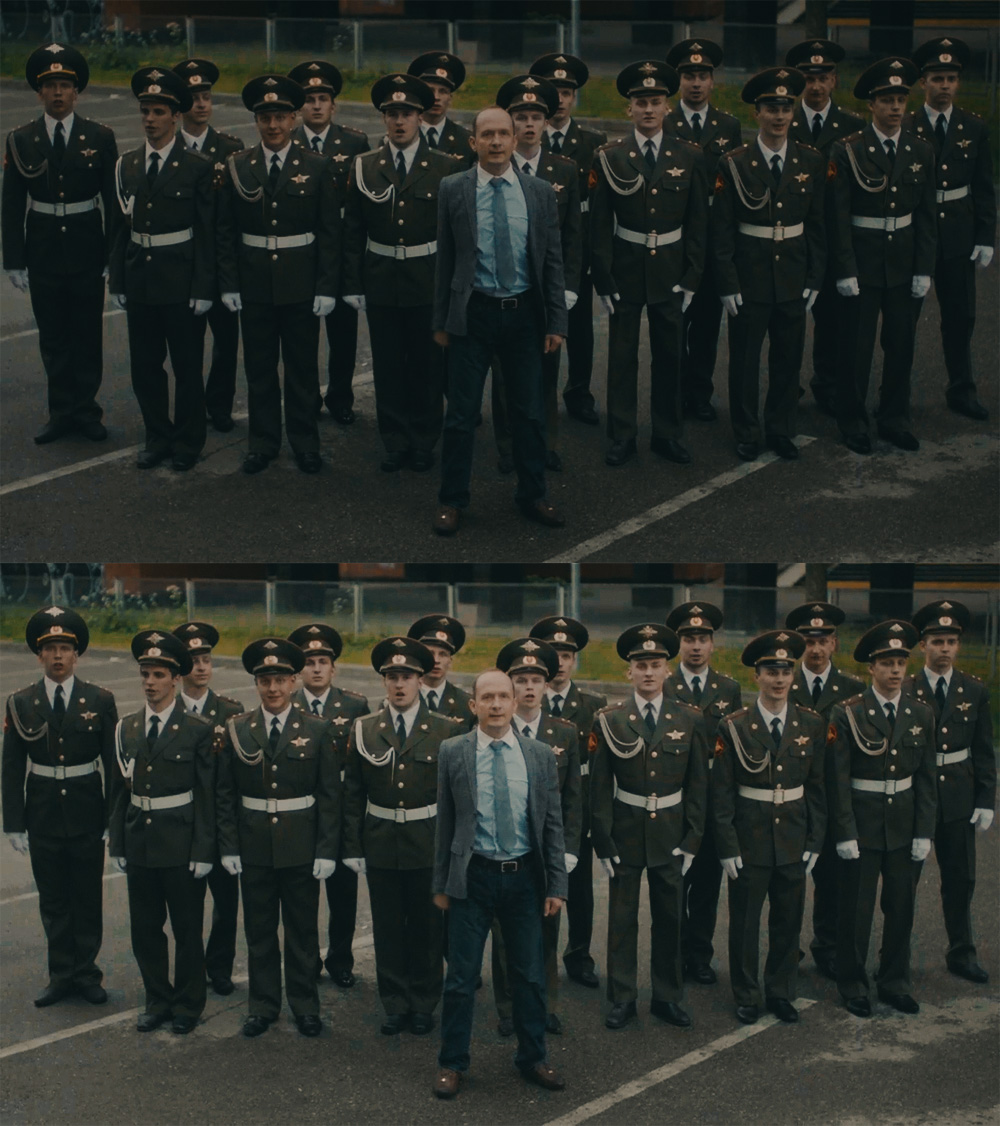
Apart from the obvious difference in exposure, the color response is different too. It’s due to the fact that a LUT takes a given input and outputs it to a new level by the same amount for any given input. If our input changes – the output changes too and that is exactly why you should almost always color correct your images prior to applying a LUT.
Of course, exposure adjustments can and are subjective. Some may prefer the darker version of the same image while some may prefer the brighter one. No matter which version you prefer, it’s important to understand that color correction will drastically change your output once you apply a creative LUT so exercise a good judgment before applying a LUT.
Remember, even if your image is perfectly balanced, it doesn’t mean it matches the next and previous shots perfectly so at the bare minimum you would have to do some shot to shot matching.
Shot to shot matching is an art in itself and one of the most challenging aspects of the color grading process. I can’t cover shot to shot matching in depth in this post, but I must mention it since even perfectly exposed images and shots will needs some amount of shot to shot matching. This means 99% of the time you can’t skip the color correction stage.
I said it before and I’ll say it again. LUTs are calibrated for properly exposed and white balanced image so therefore it’s crucial to get the color correction part right before proceeding onto the creative part of color grading.
Step No. 3 – Creative color grading
The last step of using LUTs is actually applying the creative LUT.
Once we have our image nicely balanced we can go on a apply a creative LUT that would be a starting point for our color grade.
Remember, LUTs should be used as a starting point for your final color grading and not as a final look. While sometimes you may be completely satisfied with the result achieved with a LUT as-is, most of the time you will need to make some minor adjustments to better suit your image. No two images are the same so adjustments will be required most of the time.
Let’s have a look at another example.
This image was shot on Canon 5DMKIII using Magic Lantern raw. The footage was interpreted in DaVinci Resolve 12.5 as BMD Film.
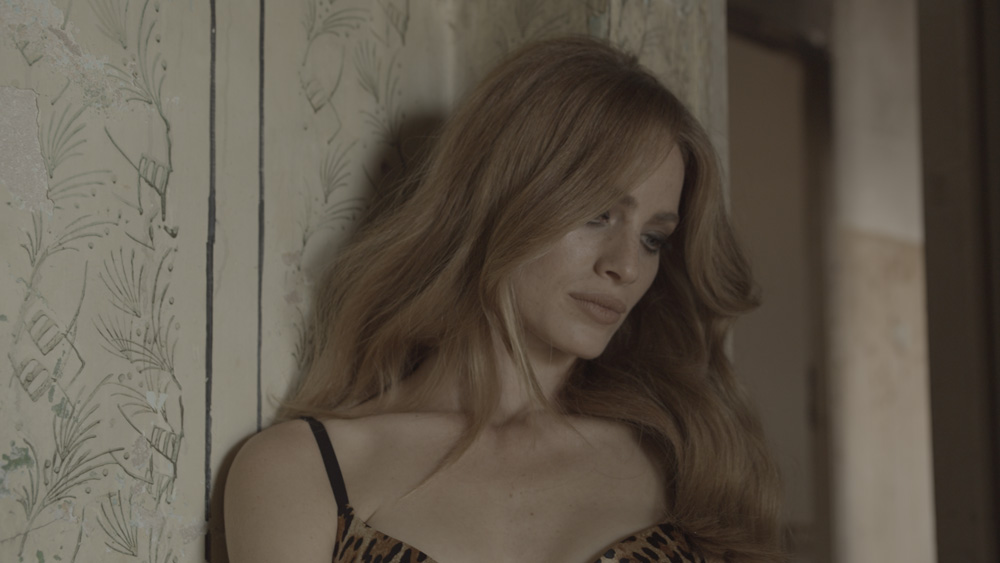
First step is to normalize the footage. For that we’ll use the BMD Film log normalization LUT from our Lutify.me package.
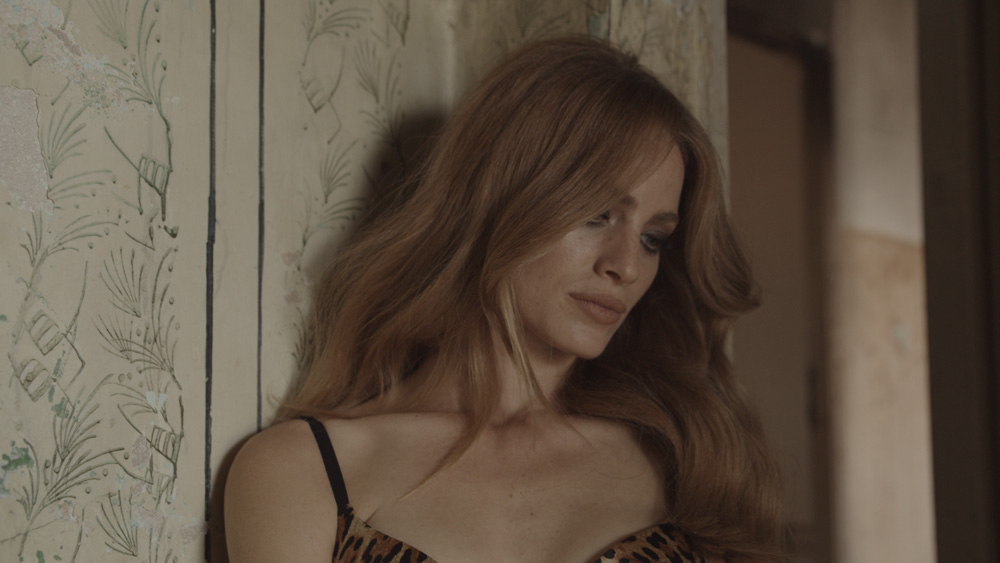
The image appears nicely balanced. The way it is, it doesn’t require color correction at this stage. We can go on and apply a creative LUT.
After applying our creative LUT we can see that we should do some adjustments to the image. While the overall look is quite nice, the wall on the left is too green to my taste and the skin tone also suffers a from green-ish tint to it. If you’re altering the whole tonal range of the image and giving it an overall color tint (like with this LUT), some color tint is to be expected across all of the image and should stay that way, however it doesn’t mean we can’t and shouldn’t control the amount of the tint and adjust it to our taste.
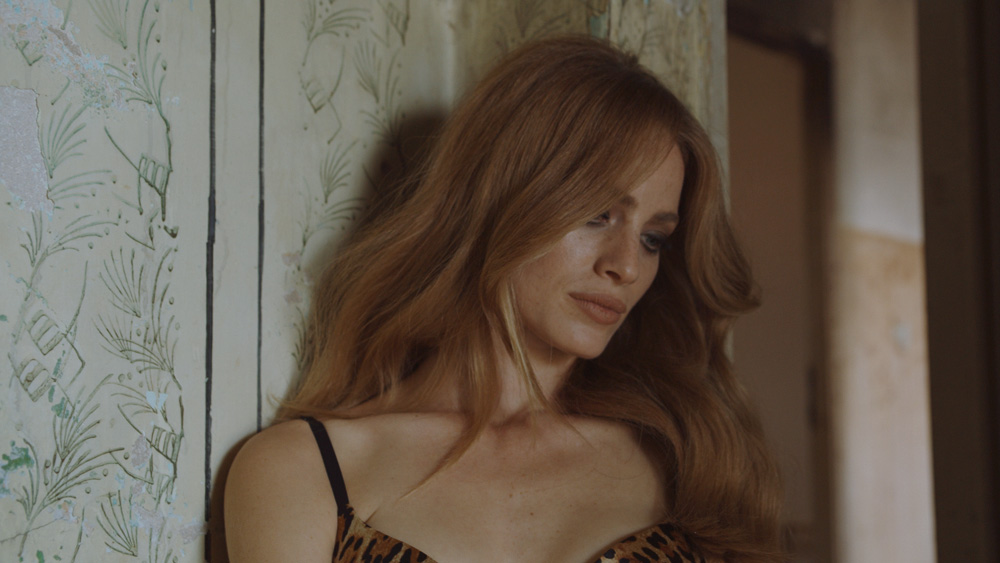
Correcting the green-ish tint improves our image drastically while maintaining the general characteristics of the LUT. The image is much more vibrant, skin tone is lively and the overall tonal range is more pleasing.
As a final step we could do some secondary corrections.
Secondary corrections is a term for localised corrections meaning corrections that are limited only to a certain area. A typical secondary correction could be brightening the face, darkening the background or isolating a specific color and altering it.
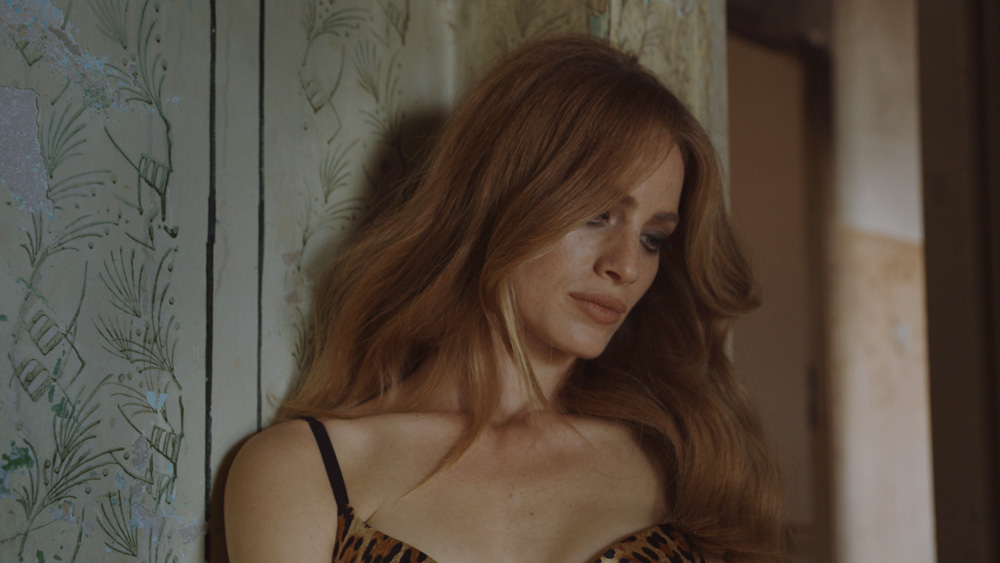
Secondary color correction in this case involved a darkening of the wall to the left, slightly reducing the highlights in the skin and a bit of darkening of the hair to the left as well.
And finally here’s a before and after image.
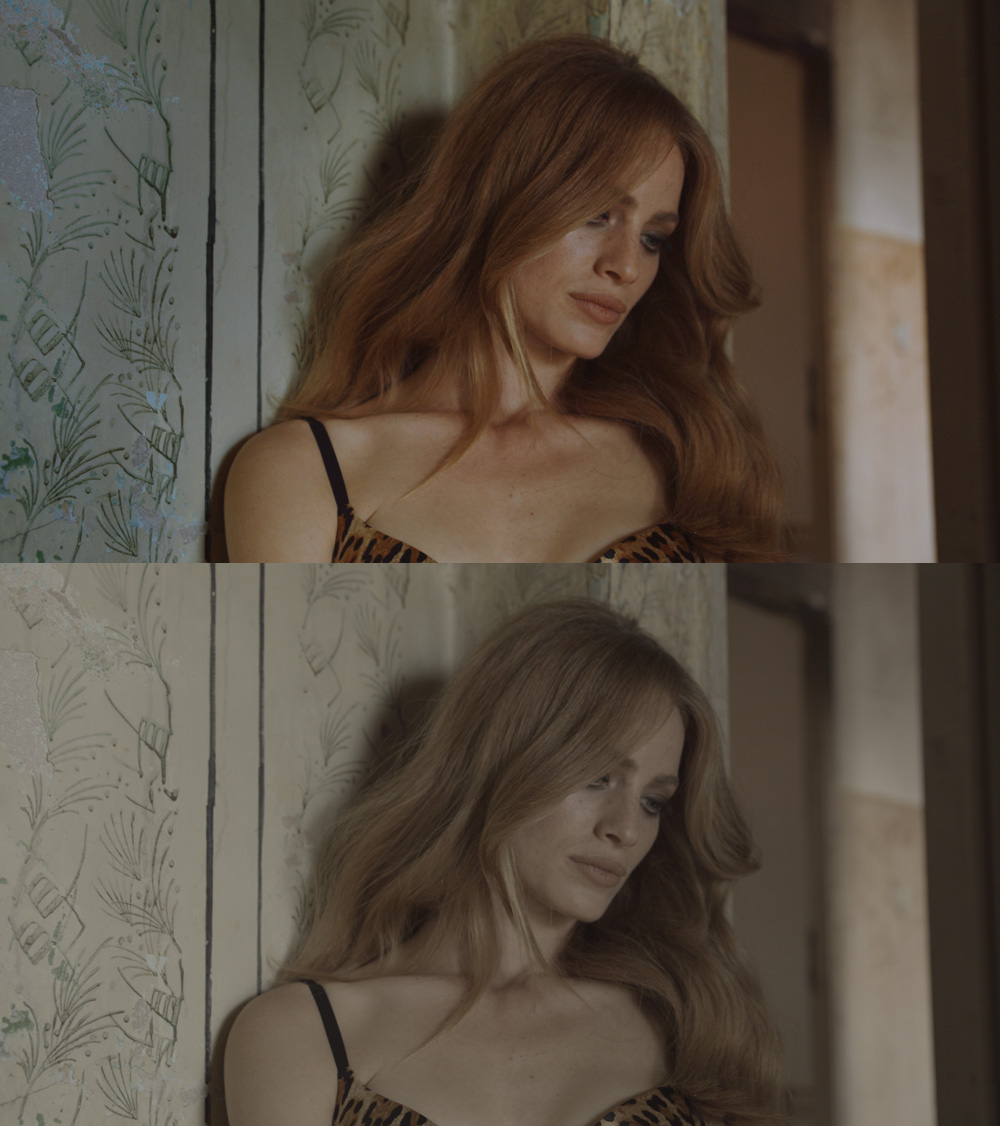
Conclusions
- Normalize your footage as the very first step.
- Once your footage is normalised, it’s time to color correct it and balance it.
- Applying a creative LUT is to be done only after we normalised our image and color corrected it
- Last step would be secondary corrections
My intention with this tutorial was covering the basics of using LUTs. It’s very important to understand that while LUTs can elevate your brand and greatly enhance your color grading, they are not some magical solution to all your color grading needs. Using LUTs requires some basic knowledge and correct workflow to get the best results.
What is your workflow for working with LUTs? What steps do you take when applying LUTs? I’d love to hear back from you in the comments below.

