Hey folks!
LUTs are becoming a main stream. More and more software makers are adding support for LUTs in their software as they realise the benefits of using LUTs in the color grading process. While more and more programs offer support for 3D LUTs, and some even offer real time preview of LUTs, which is a huge time saver, it always feels like Photoshop is left a little behind. What am I talking about?
While Photoshop offered support for 3D LUTs way back in version CS6 released in 2012, using LUTs in Photoshop was always somewhat cumbersome. No preview of LUTs and no real way of importing LUTs into Photoshop without copying files into installation path. Thats is until April 2018 when Lightroom CC Classic 7.3 was released. What’s one got to do with the other? Bear with me as I shell explain.
April 2018 update of Adobe’s CC suite was a huge one with the release of support for .xmp profiles in Lightroom. Using .xmp profiles in Lightroom allowed the use of 3D LUTs in Lightroom and opened up a whole new world of options to color grade your images in Lightroom. So what’s that got to do with Photoshop?
Well, these same .xmp profiles work just fine in Adobe Photoshop and allow for pretty much the same workflow as in Adobe Lightroom. The secret? A little used Filter option called “Camera Raw Filter”.
OK, I’m exaggerating a bit. Most of you guys know the Camera Raw Filter but usually most of us think about it as the way to open raw photos in Photoshop and not much more.
I was surprised to find our how many are unaware of the fact you can use the Camera Raw Filter for non-Raw images and that’s where the good stuff is.
Applying a Camera Raw Filter to your images (Raw and non-Raw) and accessing the .xmp profiles which offer real time LUTs preview. Much much easier than using the Color Lookup adjustment layer. Following is a quick tutorial that will show you how to use .xmp profiles to grade your images in Adobe Photoshop quickly and efficiently.
Prerequisites
So what do you need to take advantage of this little trick?
- .xmp profiles from our Professional Package.
- Adobe Photoshop CC or higher
Installation instructions
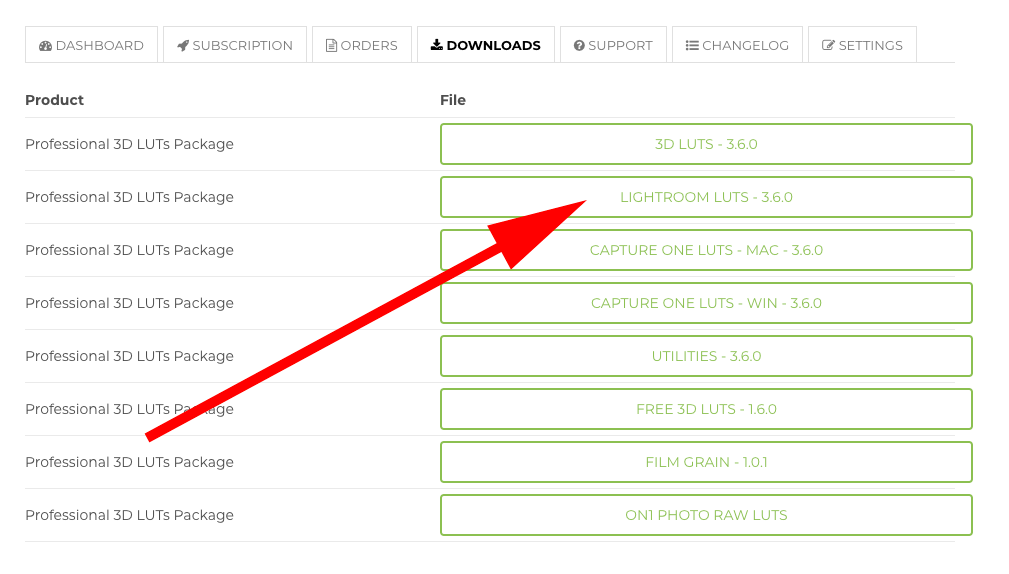
First thing you will need to do is download the .xmp profiles from your Account. Please note, .xmp profiles are offered in the Professional Package only, so if you are subscribed to the Standard or Basic packages, you will need to upgrade your subscription to get access to the .xmp profiles. .xmp profiles are located in the “Lightroom LUTs” download in your account.
Once downloaded, you will find 2 folders in the downloaded file. “Lightroom 7.2 and Earlier” and “Lightroom 7.3 (April 2018 Update) and Later”. You must use the .xmp profiles from the “Lightroom 7.3 (April 2018 Update) and Later” folder or otherwise they will not work in Adobe Photoshop.
Copy and paste all of the folders from the “Lightroom 7.3 (April 2018 Update) and Later” folder
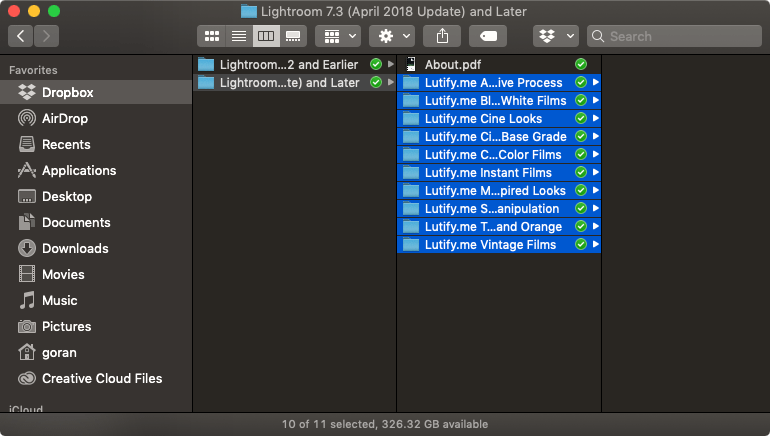
into the following location:
Mac
Users > [Your Username] > Library > Application Support > Adobe > CameraRaw > Settings
PC
C:\Users\[Your Username]\AppData\Roaming\Adobe\CameraRaw\Settings
Please refer to this support document if you need more detailed instructions.
Make sure you restart Photoshop if it was open while you were copying the files and now we’re ready to start color grading.
Color Grading
Start by opening any file in Adobe Photoshop and then select Filter > Camera Raw Filter…
I will be using this wonderful screengrab from RED Raw footage shot in 6K by the super talented guys at raw.film. Raw Film is a subscription-based platform with premium stock footage produced exclusively on RED Camera in raw format. They offer high-class cinematic content at the most affordable prices on the market. Their raw footage is available in the native REDCode codec and works with our LUTs like bread and butter. You should definitely check them out!
They’re now also offering 44 free clips for licensing so you should definitely check this offer if you’re looking to license some super-high quality footage.

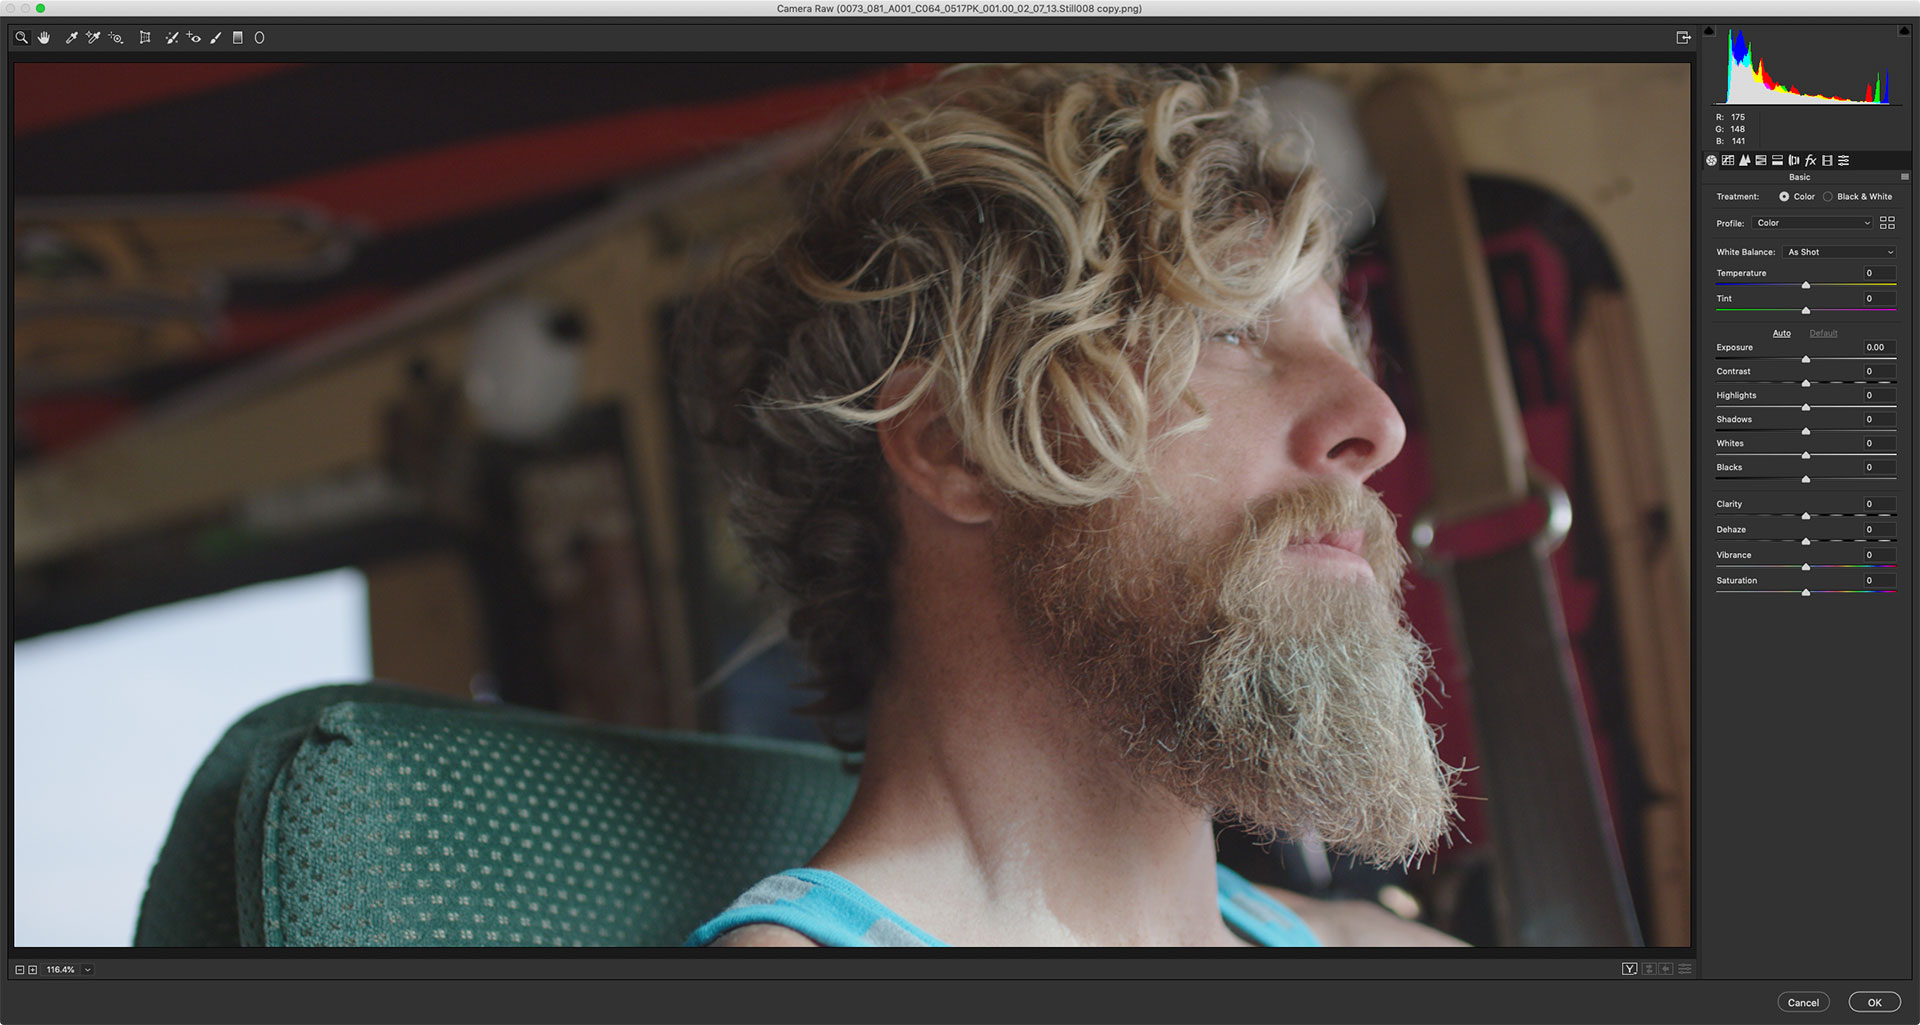
With my image open in Photoshop, when I go to Filter > Camera Raw Filter, here is what I get:
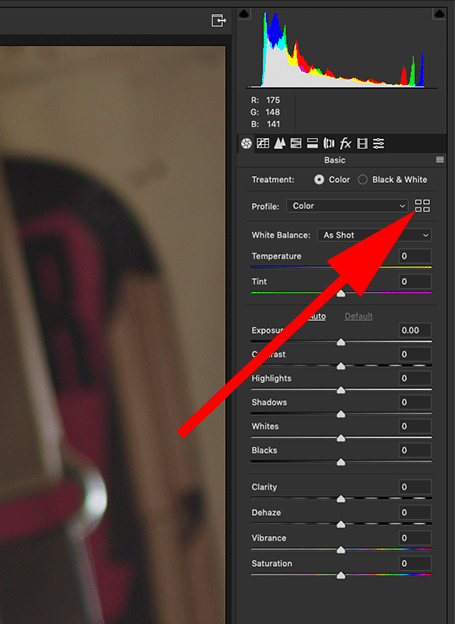
I need to click the Browse Profiles button to start working with the .xmp profiles:
After clicking the Browse Profiles button, here is what I get:
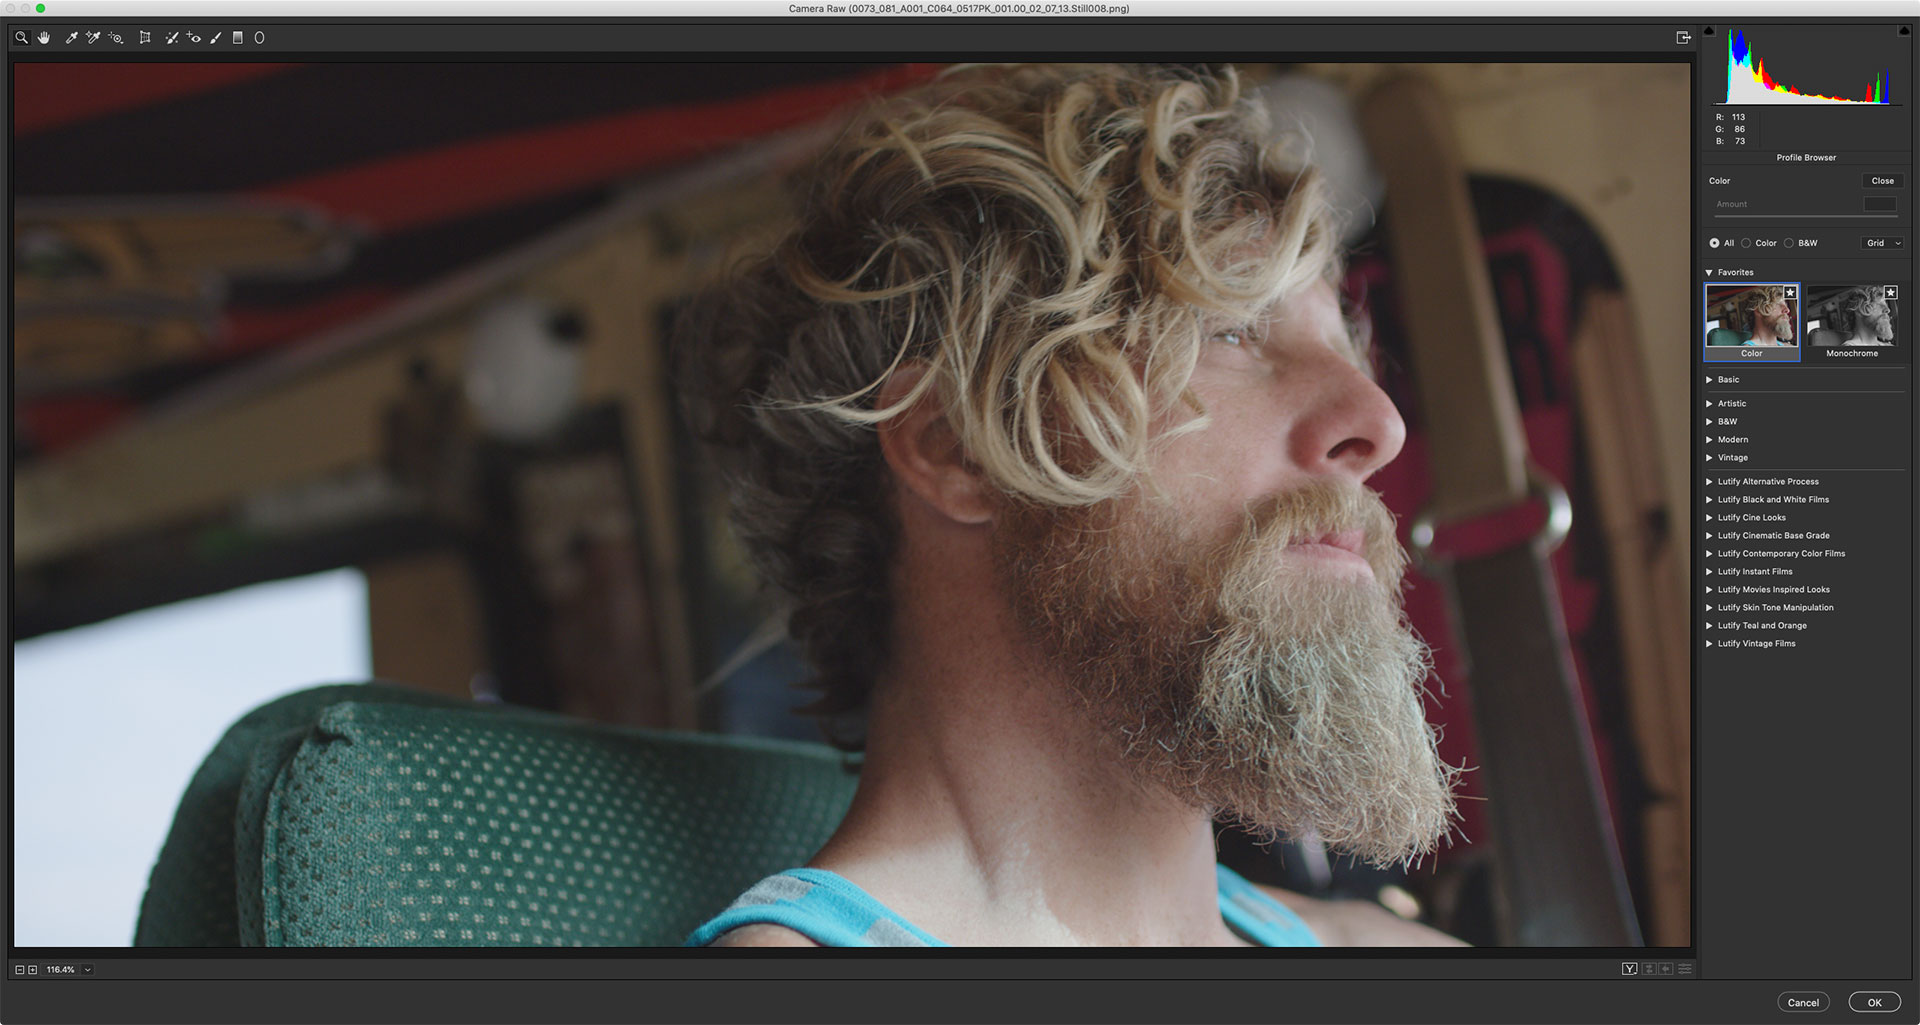
Notice the Lutify.me LUTs in the right panel, which we copied in the previous step:
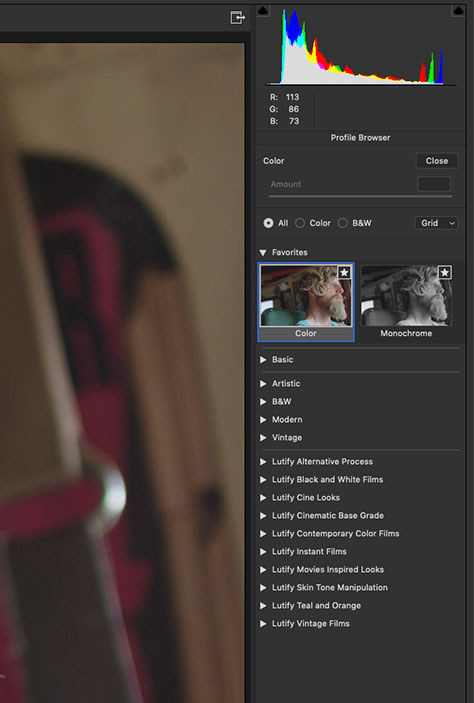
Now when I click any of the categories, I’ll get a real time preview of the LUTs:

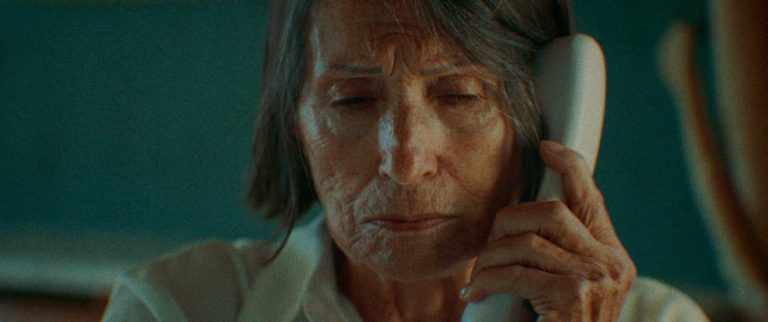
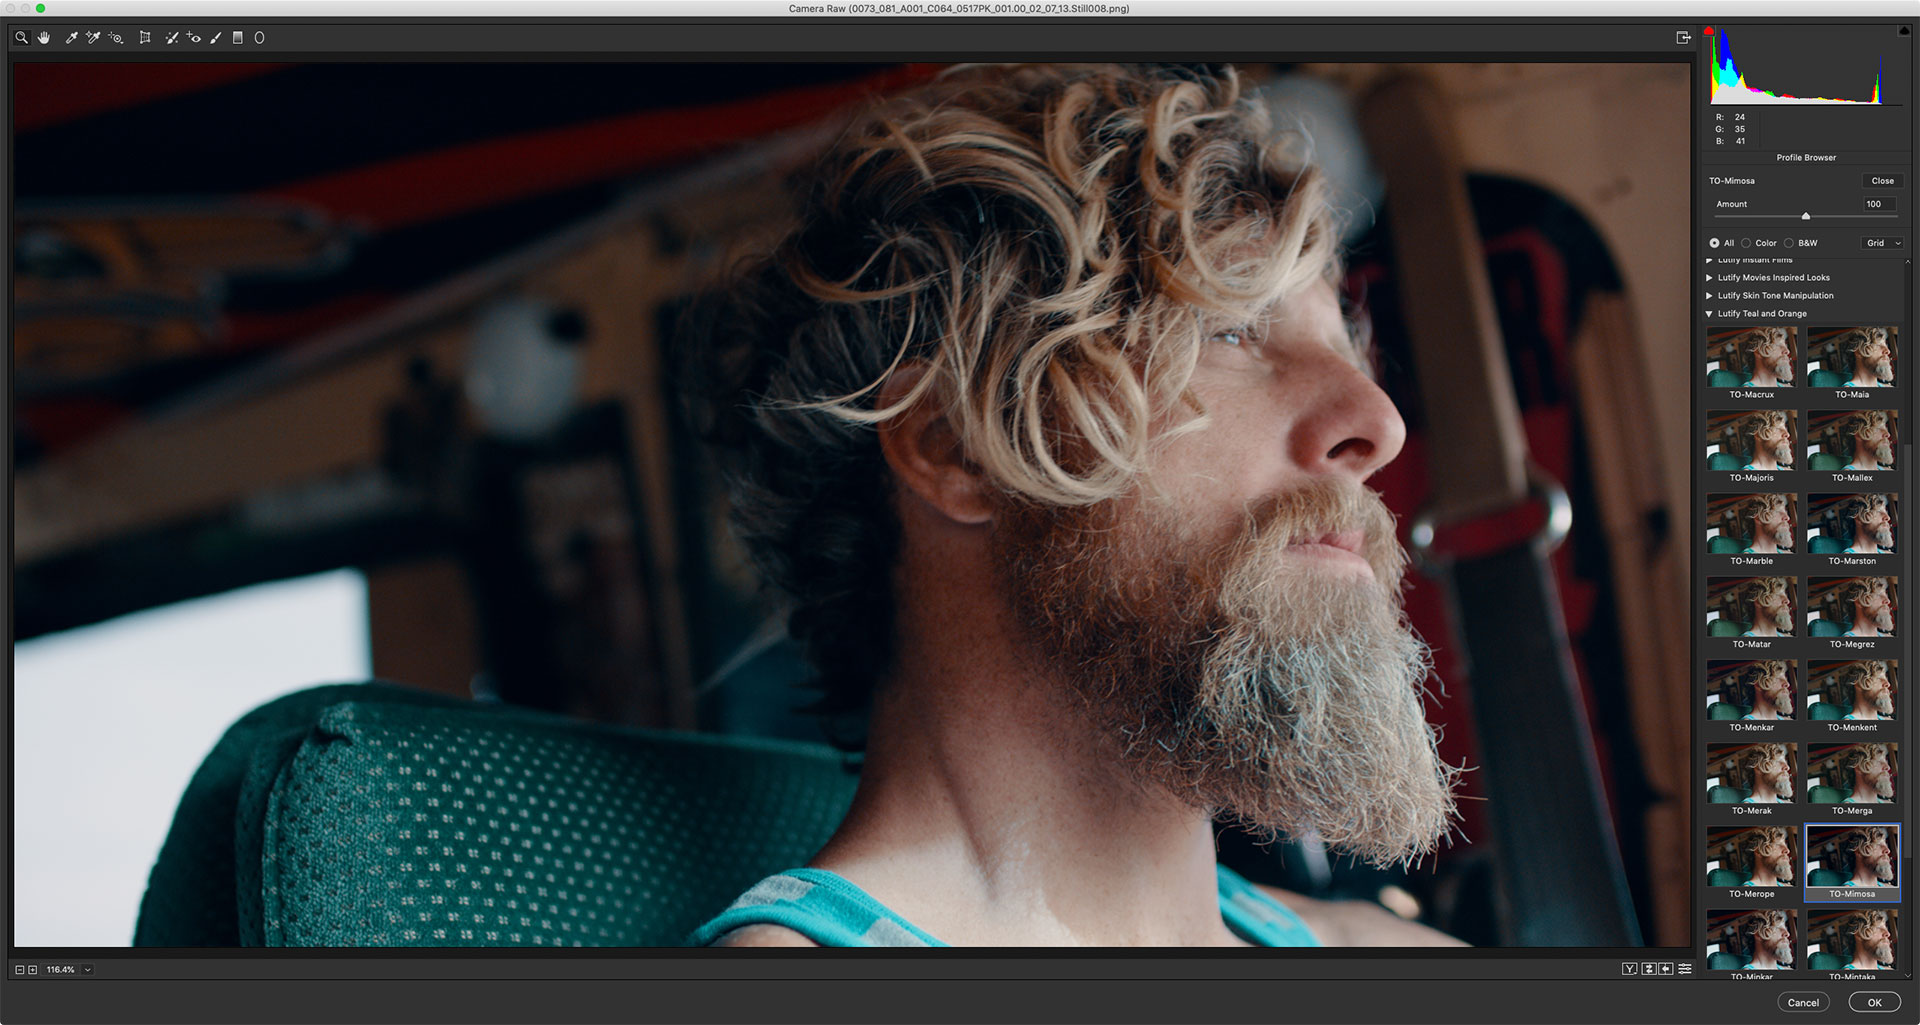
Clicking any of the thumbnails applies the appropriate LUT on the image. Here is for example our image with Mimosa teal and orange LUT applied to it:
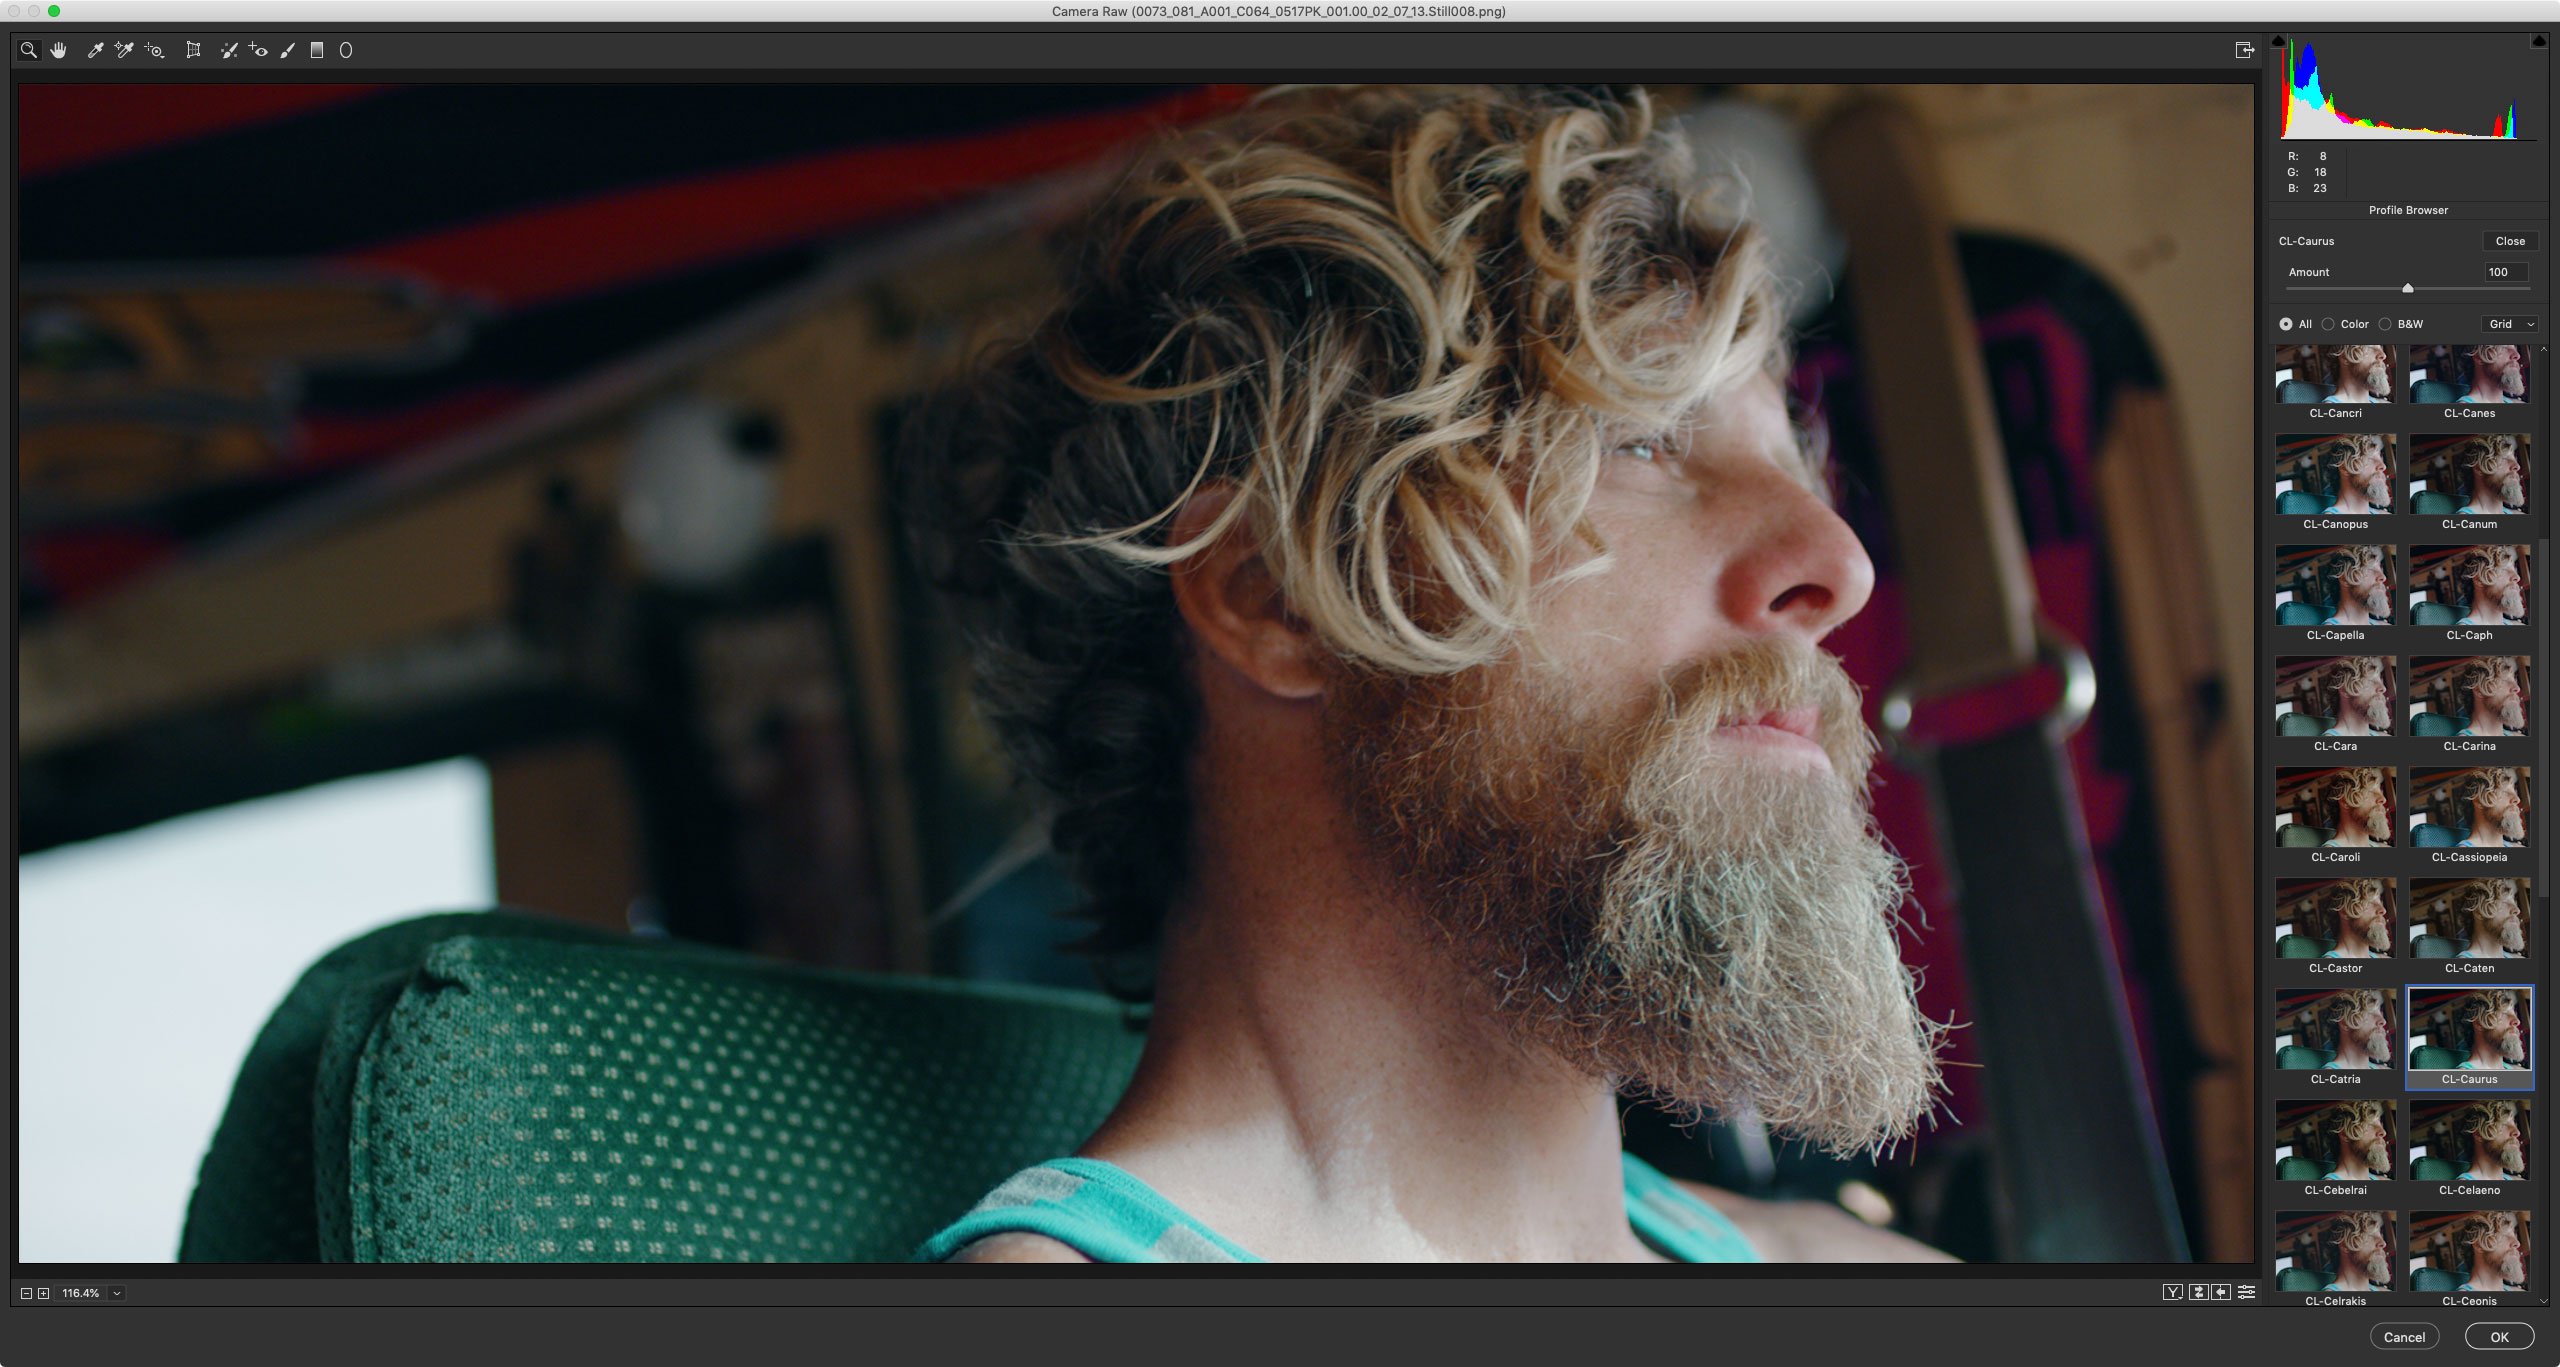
And here is the Caurus LUT from the Cine Looks category applied to the image:
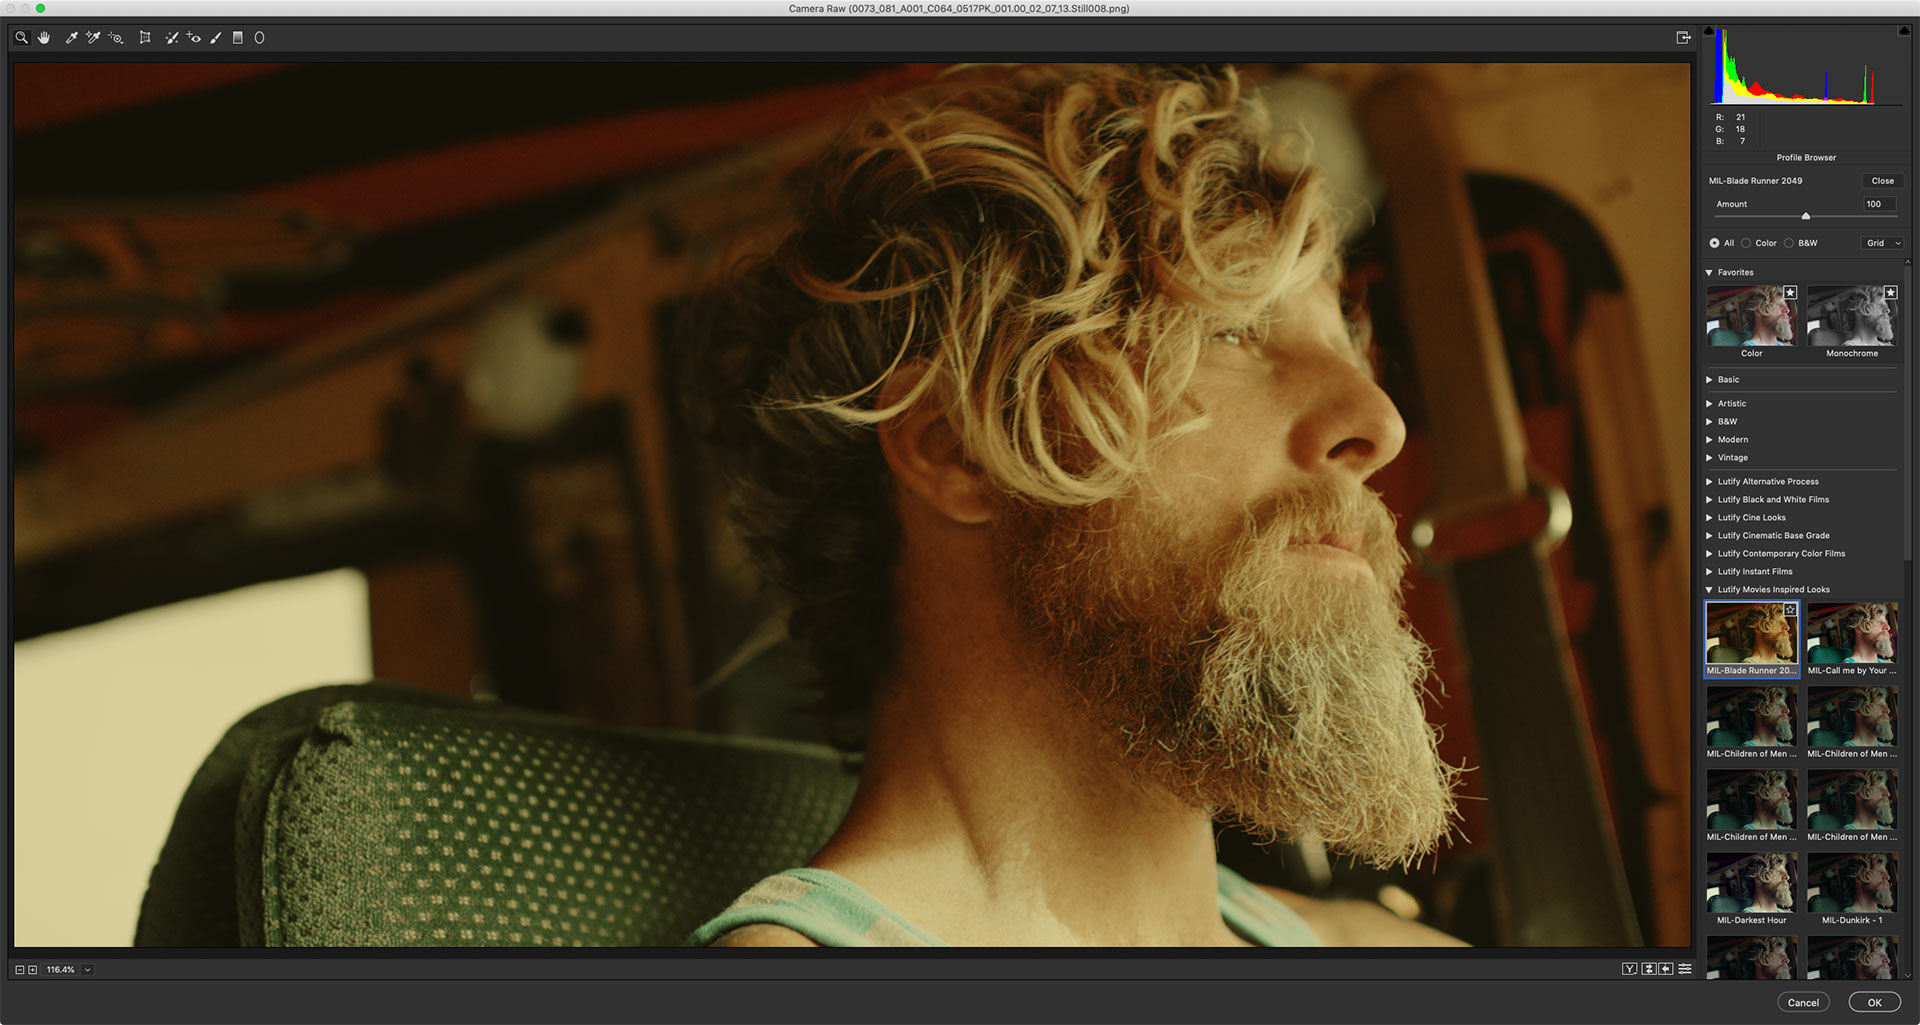
And here is the “Blade Runner 2049” LUT from the Movies Inspired Looks category:
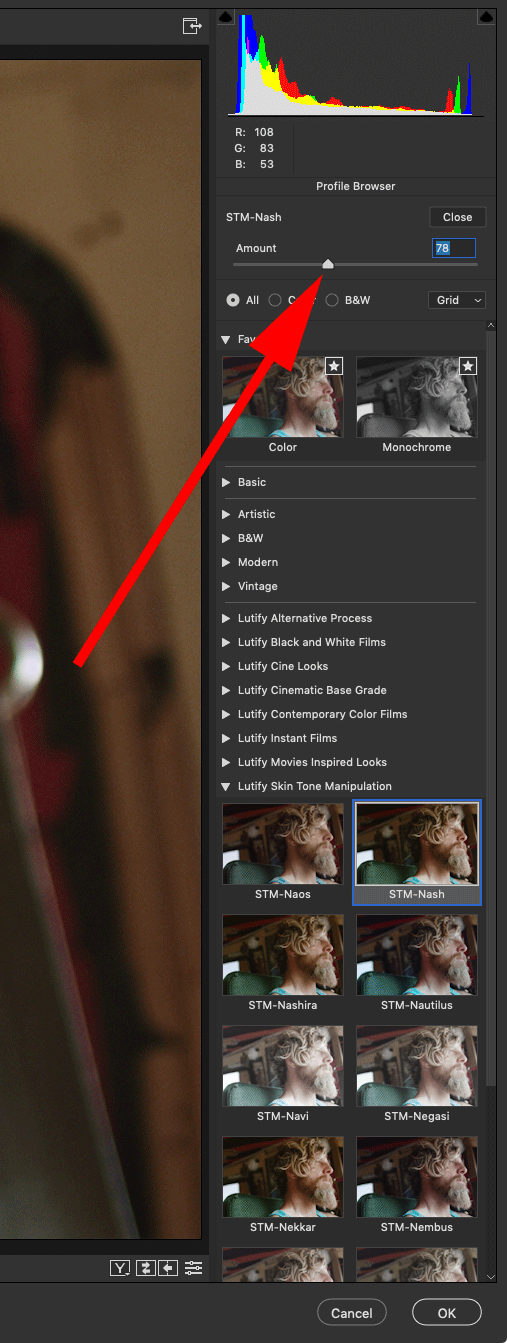
I can easily change the opacity of the LUT by using the opacity slider:
Naturally, you can also use any of the other controls in Camera Raw window to dial in your look. To do so, you first need to close the Profile Browser using the Close button.
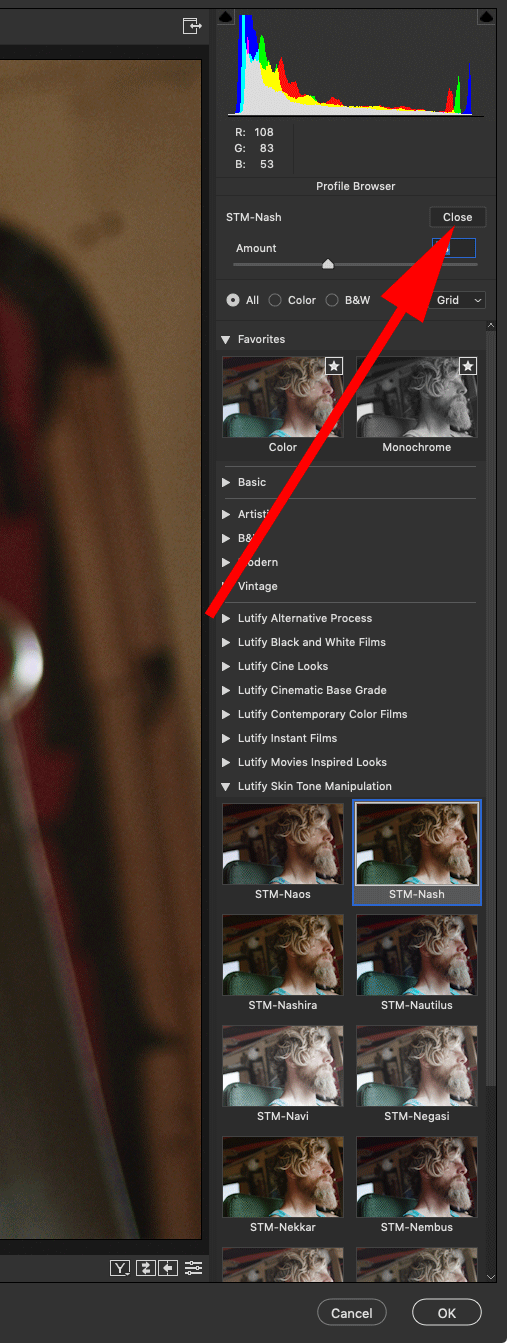
Closing the Profile Browser reveals the standard Camera Raw settings:
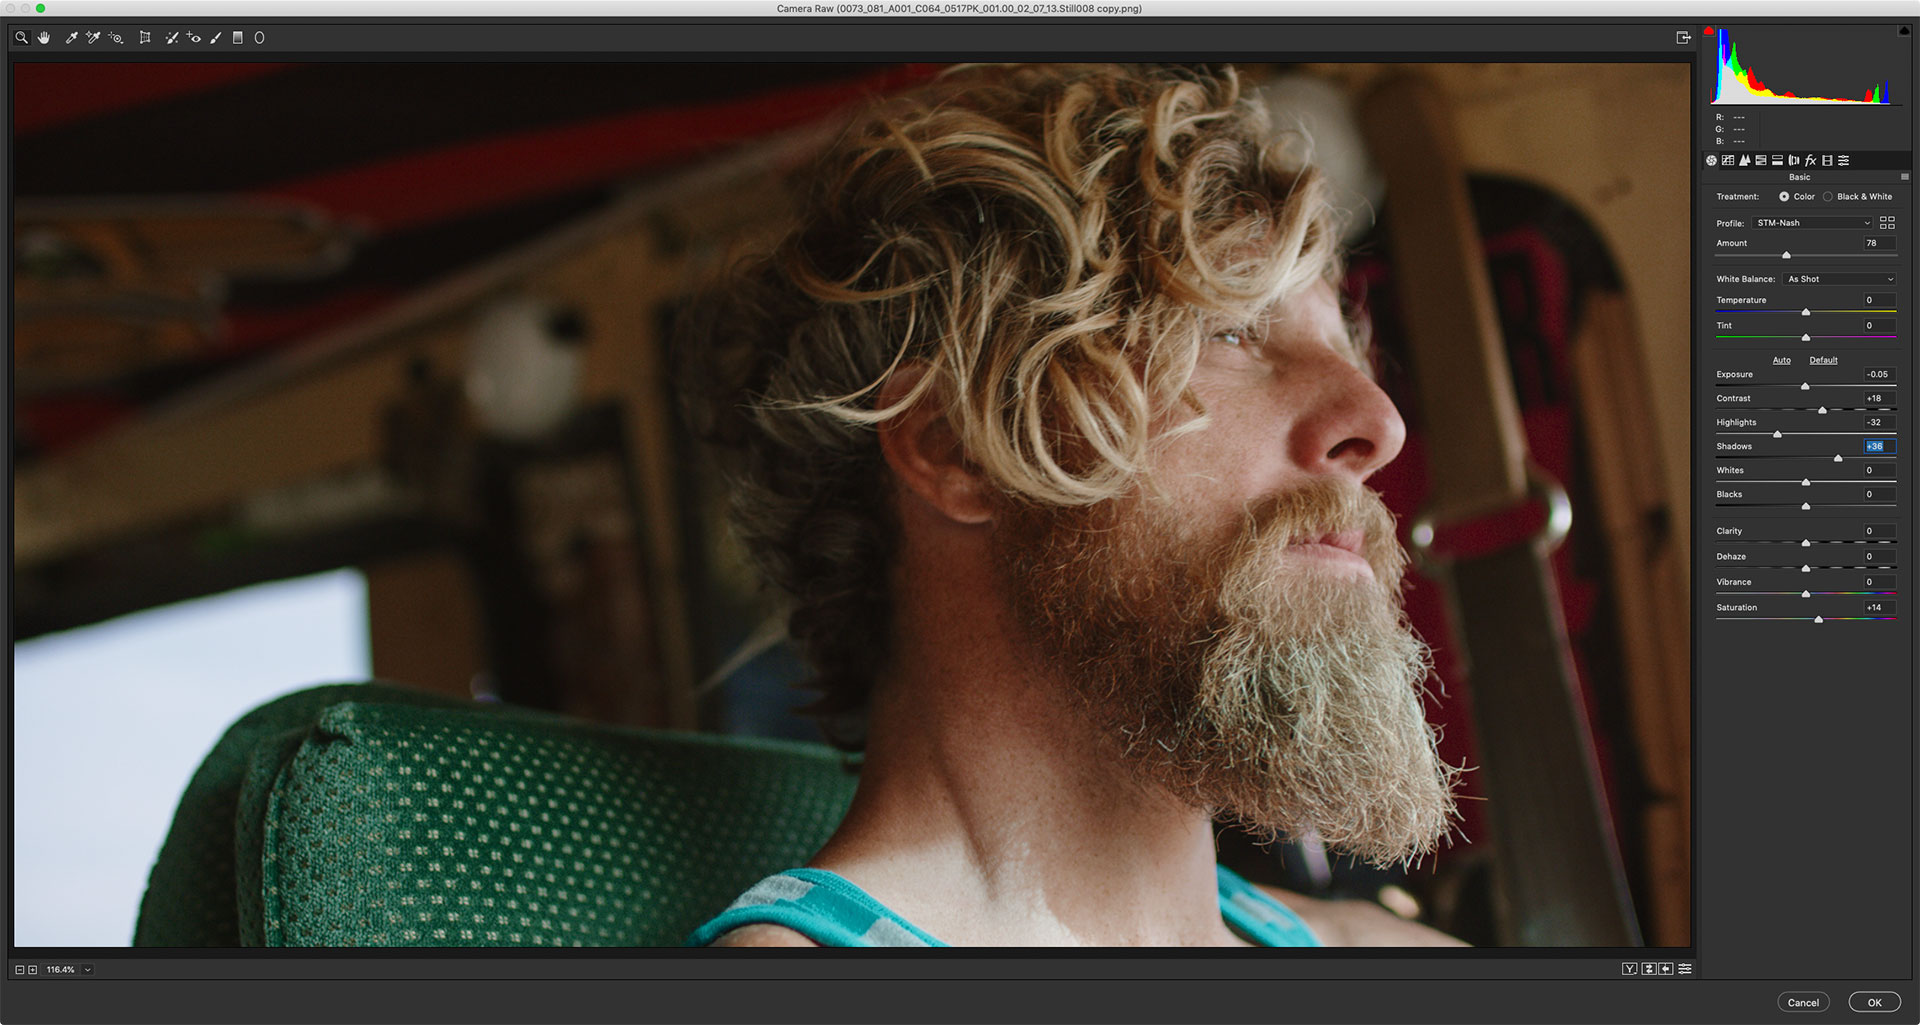
Please note you can re-adjust the LUTs opacity from the main settings window:

Finally, when I’m finished, I click OK and the LUT with my settings is applied.

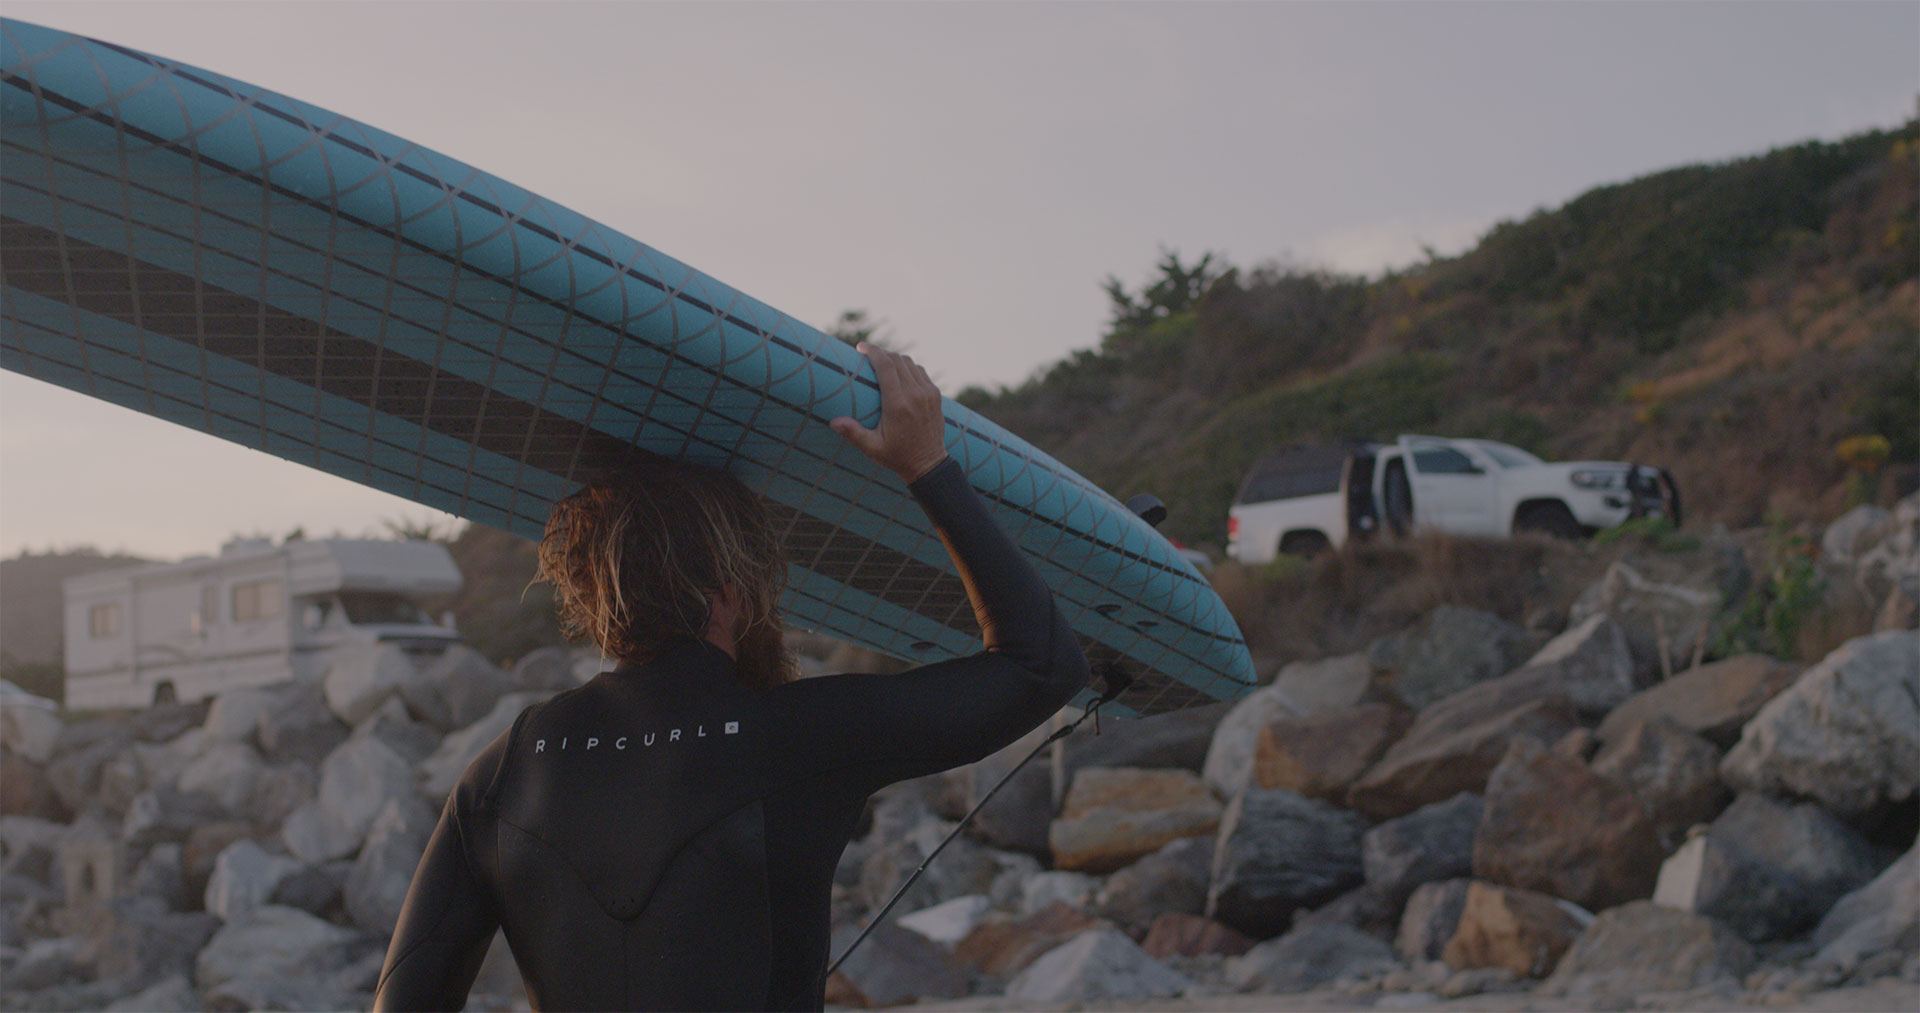
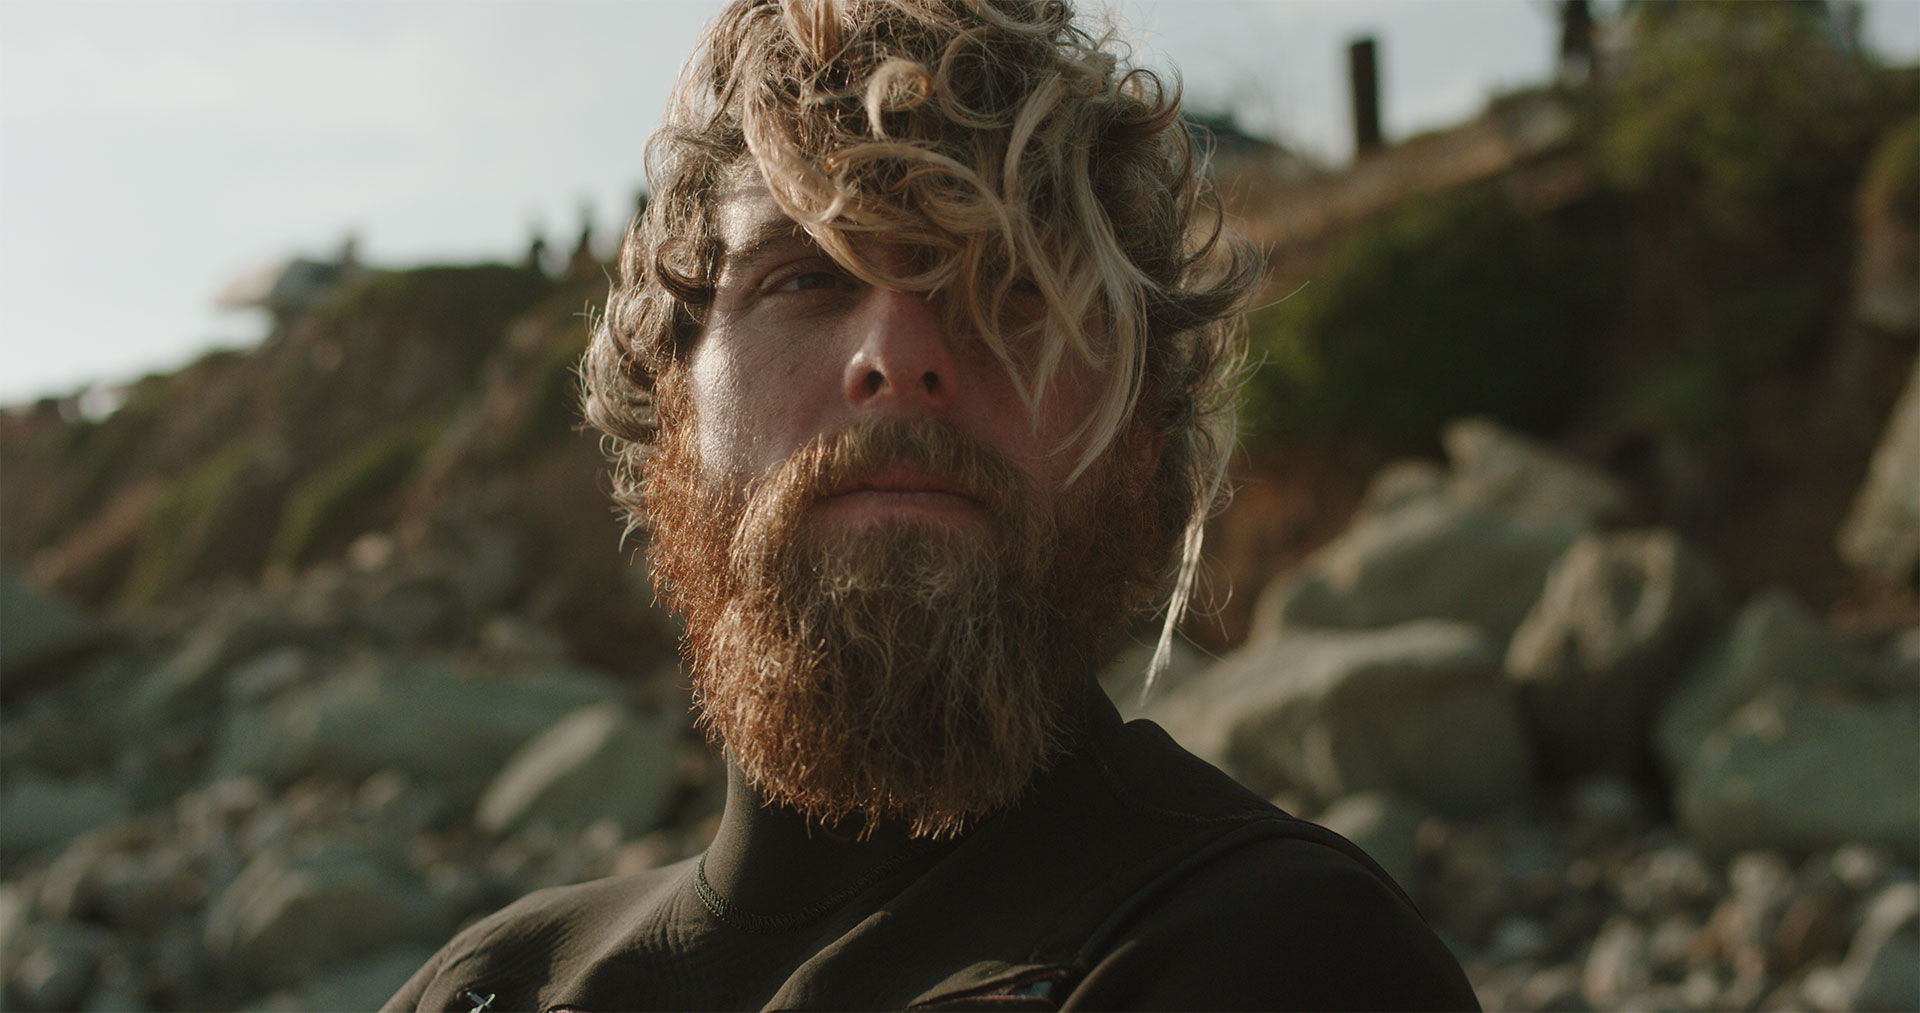
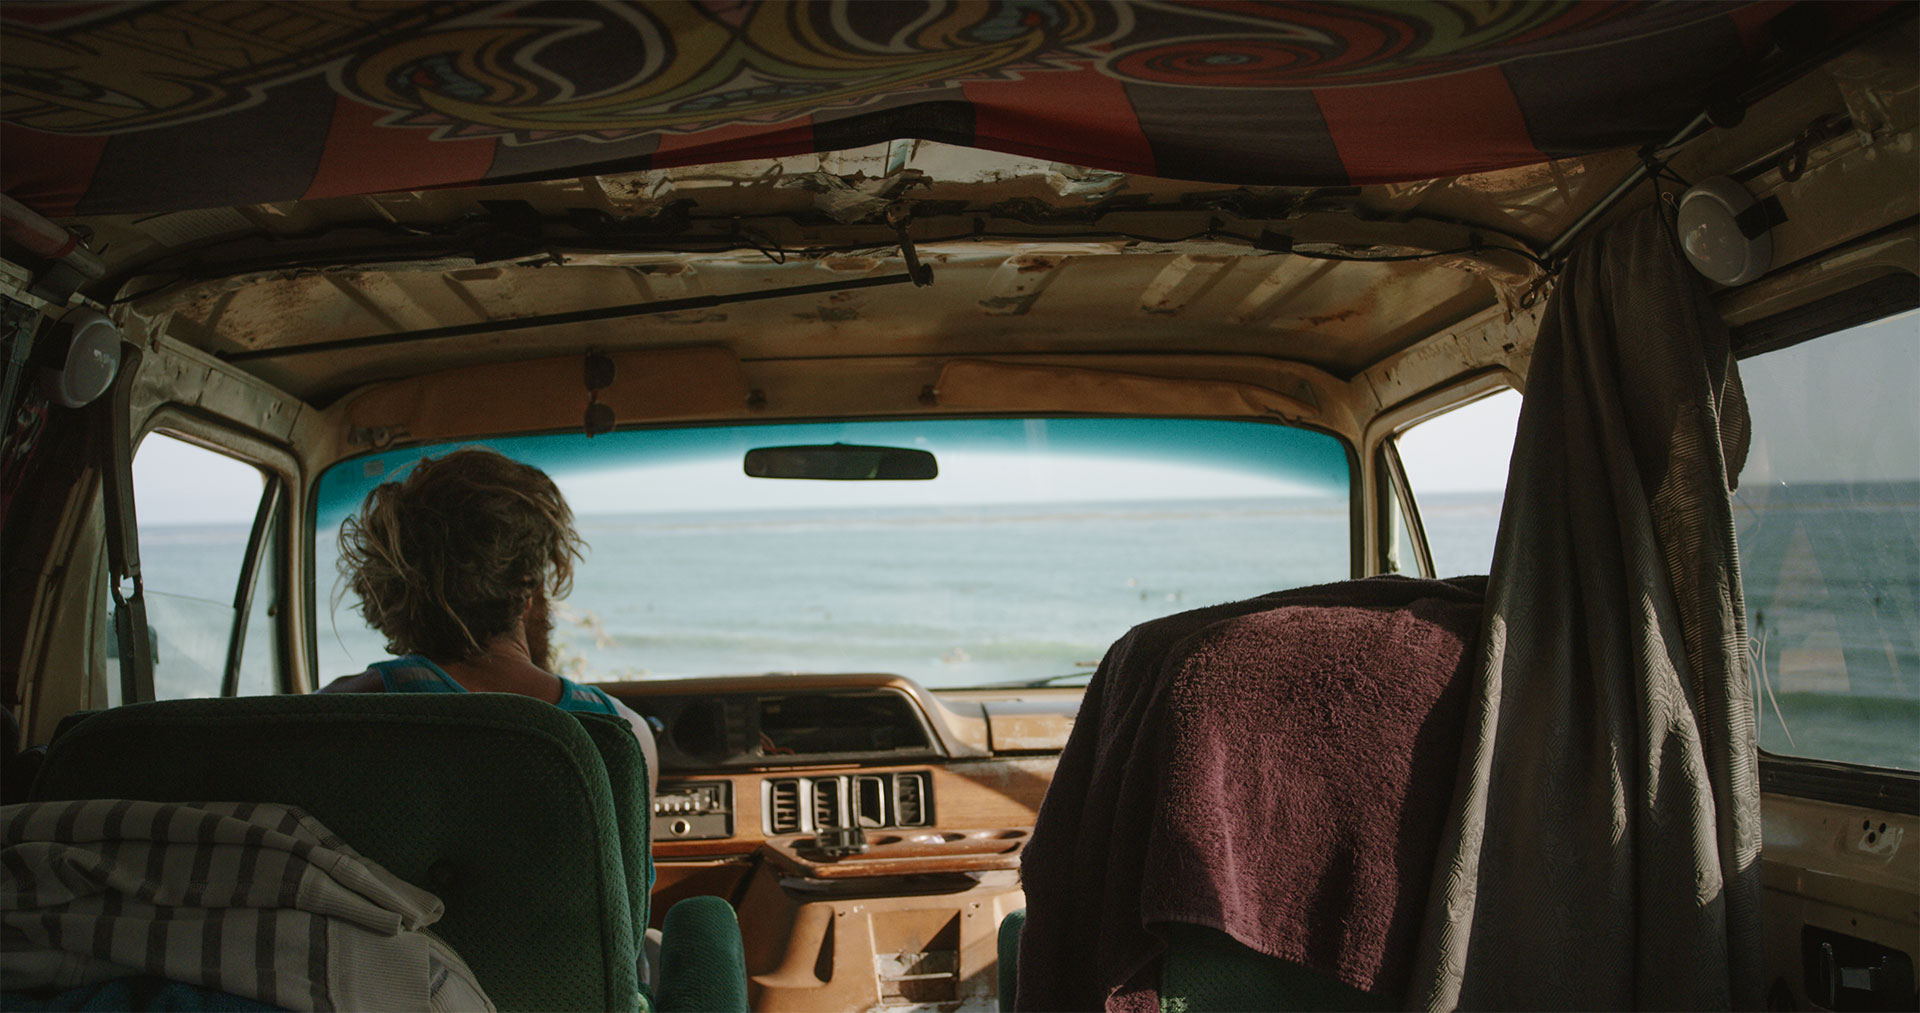
Here are some more images from this set graded in the same way using LUTs in Adobe Photoshop through Camera Raw filter:


Please note, when you use Camera Raw Filter, the changes you do are applied on the same layer. Therefore, it’s recommended to duplicate your layer before applying the Camera Raw filter for greater flexibility and control.
For even greater flexibility and control, it’s recommended you convert your layer into Smart Object. That way you will be able to edit and re-edit your image without having to fiddle with multiple layers and opacities.
While this little hack, offers a significantly improved workflow when using LUTs in Photoshop, it also leaves quite a lot to be desired. There’s no option to mix LUTs, you can’t compare different LUTs and you can’t apply multiple LUTs at once. You also can’t change the size of the previews and you can’t quickly preview the LUT with your settings on a different image. All of these issues are addressed by our coming-in-December LUTs Previewer.
If you’re still unfamiliar with our revolutionary LUTs Previewer, here’s a quick preview of what’s to come in a few weeks time.
I hope you enjoyed this quick tutorial and that you’ve learned something new that will further improve your color grading game. I’d would love to hear from you in the comments below if you were familiar with the Camera Raw Filter and using it to apply LUTs.
As always, should you have any questions please contact us.