Hey folks!
We have released update 3.2.0 for the Professional Package. Please login into your account and go to Downloads page to get the latest package.
The focus of update 3.2.0 was introducing LUTs for Adobe Photoshop Lightroom. From today you can apply LUTs directly on your Raw and non Raw images inside Adobe Photoshop Lightroom.
A quick recap
Just as Capture One, Adobe Photoshop Lightroom doesn’t allow the use of LUTs per se. However, contrary to Capture One which bases its workflow around ICC profiles (and hence allows for solid LUTs support through the use of ICC profiles), Lightroom allows the use of ICC profiles in Soft Proofing workflow only intended to visualize the print of edited photo. Therefore the only way for us to allow the use of LUTs in Adobe Photoshop Lightroom was creating Lightroom specific ICC profiles which would work seamlessly in the Soft Proofing option of Adobe Photoshop Lightroom.
What can I do with LUTs in Adobe Photoshop Lightroom?
Quite a lot.
Let’s start with what you can’t do. You can’t apply LUTs on import and you can’t use LUTs for tethered shooting.
You can use LUTs and retain full Raw editing capabilities, you can go quickly through your LUTs library to select the best look and you can, of course, take advantage of thousands of individually crafted color transformations per LUT and get true color grading experience.
How do I apply LUTs in Adobe Photoshop Lightroom?
It’s actually quite easy. This video describes the process of applying the LUTs in Adobe Photoshop Lightroom.
In case you are into reading tutorials, here are detailed instructions for applying LUTs in Adobe Photoshop Lightroom.
Step 1
Make sure Lutify.me LUTs are installed in Adobe Photoshop Lightroom. If you still haven’t installed the LUTs, please follow the instructions in this document before proceeding.
Step 2
Go to Develop tab.
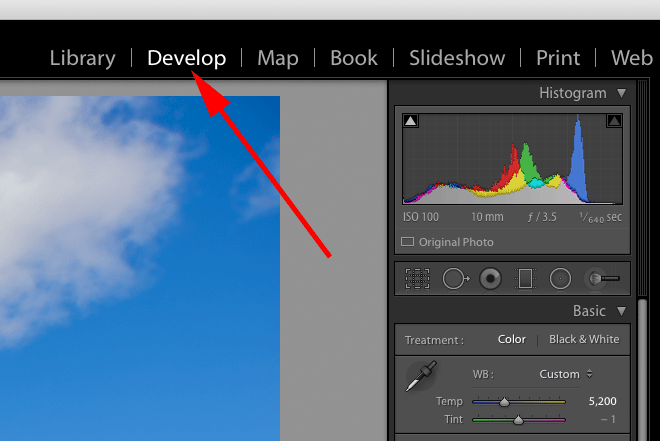
Step 3
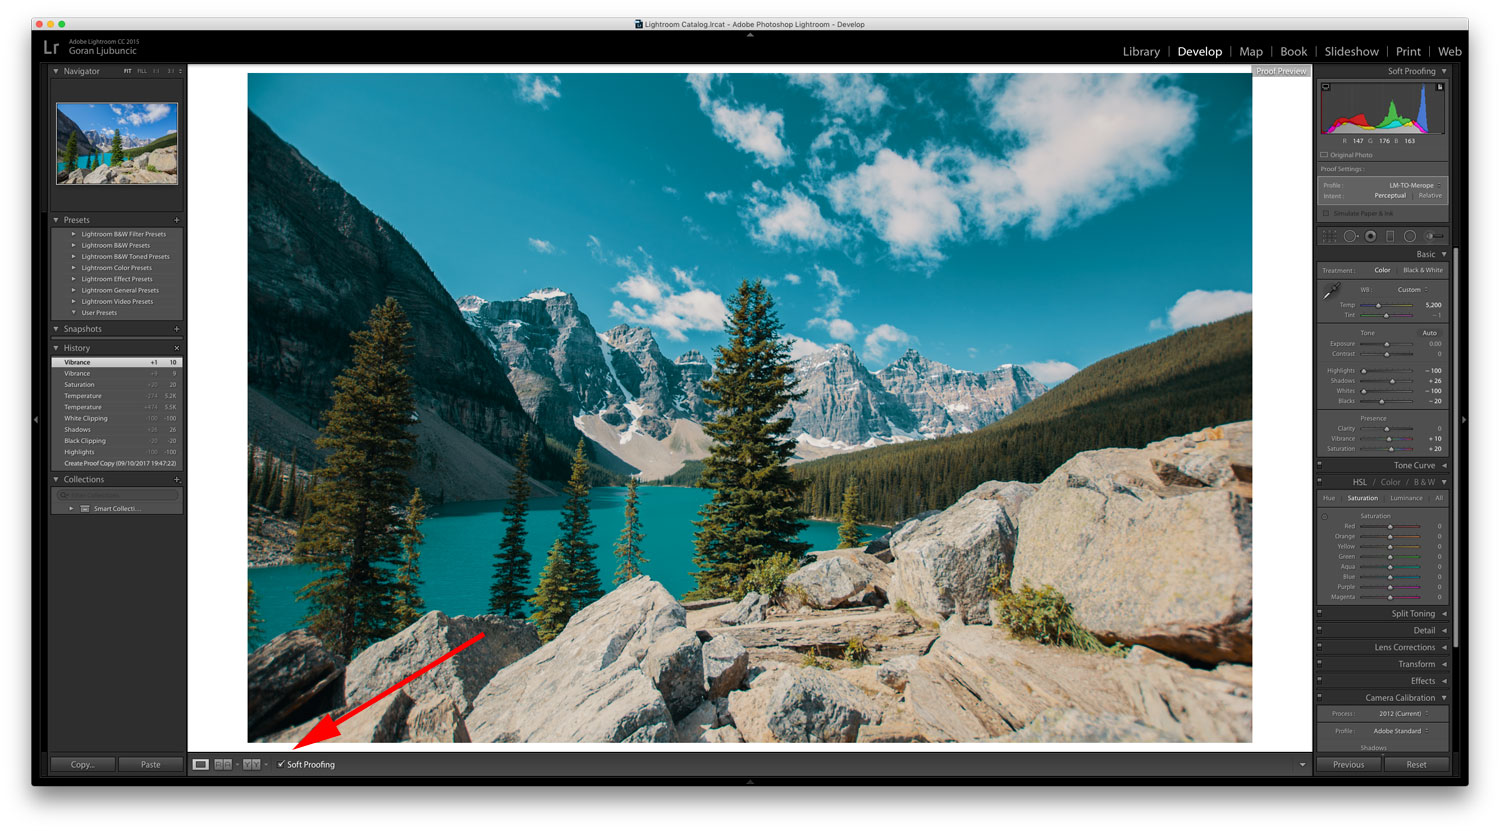
In the bottom left corner of Adobe Photoshop Lightroom select the Soft Proofing option.
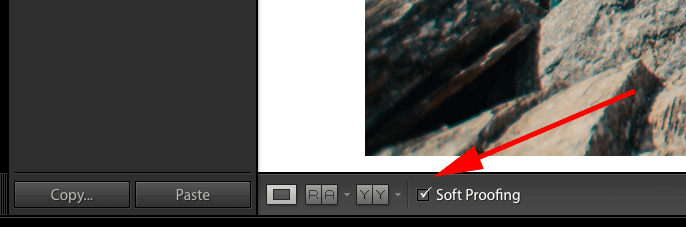
Here is the Soft Proofing option in the context of entire Adobe Photoshop Lightroom interface.
Step 4
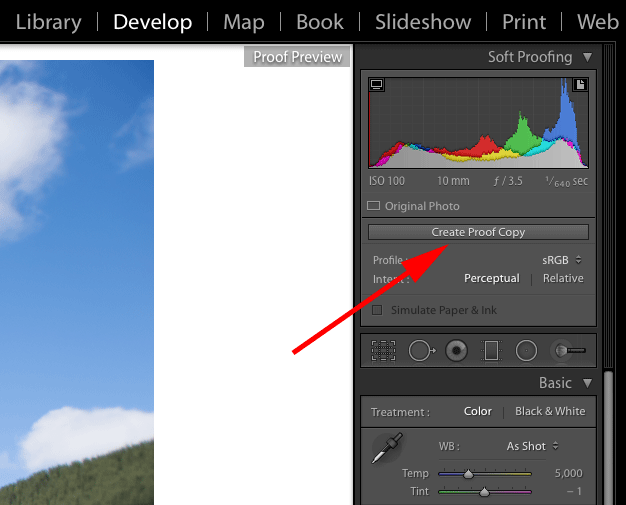
Create Proof Copy of your image so your edits are performed on a virtual copy of your file instead of the original image.
Step 5
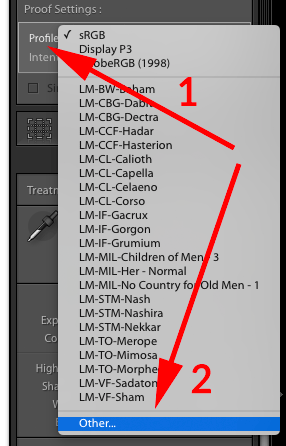
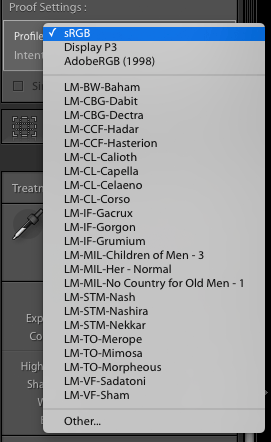
From Profile drop-down menu select Other.
Step 6
If you followed the instructions in the installation tutorial, the following window will open populated with LUTs from your package.
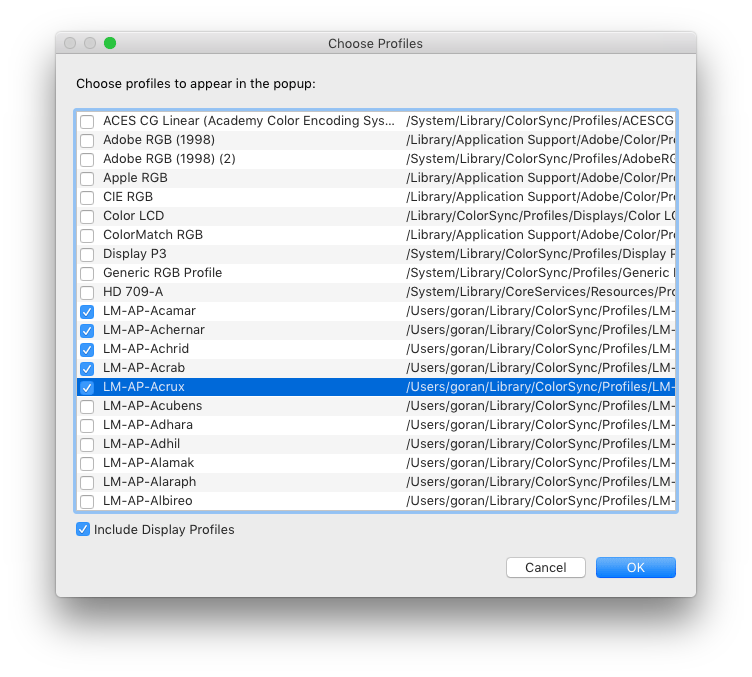
Select a checkmark next to each LUT you would like to appear in the drop-down menu of Profile option and click OK. You will need to do this only once. Once the list of LUTs in the Profile option is populated you will access your LUTs from the Profile drop-down menu. Select Other… option every time you would like to add or remove LUTs from the list of available LUTs in the Profile option.
Step 7
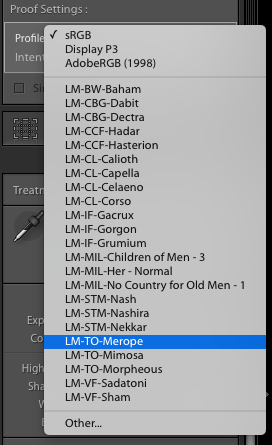
The LUTs you have marked in step 6 now appear in the drop-down menu of the Profile option.
Select the appropriate LUT to apply it on the image.
LUT is applied.

Are LUTs for Adobe Photoshop Lightroom presets?
Absolutely not. While presets for Adobe Photoshop Lightroom allow you to perform 2D color edits, LUTs offer you real 3D control over your image.
Are there any additional limitations I should know about?
LUTs in Adobe Photoshop Lightroom are applied as ICC profiles attached to the exported image. As such, your image viewing software must support the use of ICC profiles to be able to see the attached LUT to the image and hence your color grade from Adobe Photoshop Lightroom.
The good news is most software support ICC profiles. The bad news is that the look isn’t baked into the image but is rather attached to it as ICC profile and could be stripped from it when uploaded to a website for example or during a ‘Save for Web’ export. To bake the ICC profile into the image you would have to open it in Photoshop and use the ‘Convert to Profile‘ option and convert your image into sRGB (or any other widely supported profile).
If you’re sure your software supports the use of ICC profile but you are still unable to see your grade from Adobe Photoshop Lightroom, make sure the image was exported from Adobe Photoshop Lightroom with the appropriate ICC profile attached to it under Color Space setting in the File Settings section of the Export window.
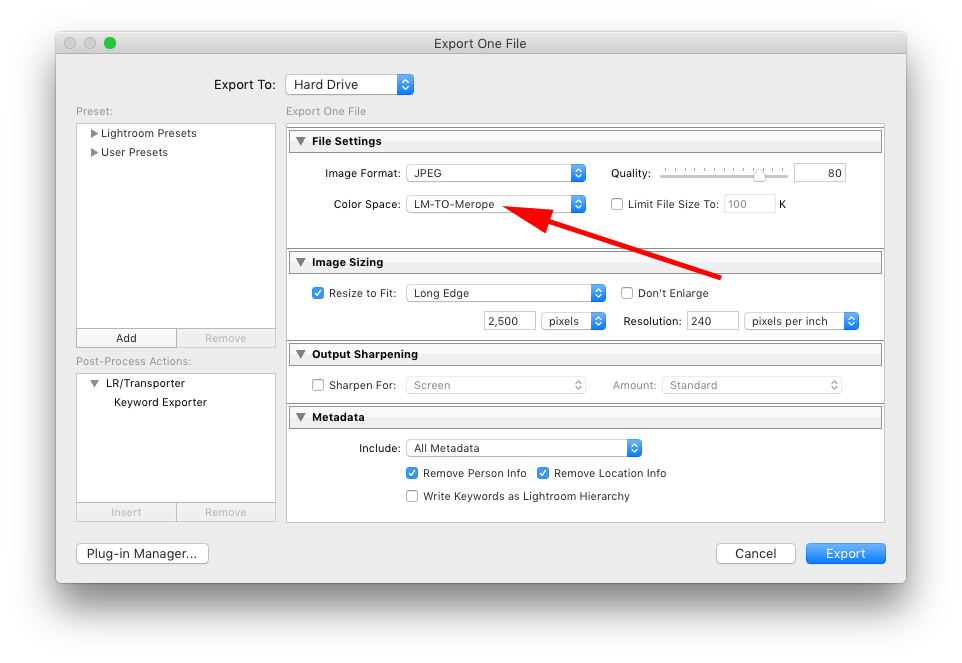
Your Color Space in export settings must match the LUT applied to the image.
A few examples
The greatest thing about Raw files is their flexibility. Combining this flexibility with the creativity of 3D LUTs is a match made in heaven. Let’s have a look at a few quick examples.
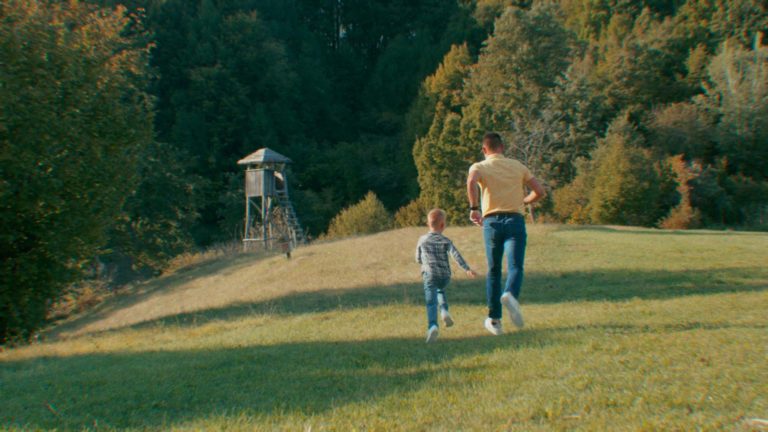
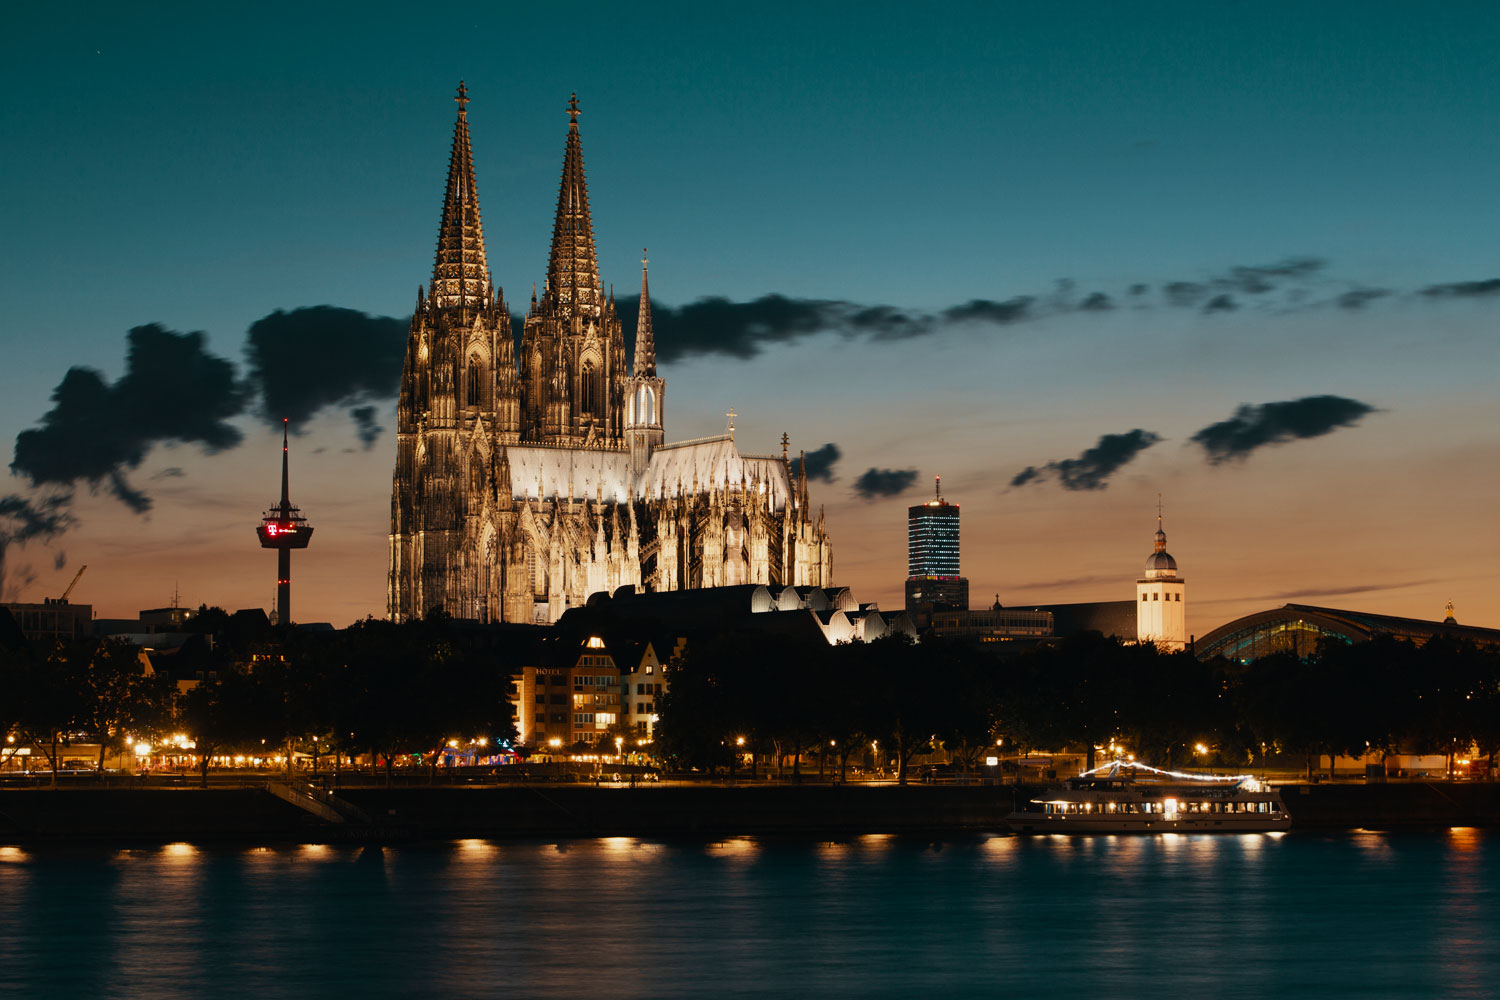
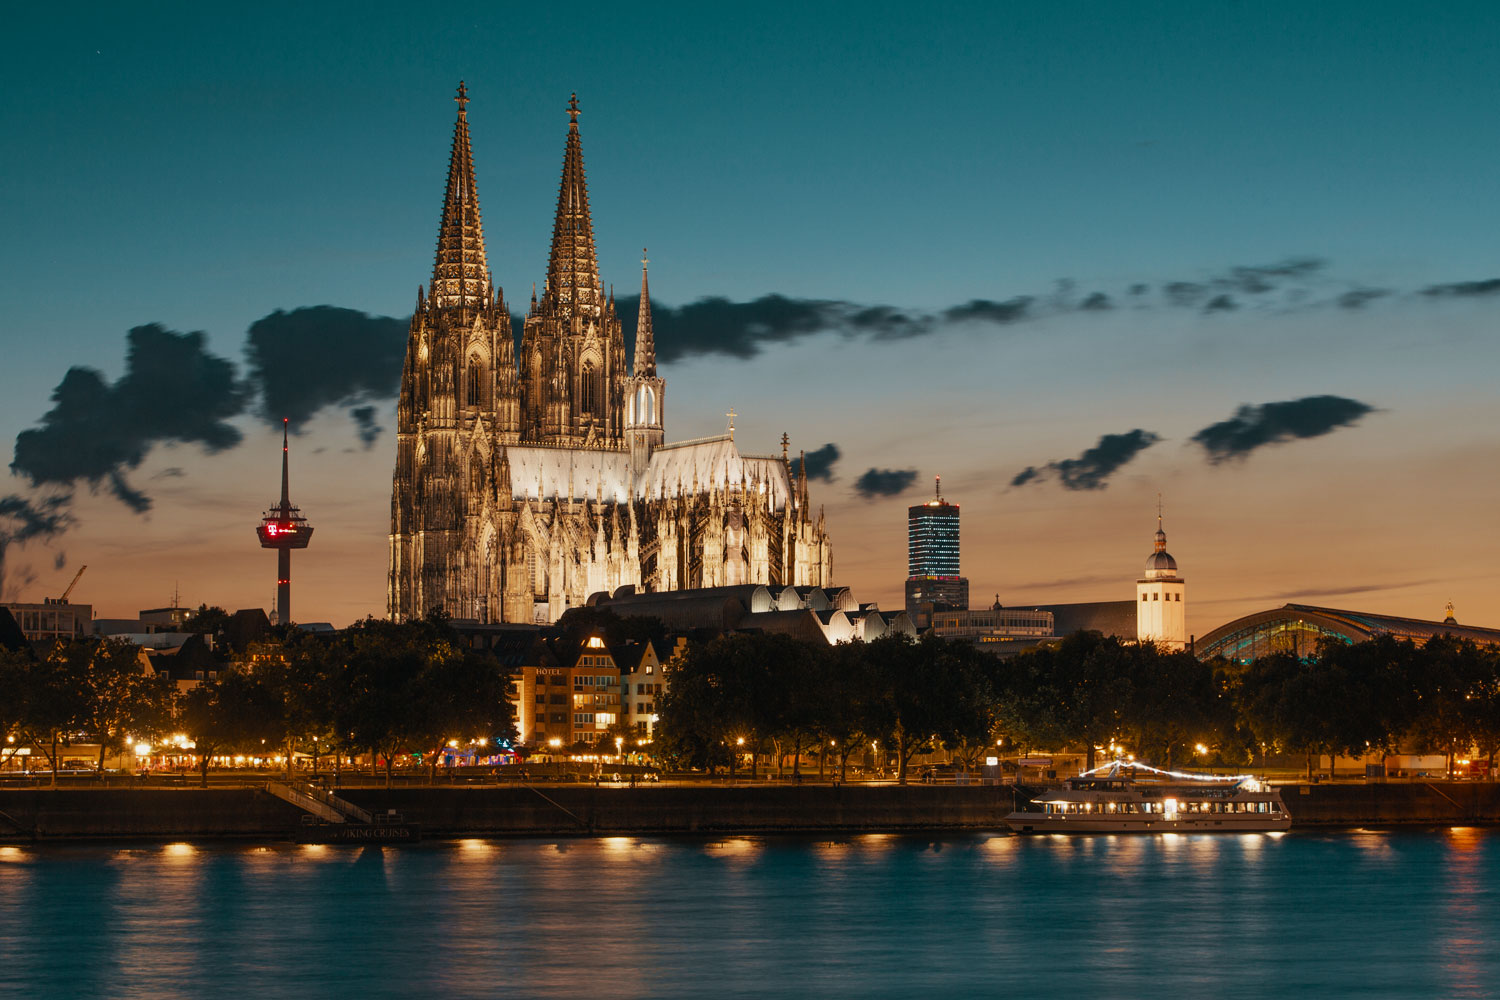
Here’s our original capture.

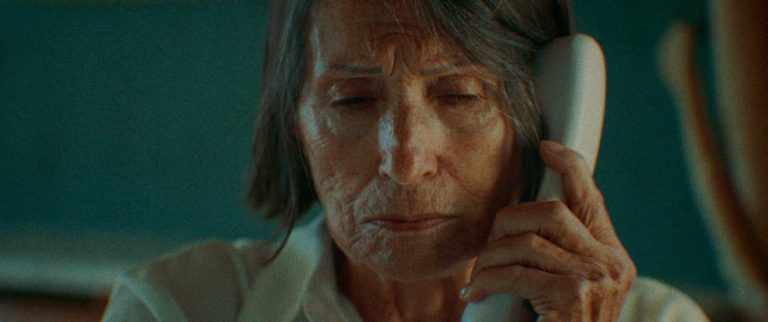
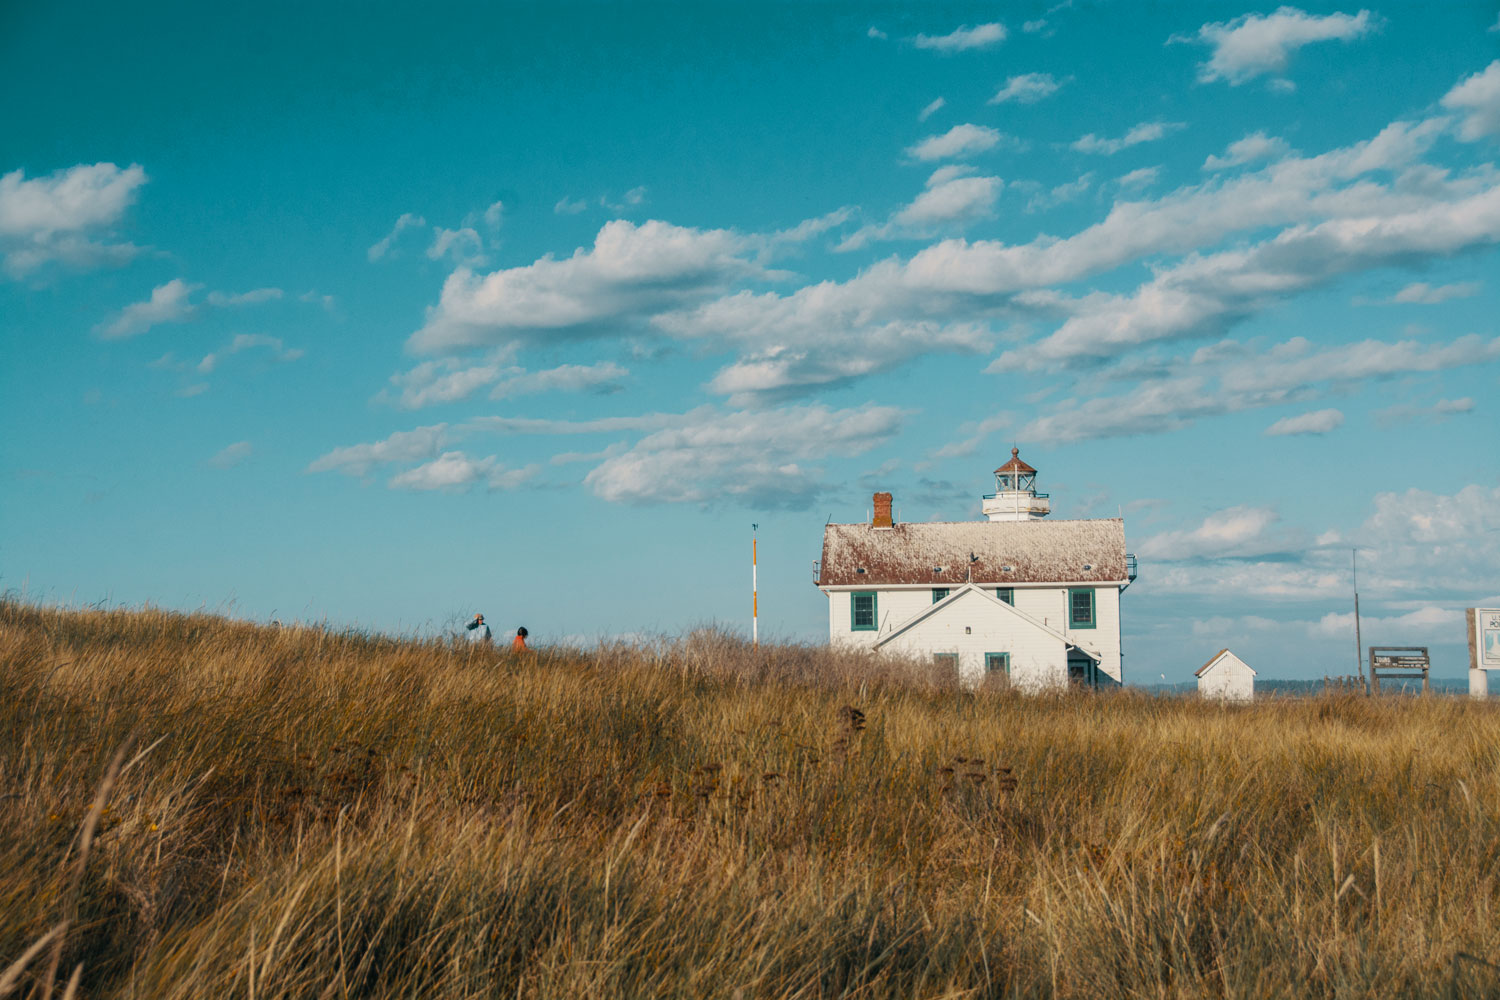
Here it is with teal and orange Merope LUT applied to it.
It is very nice but the shadows are almost completely blocked. Since this is a Raw image, we can open up the shadows quite nicely and all the while get a real time feedback of our grade with the LUT applied to it. Here’s the image with some shadows adjustments.
Such extreme shadow recovery isn’t possible with non-Raw images and it’s just one of the advantages of working with LUTs in Lightroom and Raw images.
Here are two additional before and after samples.
Mimosa teal and orange LUT
[twentytwenty]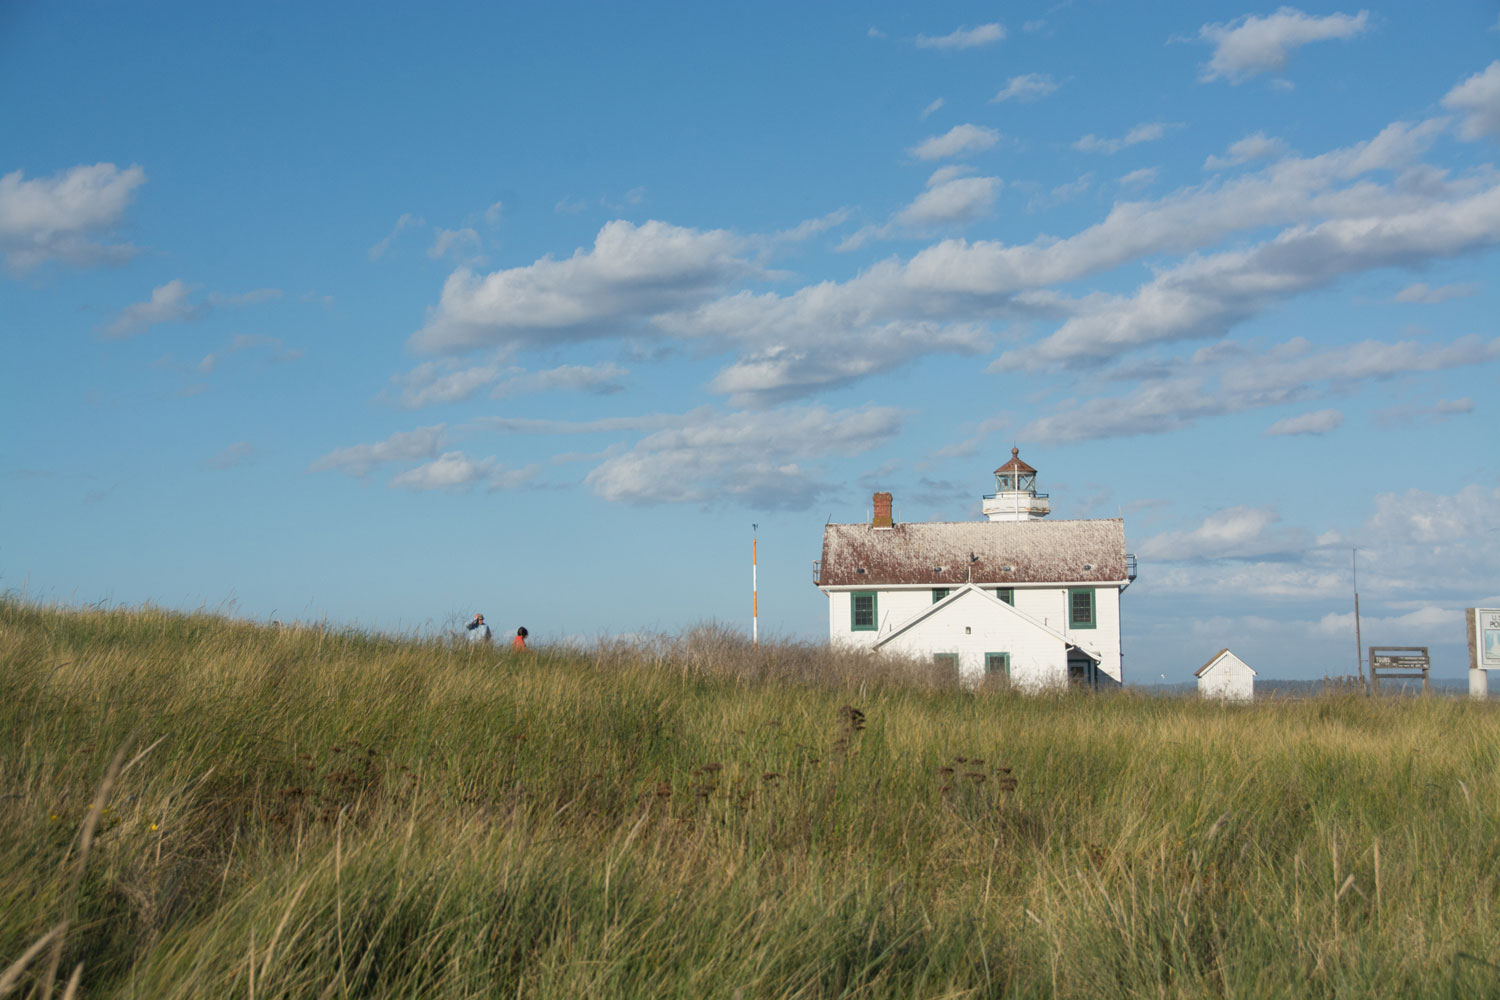
 [/twentytwenty]
Morpheous teal and orange LUT
[twentytwenty]
 [/twentytwenty]
As always, should you have any questions please contact us.