Introduction
The installation procedure of Lutify.me LUTs into Capture One software depends on the operating system you are using. Please follow the instructions relevant to your operating system.
Mac
Step 1
Close Capture One if it is open.
Step 2
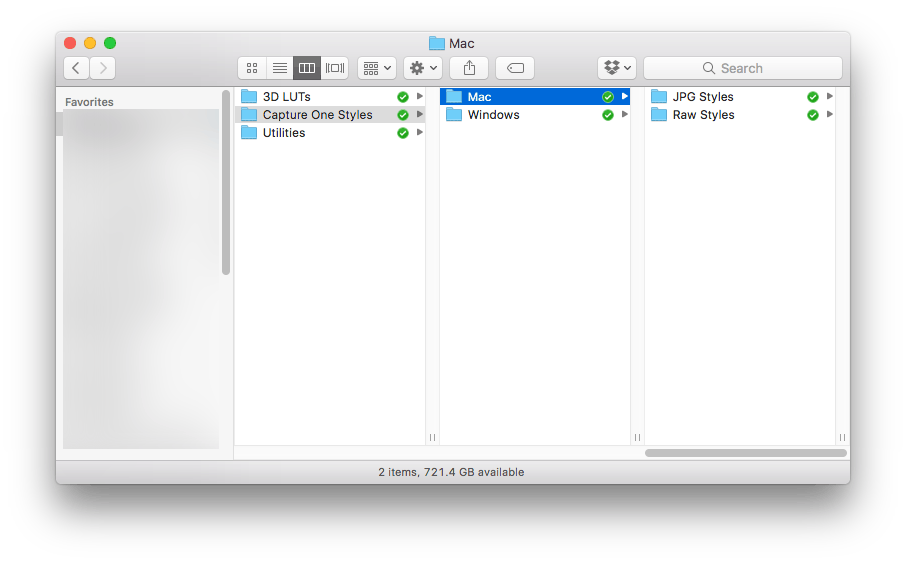
Open your Lutify.me package and browse to the Capture One Styles > Mac folder
Step 3
Copy both ‘JPG Styles’ and ‘Raw Styles’ folders from your package to the following location:
User > Library > Application Support > Capture One > Styles
Please note: In most cases Library folder will be hidden. To copy files into this location you’ll first have to gain access to Library folder.
The easiest way to access the Library folder is by using the following option:
Finder > Go > Go to Folder…
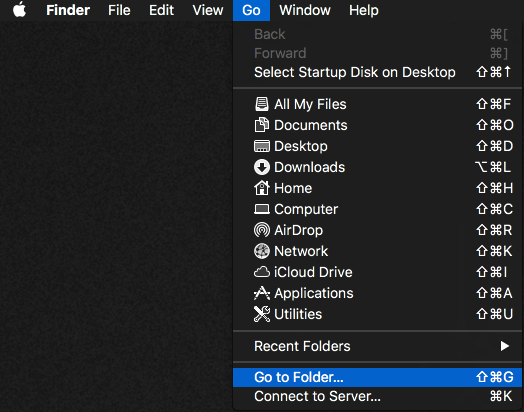
In the window that opens please type: ~/Library/ and click Go. You can copy the ~/Library/ text from this document and paste it into the open window.
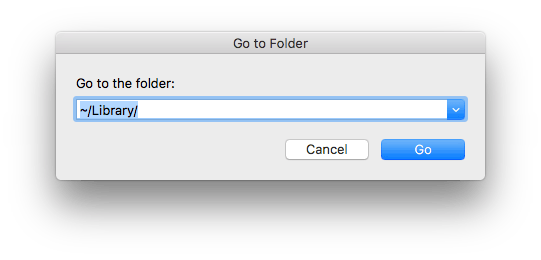
This will open the Library folder.
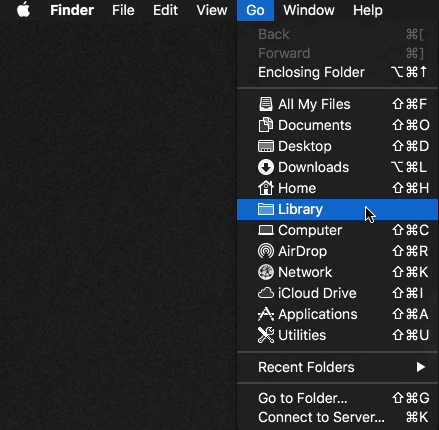
Alternatively you can go to Finder > Go. With the Go menu open, hold the Alt/Option key on your keyboard. This will make Library folder visible. While still holding the Alt/Option key, click on the Library folder.
Now follow the Application Support > Capture One > Styles path. Copy both ‘JPG Styles’ and ‘Raw Styles’ from your package into this location.
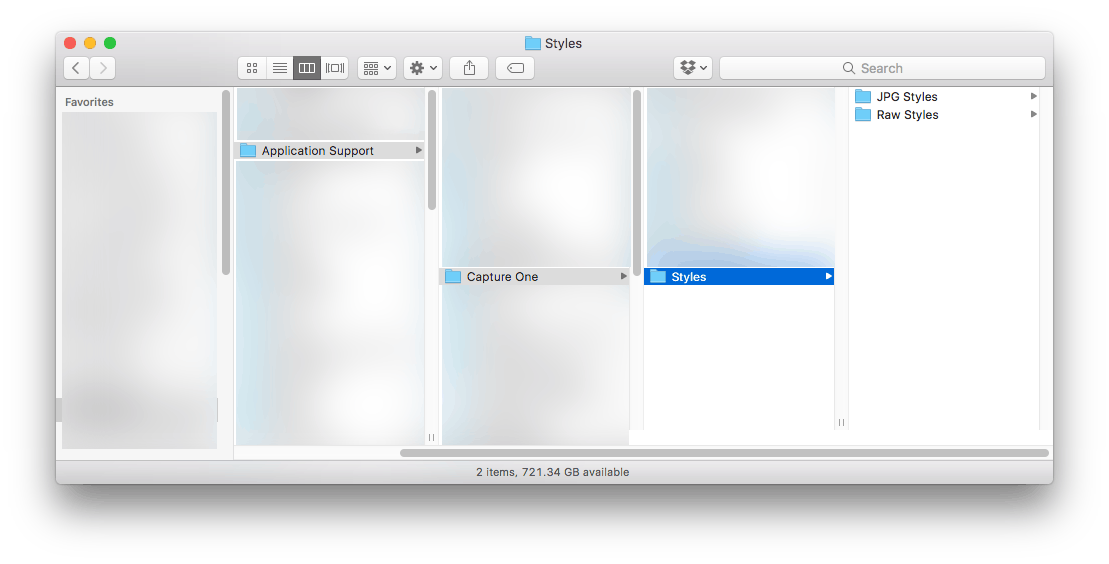
If Styles folder doesn’t exist, create one and copy both ‘JPG Styles’ and ‘Raw Styles’ folders from your package into this folder.
Step 4
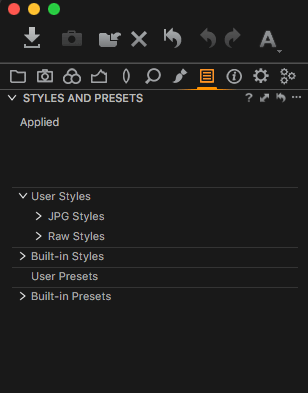
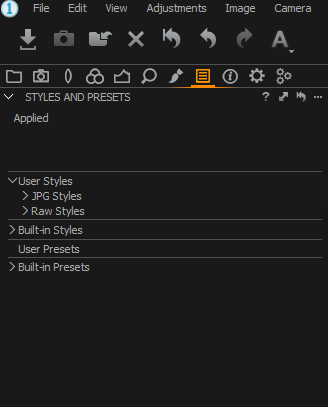
Open Capture One. You can find the newly installed LUTs under the Styles and Presets tool under User Styles category.
Step 5
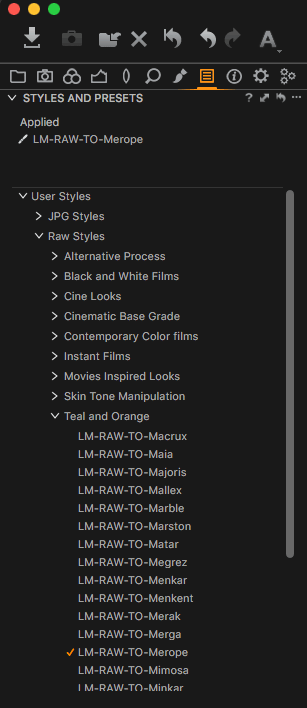
Select appropriate style for the type of image you’re working on. Raw styles for Raw images. JPG styles for TIFF, JPG or PNG images. Selecting a style will apply a LUT on your image. You can further edit your image just as you would normally do. Full editing capabilities are retained.
Windows
Step 1
Close Capture One if it is open.
Step 2
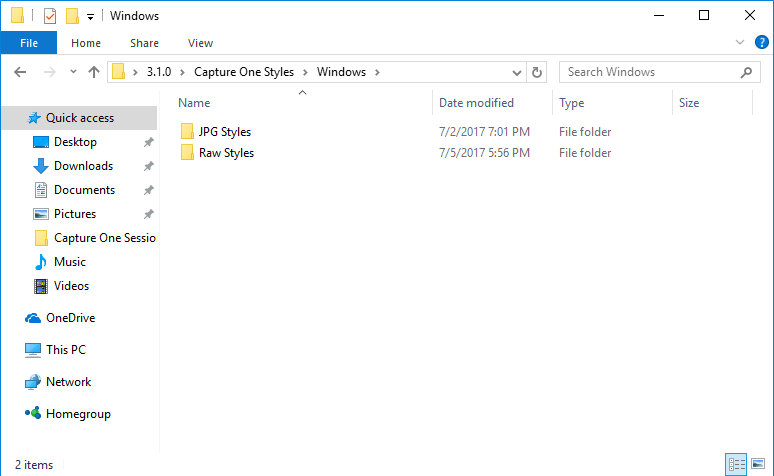
Open your Lutify.me package and browse to the Capture One Styles > Windows folder
Step 3
Copy both ‘JPG Styles’ and ‘Raw Styles’ folders from your package to the following location:
Windows XP:
X:\Documents and Settings\username\Local Settings\Application Data\CaptureOne\Styles50
Windows Vista/7/8/10:
X:\Users\username\AppData\Local\CaptureOne\Styles50
Please note: In most cases AppData and Application Data folders will be hidden. To copy files into this location you’ll first have to gain access to these folders.
The easiest way to access the AppData folder is going to View menu and selecting the ‘Hidden Items’ option.
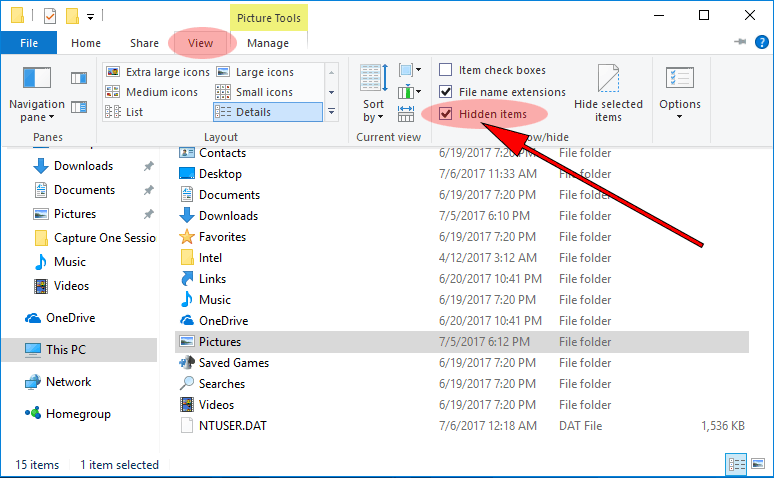
This will reveal the AppData folder.

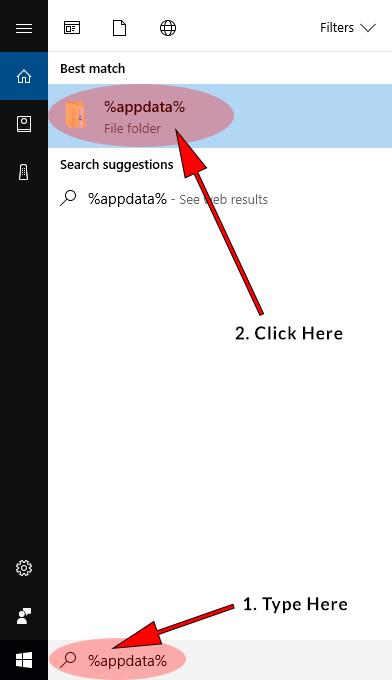
Alternatively, you can click on the Start button and in the search box type %appdata%. You can copy the %appdata% text from this document and paste it into the search box. This will present the option to open the AppData folder.
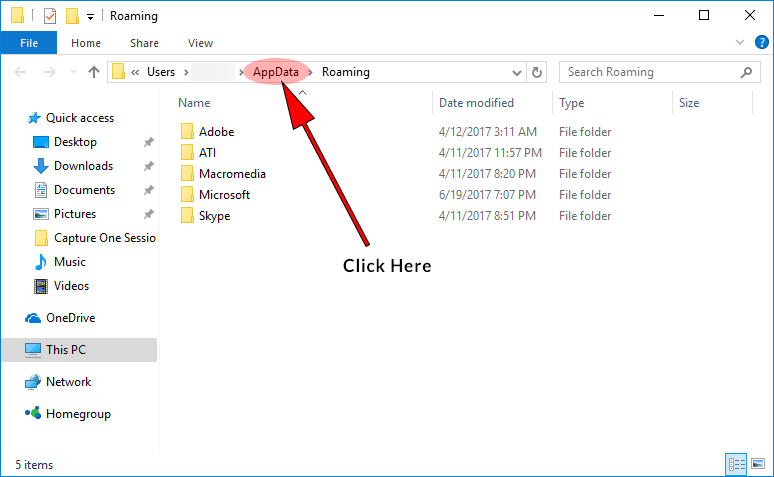
Note, once you click the AppData folder link in the Start menu, it will take you to the Roaming sub-folder of the AppData folder. Go one folder up to access the AppData folder.
Now follow the X:\Users\username\AppData\Local\CaptureOne\Styles50 path (Windows Vista/7/8/10) or X:\Documents and Settings\username\Local Settings\Application Data\CaptureOne\Styles50 path (Windows XP). Copy both ‘JPG Styles’ and ‘Raw Styles’ folders from your package into this location.
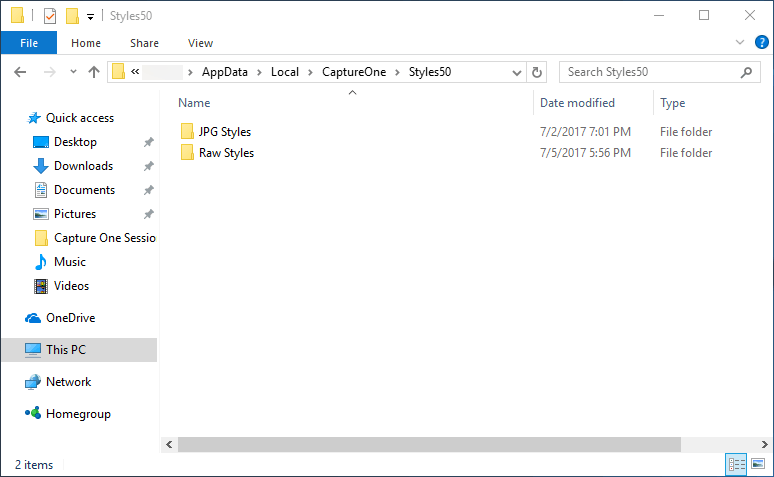
If Styles50 folder doesn’t exist, create one and copy both ‘JPG Styles’ and ‘Raw Styles’ folders from your package into this folder.
Step 4
Open Capture One. You can find the newly installed LUTs under the Styles and Presets tool under User Styles category.
Step 5
Select appropriate style for the type of image you’re working on. Raw styles for Raw images. JPG styles for TIFF, JPG or PNG images. Selecting a style will apply a LUT on your image. You can further edit your image just as you would normally do. Full editing capabilities are retained.
