Usage of Lutify.me LUTs depends on the version of Adobe Photoshop Lightroom Classic you are using. Please follow the instructions for your version of Adobe Photoshop Lightroom Classic.
- Adobe Photoshop Lightroom Classic CC 7.3 and later
- Adobe Photoshop Lightroom Classic CC 7.2 and earlier
Adobe Photoshop Lightroom Classic CC 7.3 and later
As of version 7.3 of Adobe Photoshop Lightroom Classic CC, Lutify.me LUTs are applied through the Profile Browser option in the Develop tab. Please follow the instructions to learn how to apply Lutify.me LUTs in Adobe Photoshop Lightroom Classic CC 7.5 and later.
- Make sure Lutify.me LUTs are installed. If you still haven’t installed the LUTs, please follow the instructions in this document before proceeding.
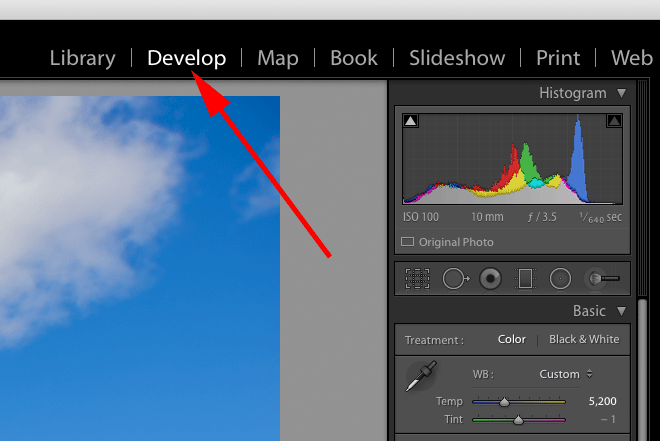
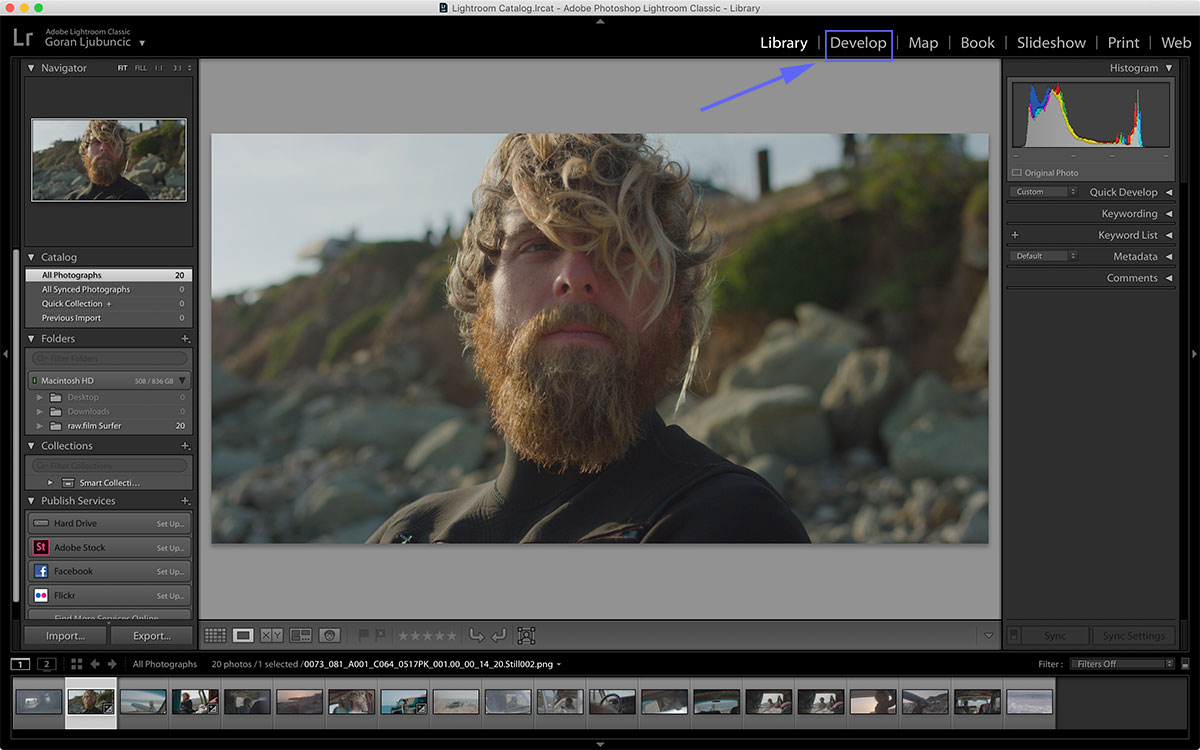
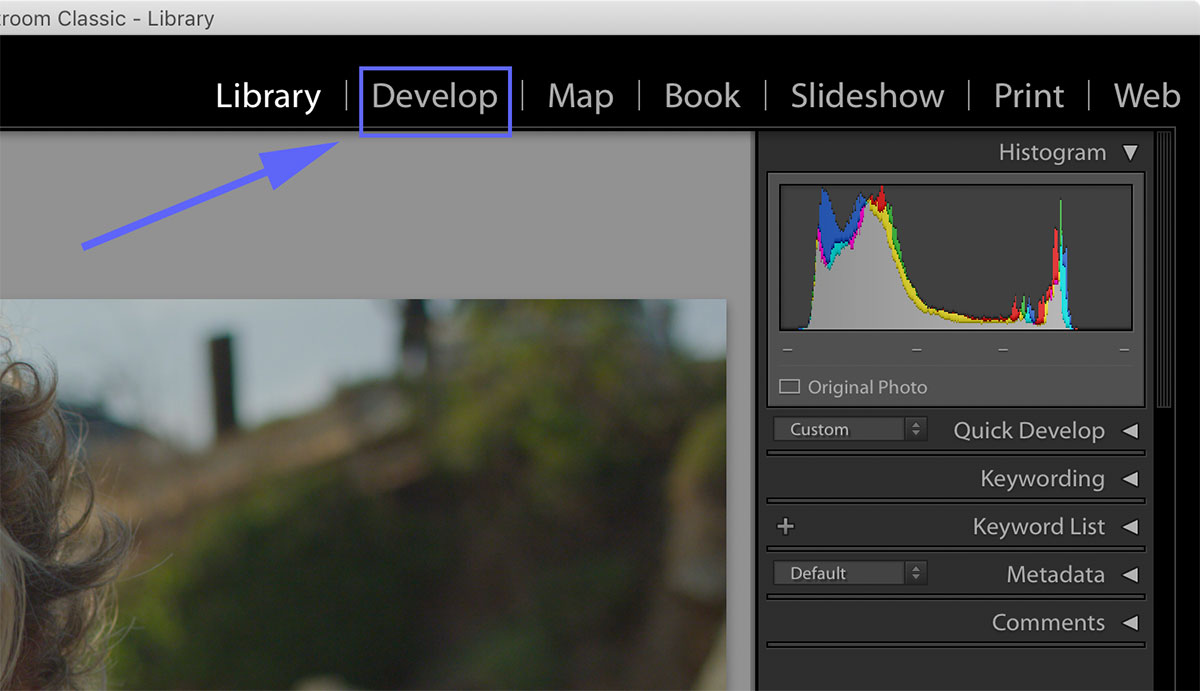
- Navigate to Develop tab.


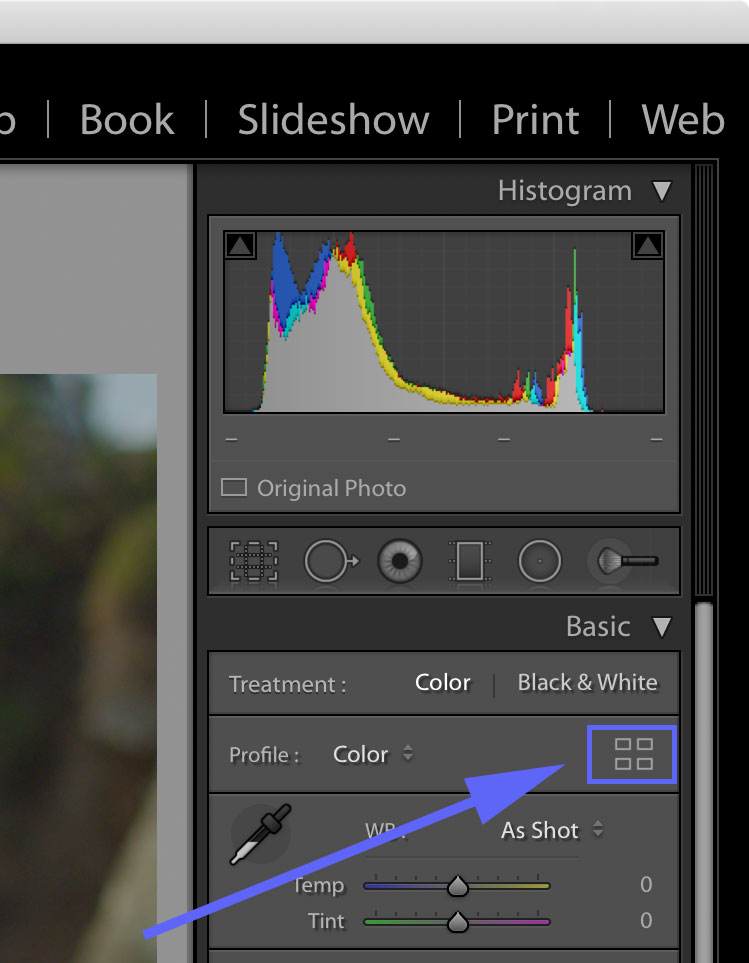
- Click on Profile Browser button.

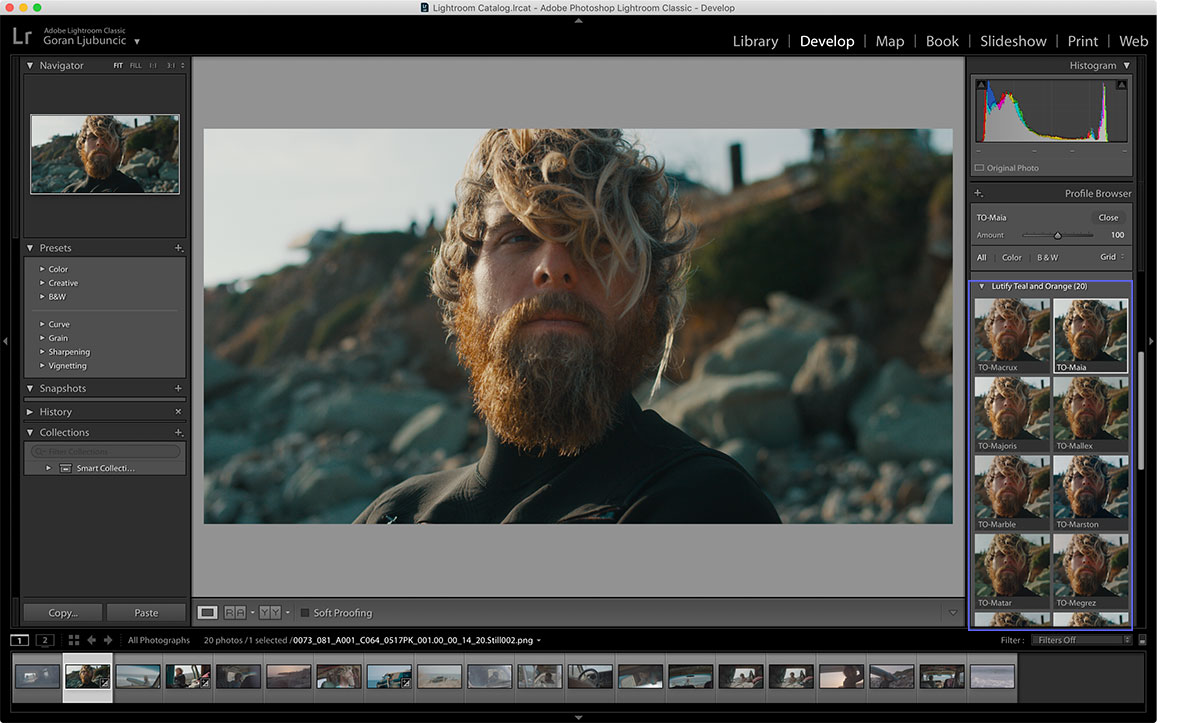
- Your newly installed LUTs will appear in Profile Browser and are ready to be used.

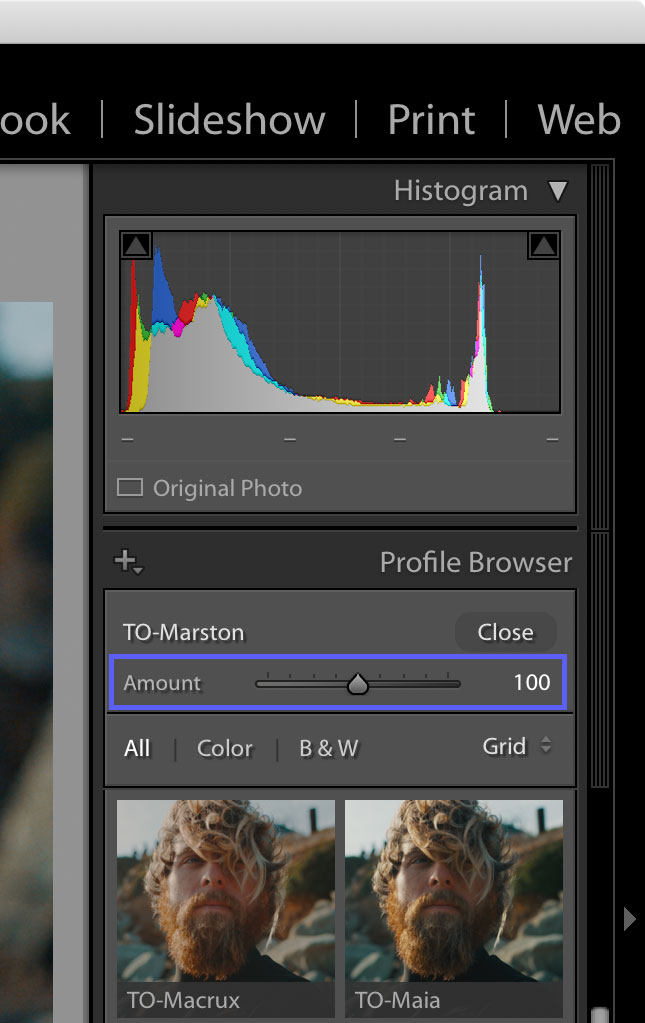
- To apply a LUT simply click on the appropriate LUT thumbnail.
- Adjust the LUT opacity using the Amount slider. Setting the Amount slider to 50 for example, is equivalent to reducing the LUT’s opacity by half. Setting the Amount slider to 200 for example, is equivalent to applying the same LUT twice.


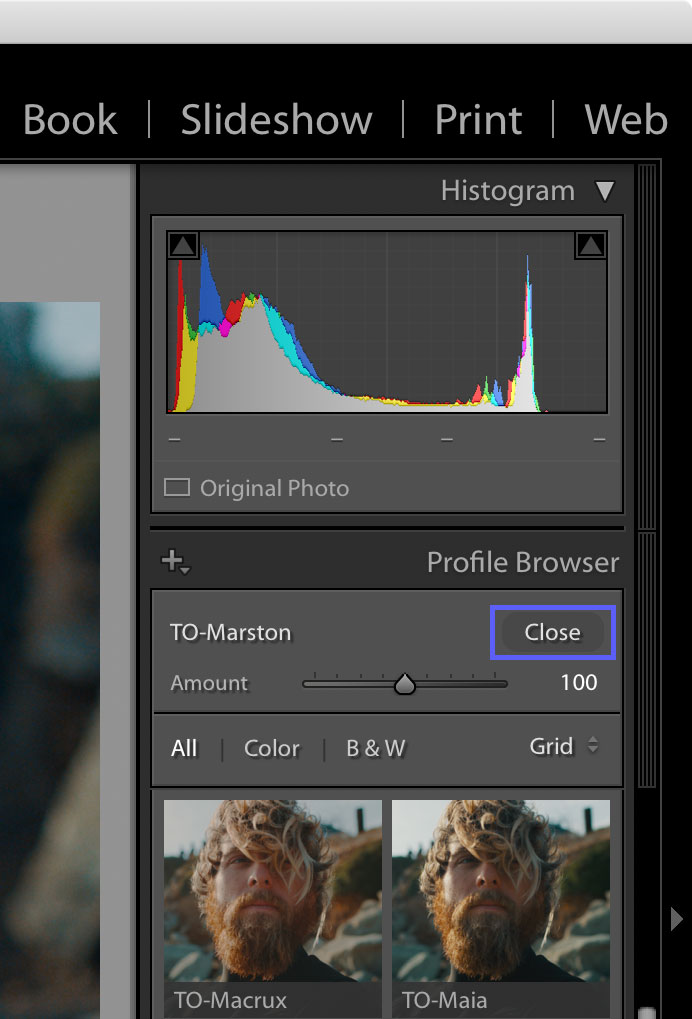
- To further edit the image click on Close button to be brought back to Develop tab.


Adobe Photoshop Lightroom Classic CC 7.2 and earlier
Important: Versions 7.2 and earlier of Adobe Photoshop Lightroom Classic do not support the newer .xmp profiles. Therefore, to use Lutify.me LUTs in Adobe Photoshop Lightroom Classic 7.2 and earlier you must use the .icc profiles integration from your package. This integration has functionality limitations due to the nature of the way .icc profiles are implemented in Lightroom. As such, we strongly recommend that you upgrade your version of Lightroom to enjoy the benefits of the new .xmp profiles integration which offers a better, faster and more simplified experience. We consider the .icc integration as legacy and obsolete.
If you absolutely must use version 7.2 and earlier of Adobe Photoshop Lightroom Classic, please follow the instructions to learn how to apply Lutify.me LUTs in Adobe Photoshop Lightroom Classic CC 7.2 and earlier.
- Make sure Lutify.me LUTs are installed. If you still haven’t installed the LUTs, please follow the instructions in this document before proceeding.
- Navigate to Develop tab

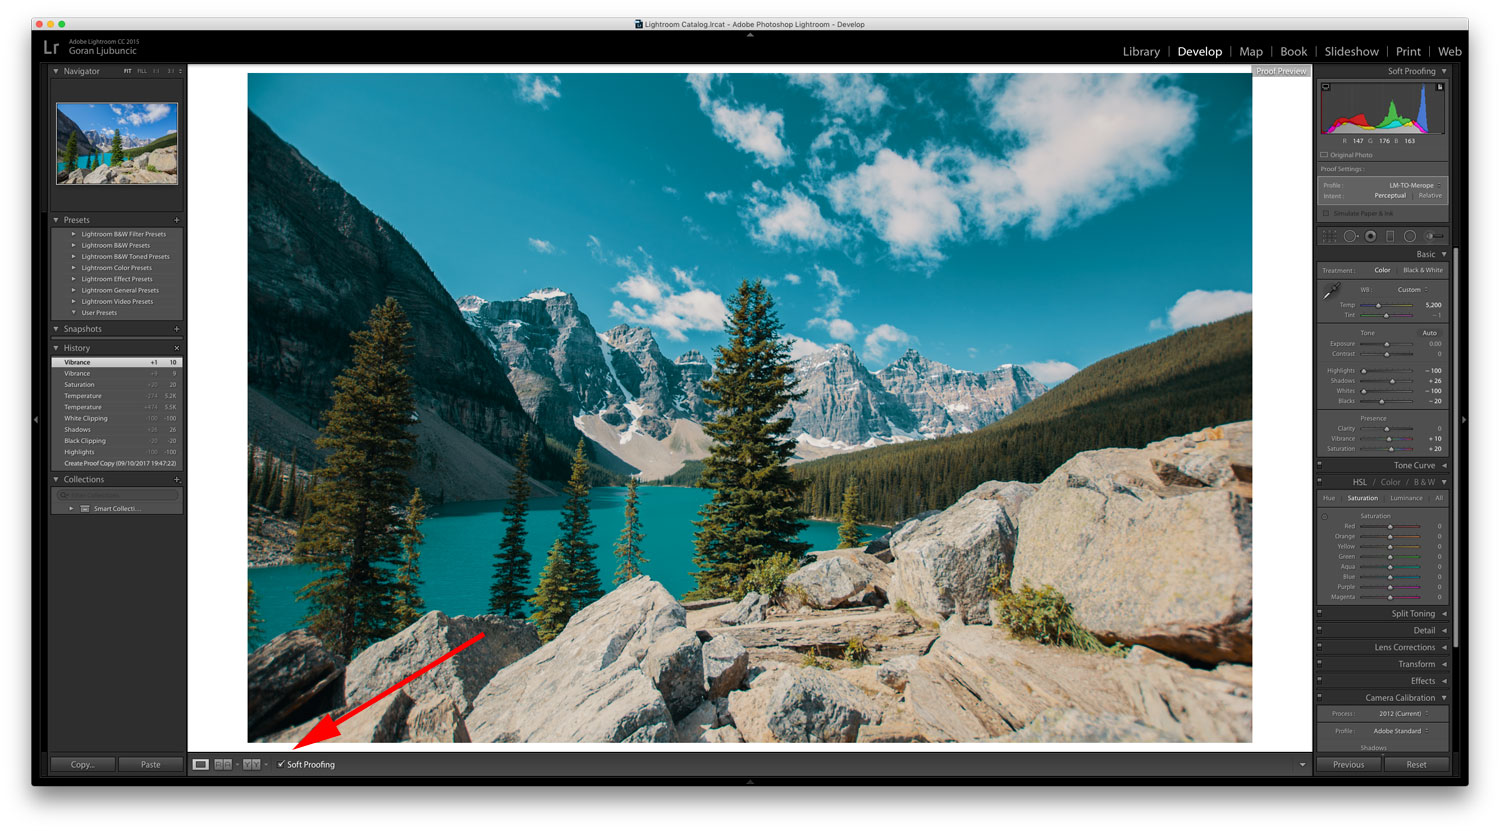
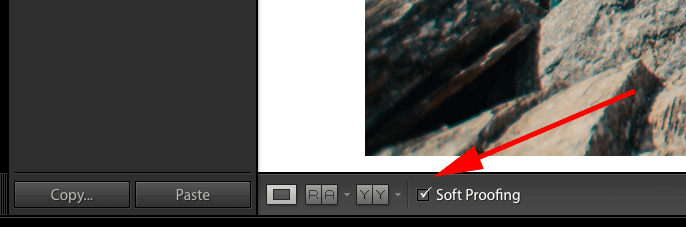
- In the bottom left corner of Adobe Photoshop Lightroom select the Soft Proofing option.


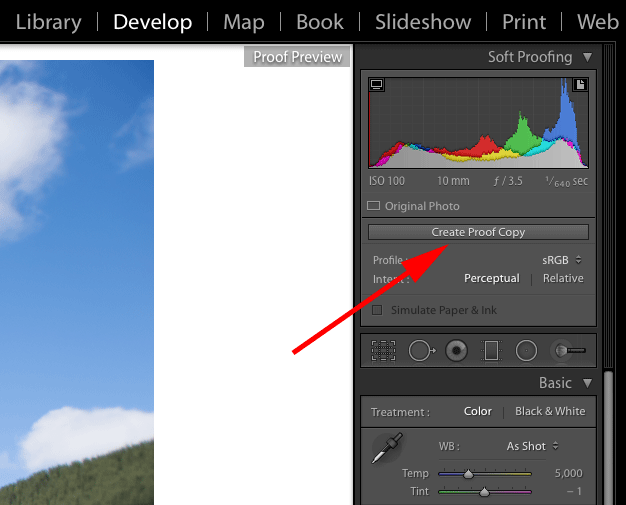
- Create Proof Copy of your image so your edits are performed on a virtual copy of your file instead of the original image.

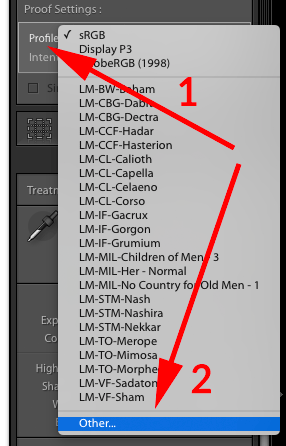
- From Profile drop-down menu select Other.

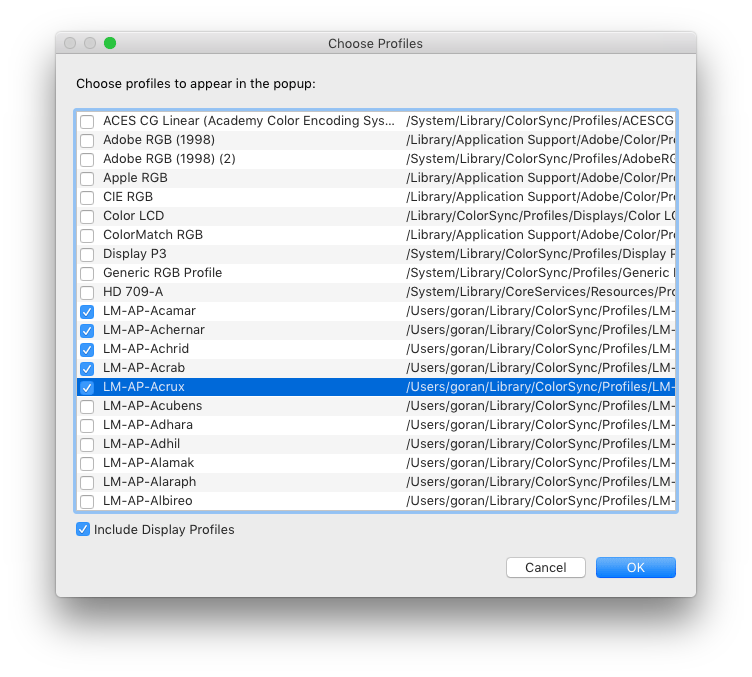
- If you followed the instructions in the installation tutorial, the following window will open populated with LUTs from your package.

Make sure ‘Include Display Profiles’ option is checked otherwise your installed LUT will not show in this window.
Select a checkmark next to each LUT you would like to appear in the drop-down menu of Profile option and click OK. You will need to do this only once. Once the list of LUTs in the Profile option is populated you will access your LUTs from the Profile drop-down menu. Select Other… option every time you would like to add or remove LUTs from the list of available LUTs in the Profile option.
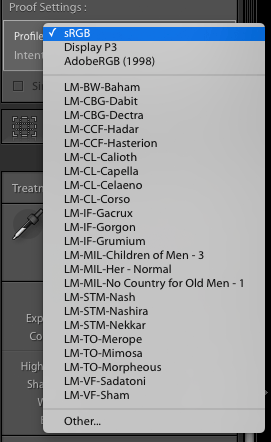
The LUTs you have marked in Choose Profiles window now appear in the drop-down menu of the Profile option.

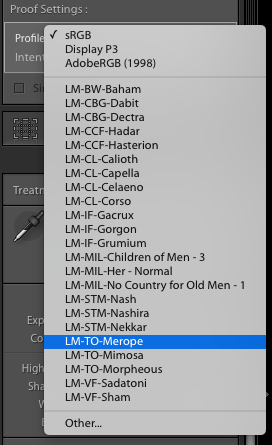
- Select the appropriate LUT to apply it on the image.

- Your LUT is applied