Please follow these instructions to learn how to install and apply Lutify.me LUTs in Adobe Photoshop Lightroom CC
- Launch Adobe Lightroom CC
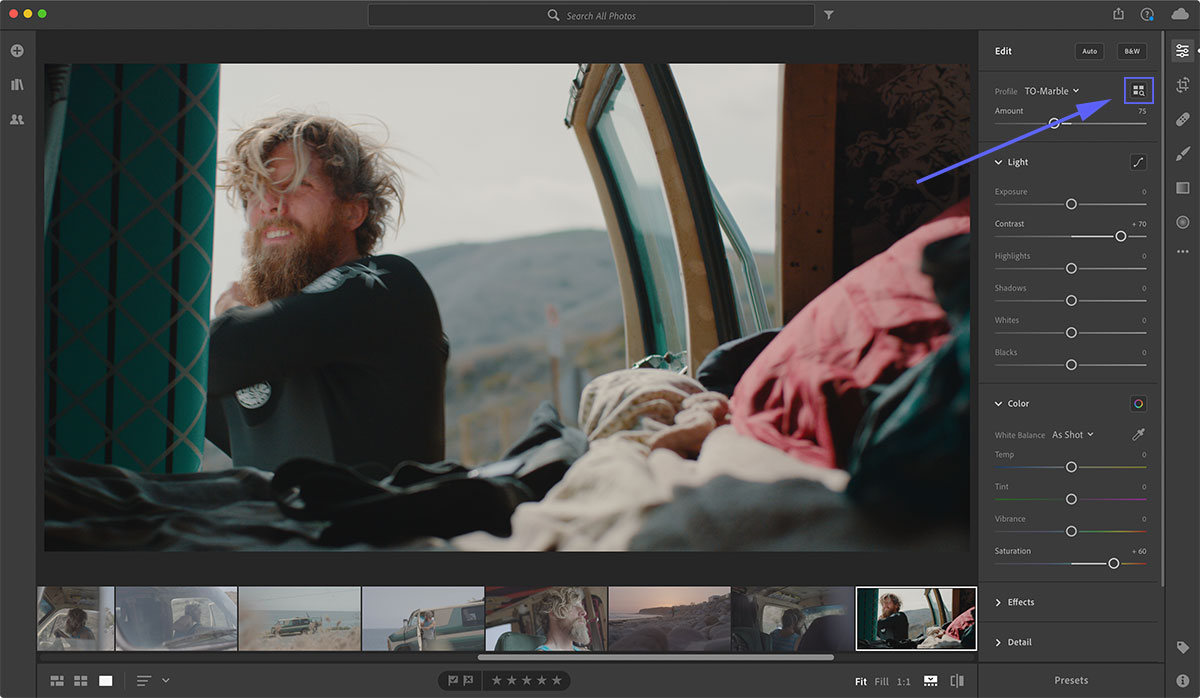
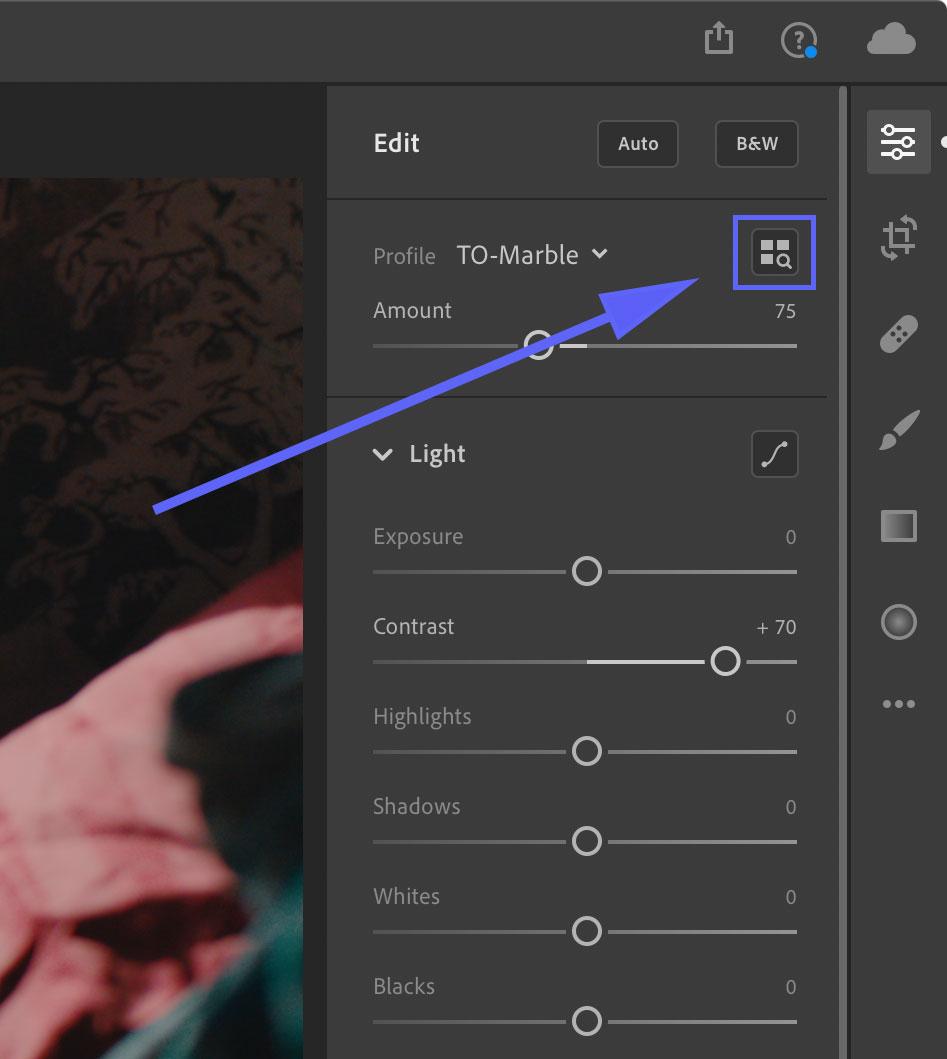
- Access the Edit tab
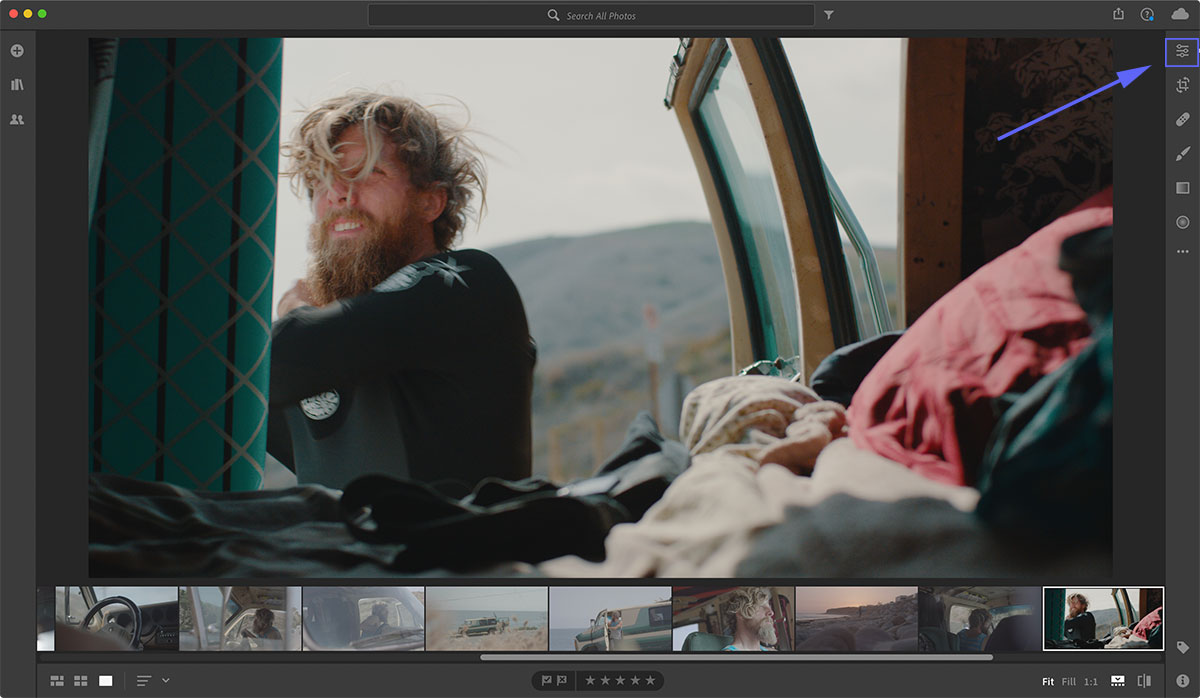
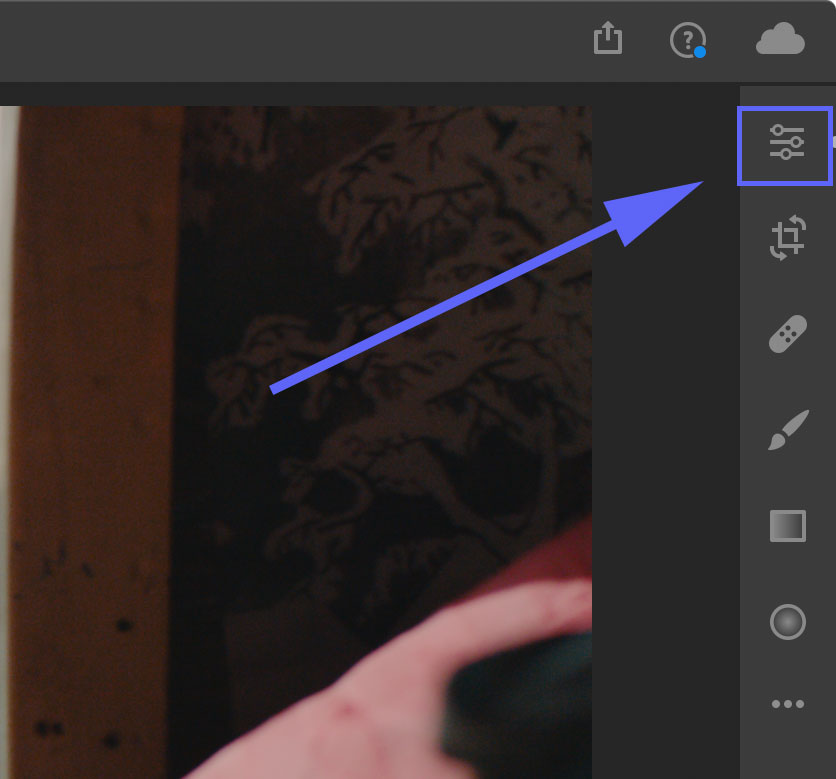
- Click on Browse all Profiles button


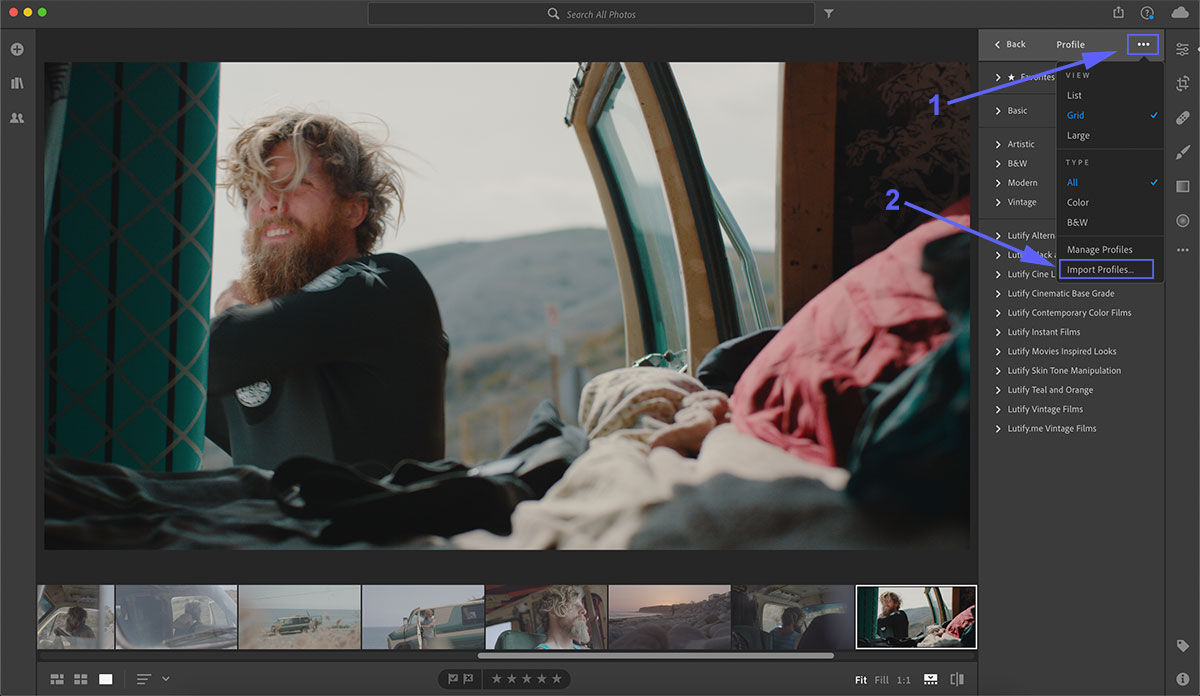
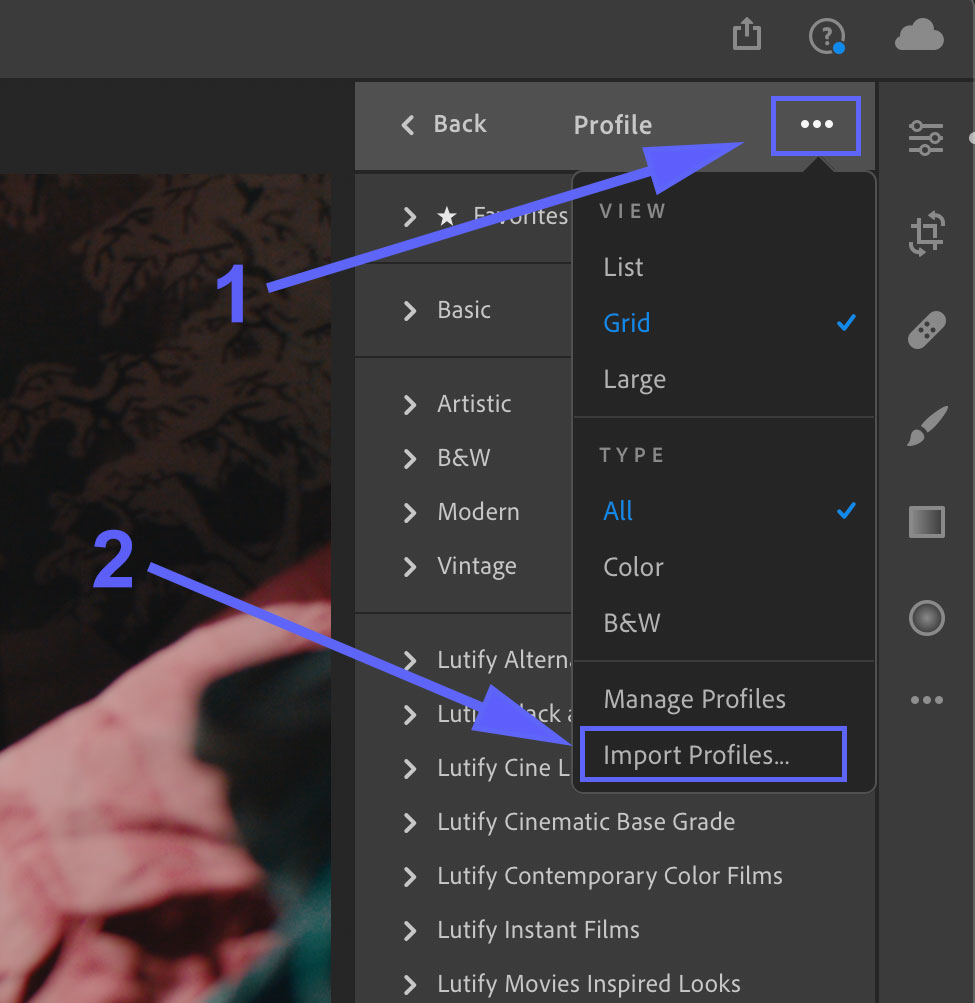
- Click the three dots to access the Import option and select Import Profiles


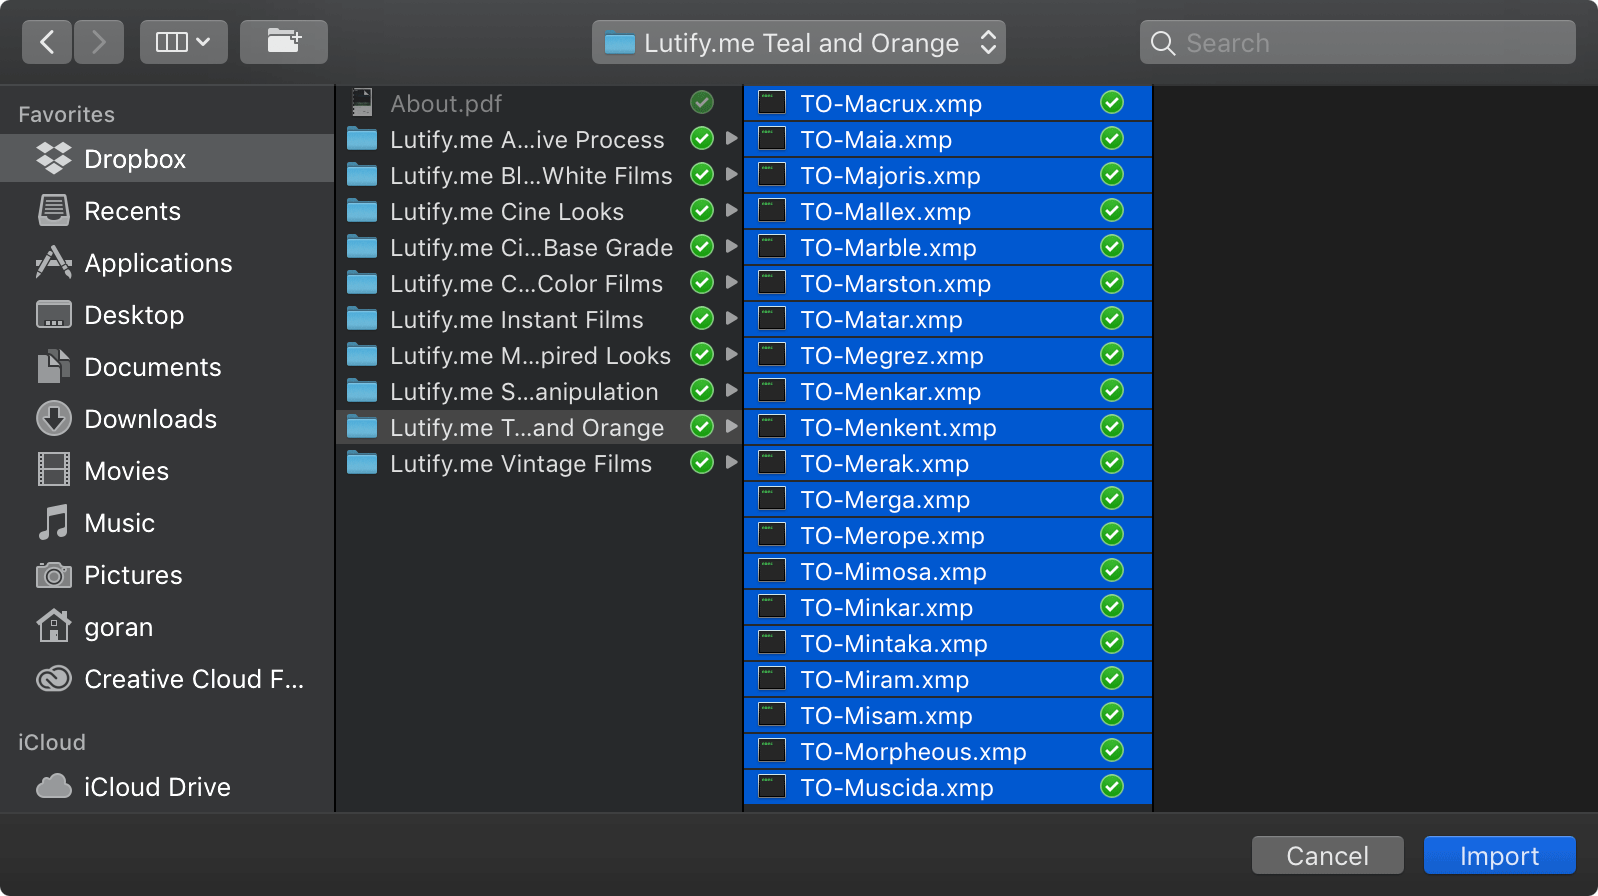
- Select the .xmp profiles from your package from the Lightroom 7.3 and Adobe Camera Raw 10.3 (April 2018 Update) and LATER folder.

- Repeat the process to install all .xmp profiles from your package
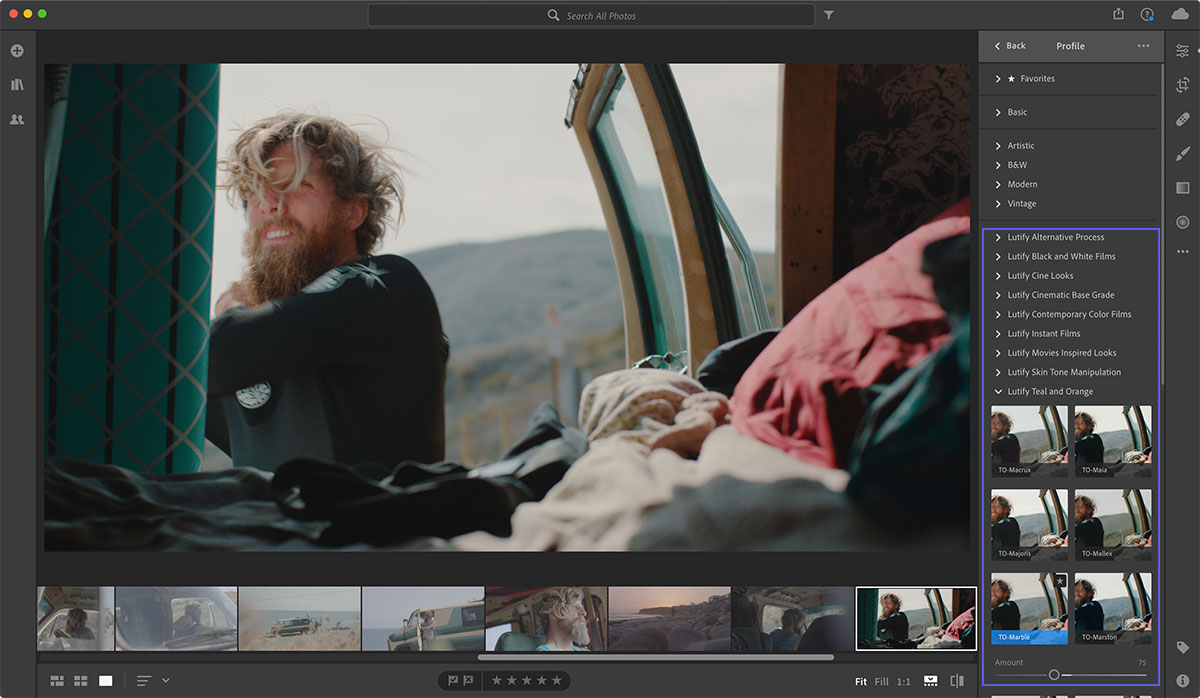
- Once installed, the LUTs are available from the Browse All Profiles button in the Edit tab
- To apply a LUT click on the appropriate LUT thumbnail
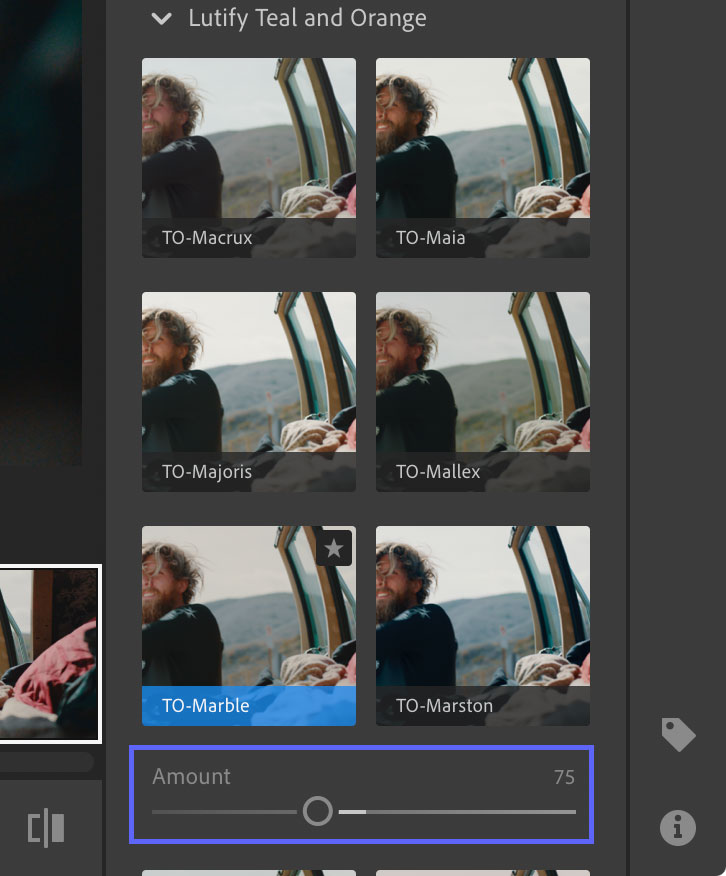
- Adjust the LUT opacity using the Amount slider

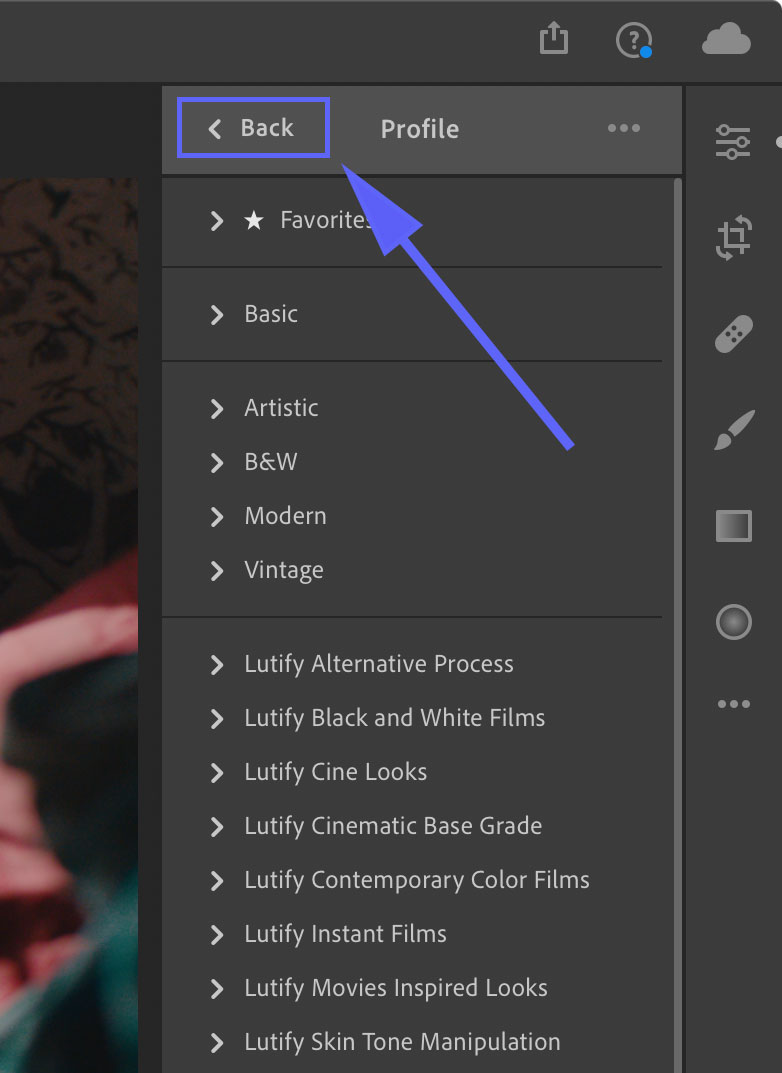
Setting the Amount slider to 50 for example, is equivalent to reducing the LUT’s opacity by half. Setting the Amount slider to 200 for example, is equivalent to applying the same LUT twice. - To further edit the image click on Back button to be brought back to Edit tab.