Introduction
Copy the monitoring LUTs to your REDMAG. You have to place the LUTs into a folder named ‘luts‘ (without the single quotes) and place this folder into the top most directory on your REDMAG. The LUTs to be copied depend on your monitoring workflow. For users utilising the new IPP2 workflow from RED, you should be using the IPP2 monitoring LUTs. For legacy workflows, please use Rec709 type LUTs.
IPP2 Workflow
Before proceeding, make sure you’ve completed the instructions in introduction described above.
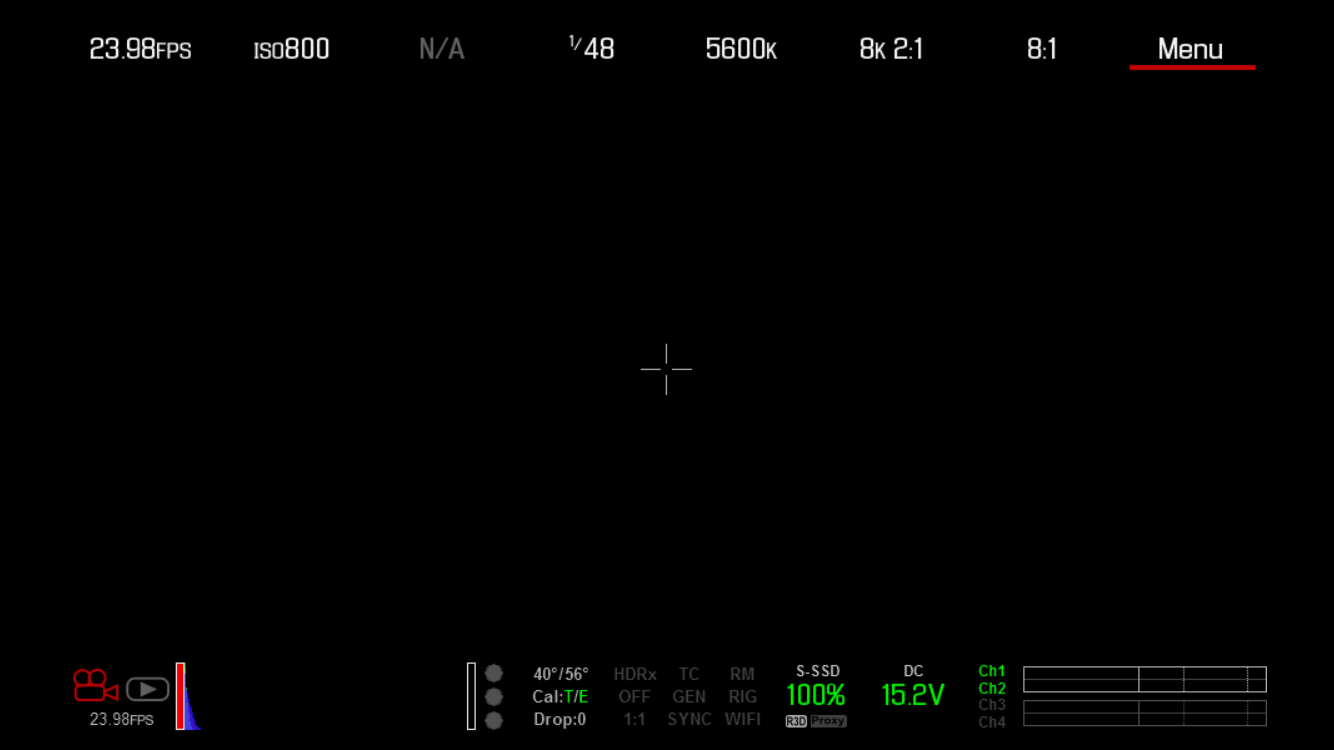
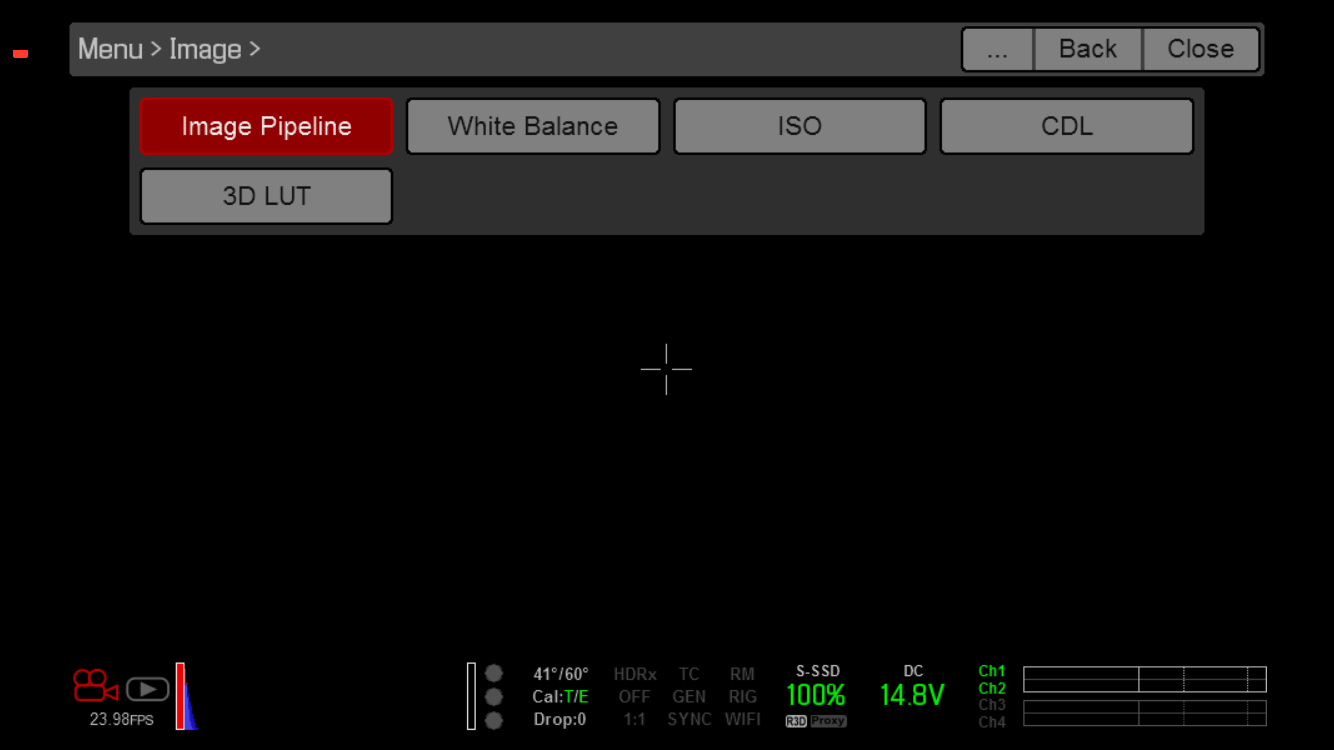
Once your LUTs are copied into correct location, insert the REDMAG into camera and go to MENU.
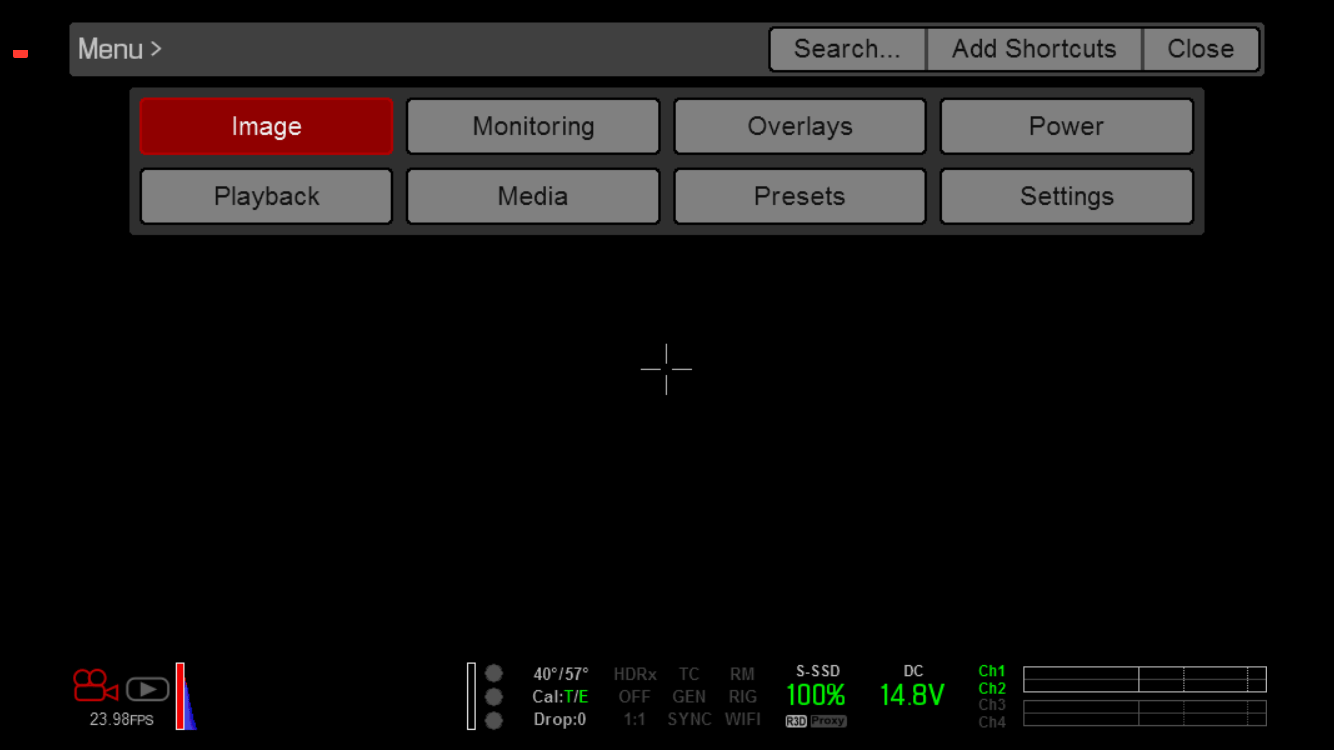
Choose IMAGE.
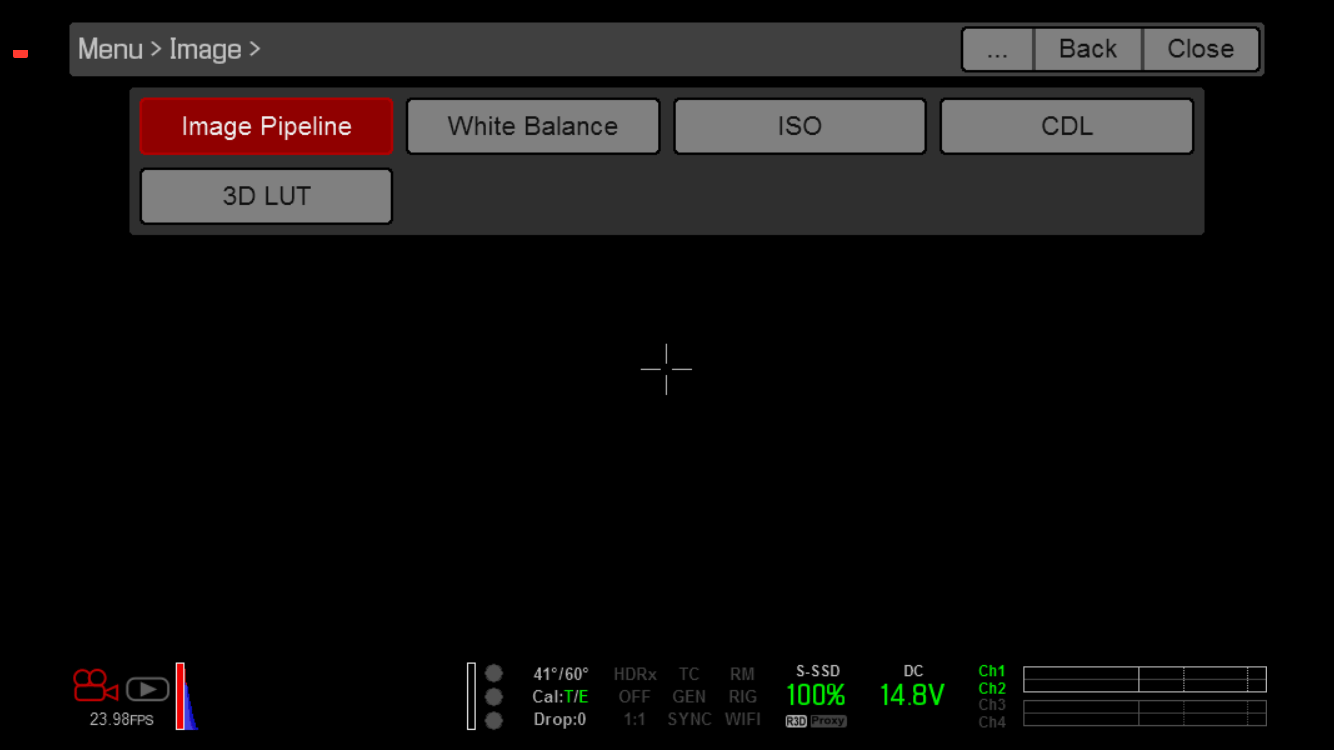
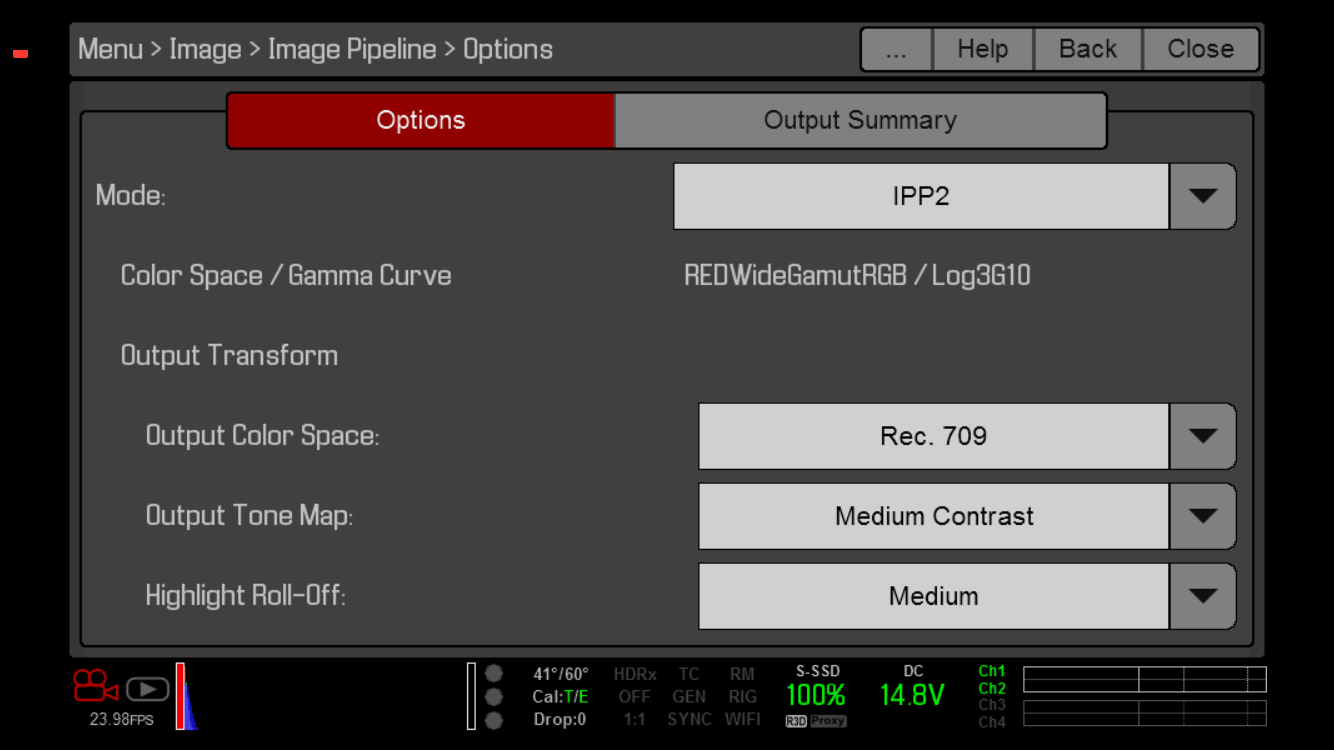
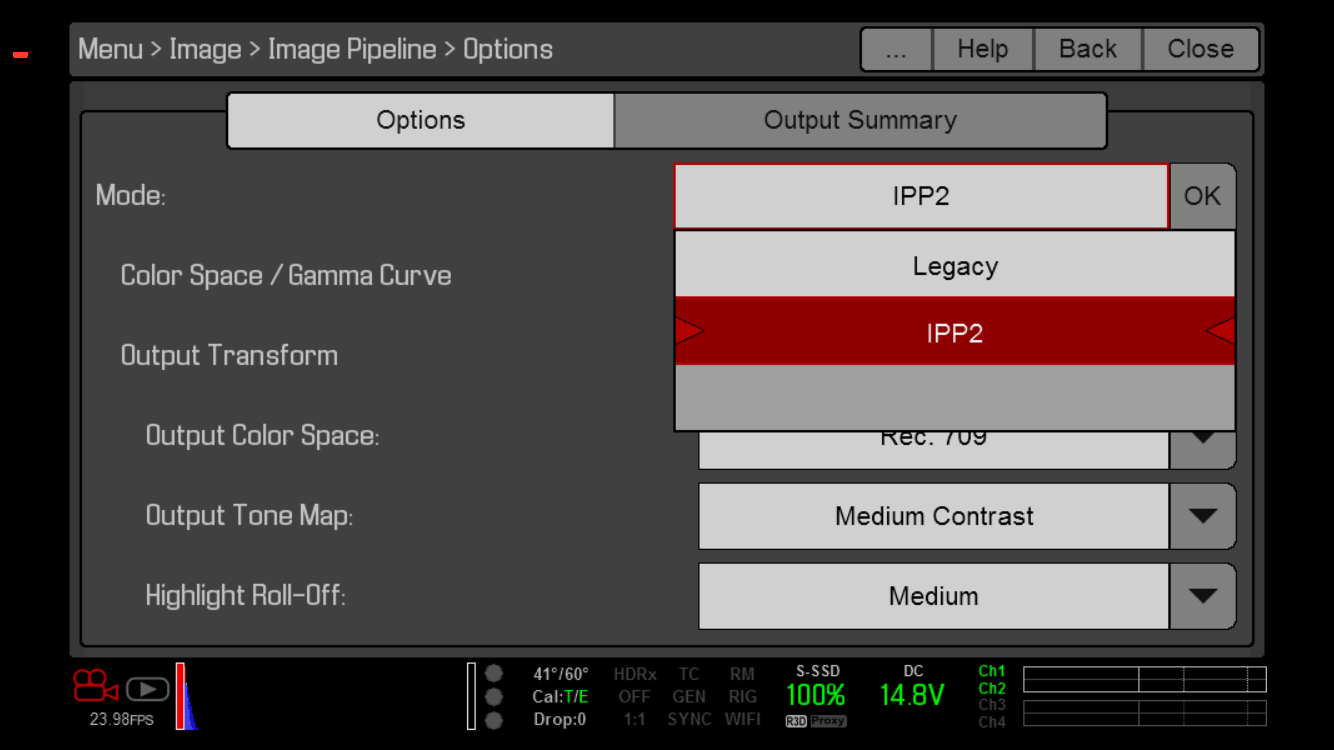
Select IMAGE PIPELINE and make sure you’re using the IPP2 pipeline.
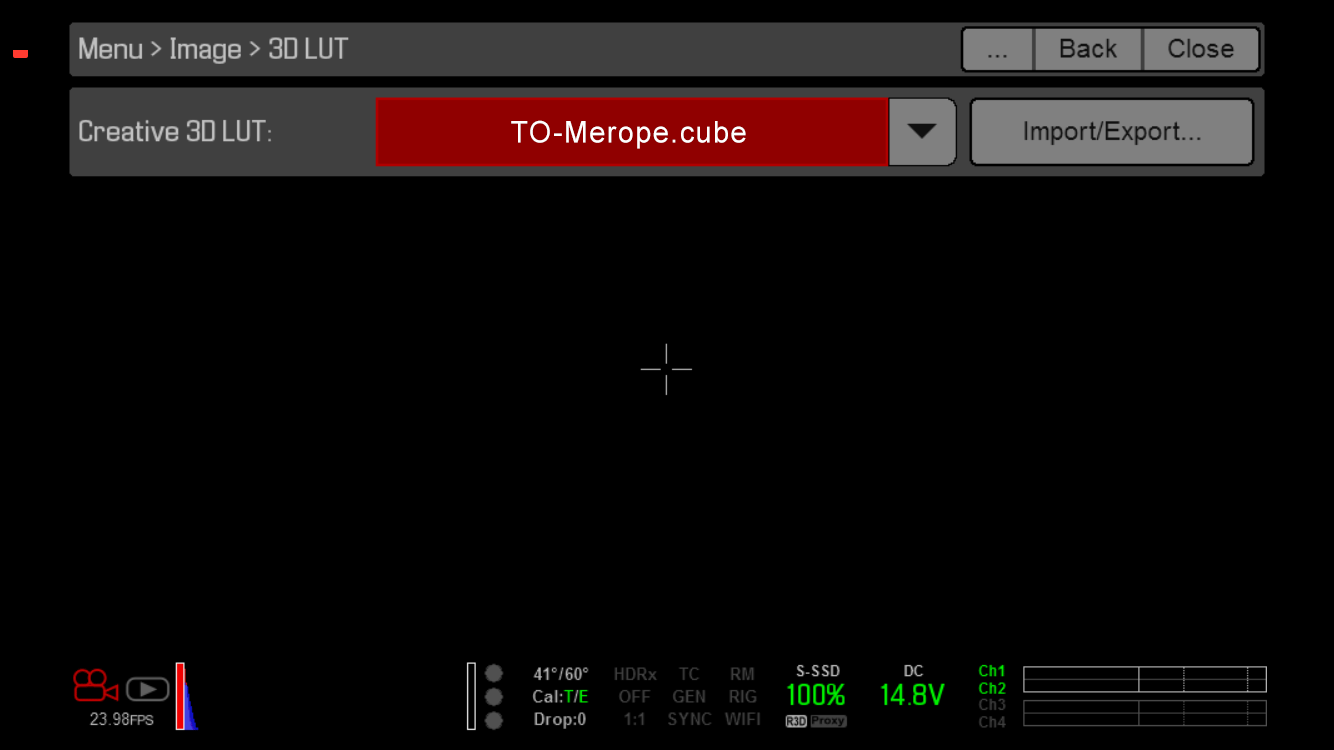
Go back to IMAGE menu and select 3D LUT.
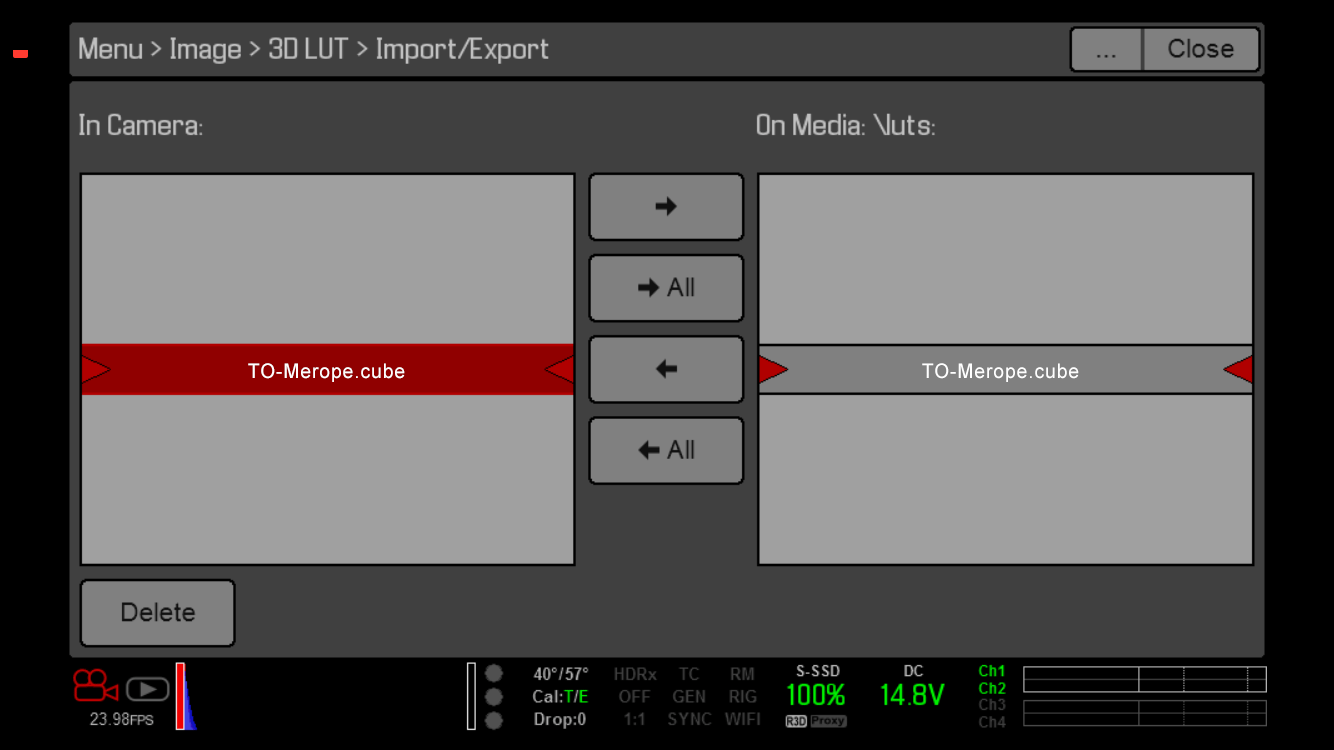
Import the LUTs on your card to camera using the LEFT ARROW key.
Select the LUT to monitor with.
With IPP2 pipeline you must use the IPP2 LUTs from the monitoring folder. Select the LUTs appropriate for your type of camera.
Legacy Workflow
Before proceeding, make sure you’ve completed the instructions in introduction at the top of this page.
Once your LUTs are copied into correct location, insert the REDMAG into camera and go to MENU.
Choose IMAGE.
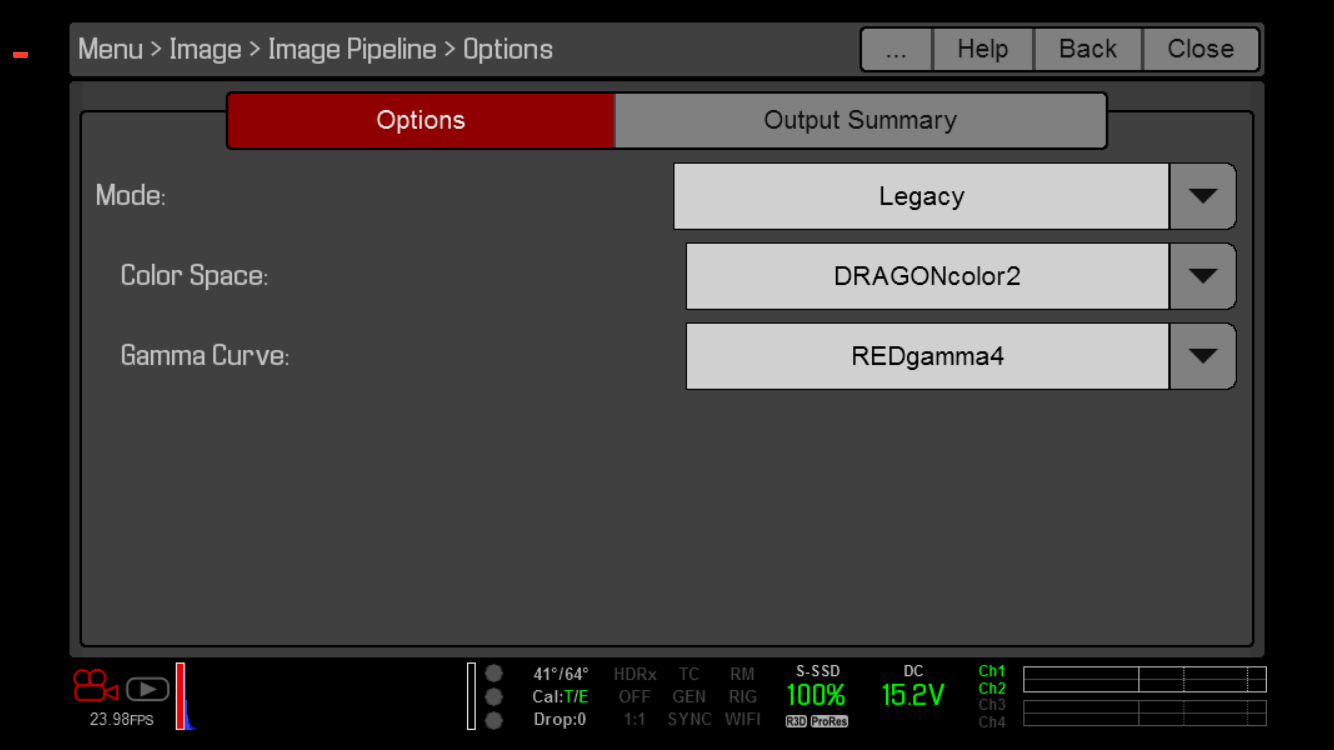
Select IMAGE PIPELINE and select Legacy workflow.
Go back to IMAGE menu and select 3D LUT.
Import the LUTs on your card to camera using the LEFT ARROW key.
Select the LUT to monitor with.
For legacy color workflow you should use Rec709 LUTs.

