Introduction
Applying film grain to your photos in Affinity Photo is a two step process:
- Apply film grain in a layer above your photo
- Change the blending mode of the film grain layer and adjusting its opacity
Applying film grain
- Open your image and the film grain image in Affinity Photo
- Copy and paste the film grain image onto your image. Select the film grain image and go to Select > Select All
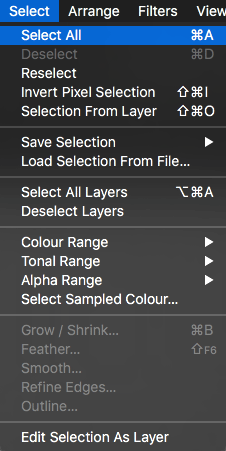
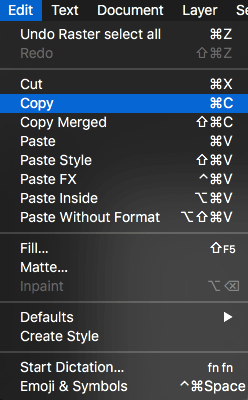
- Afterwards, go to Edit > Copy.
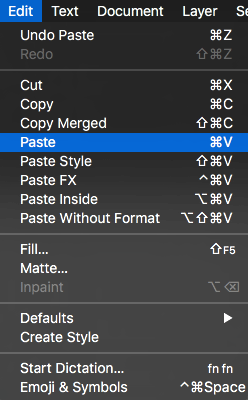
- Finally, select the image you’d like the film grain to apply to and choose Edit > Paste.
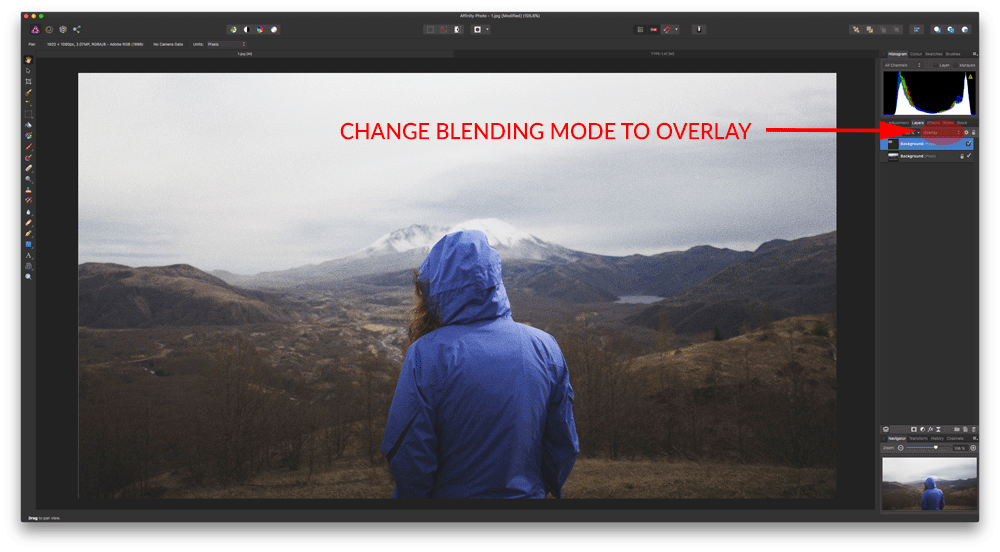
Please note that the film grain image is in landscape orientation. If the image you’re editing is in portrait orientation, you should rotate the film grain image before copying it to match the orientation of the image you’re editing. To rotate the film grain image please go to Document > Rotate 90° Clockwise or 90° Counter Clockwise. - Change the blending mode of the film grain layer to Overlay.
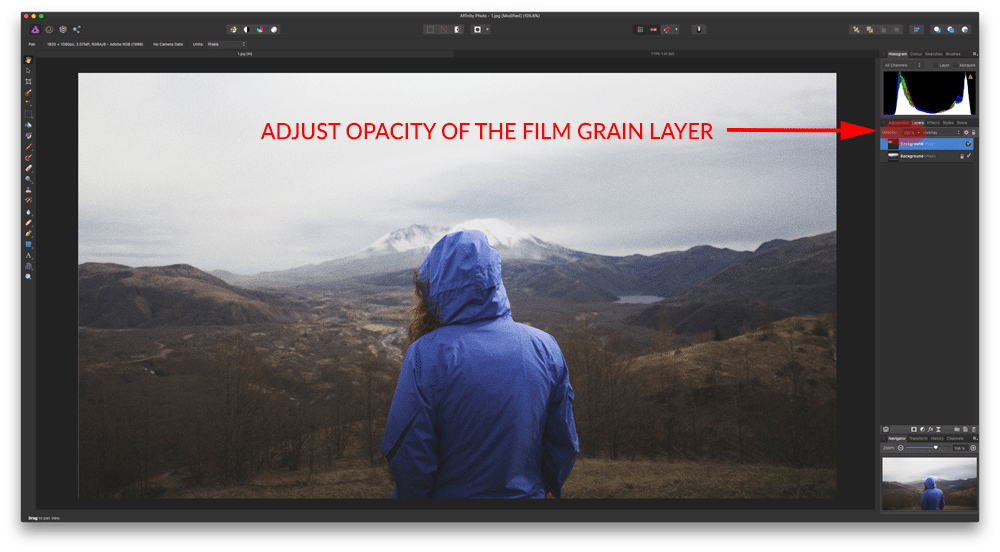
- Adjust the opacity of the film grain layer until desired
- You’ve successfully applied film grain to your image.

