Introduction
LUTs in Final Cut Pro X are accessed through the effects browser.
As of version 10.4 Final Cut Pro X supports the use of LUTs natively. Earlier versions of Final Cut Pro X require the use of a third party plugin. This document covers the use of LUTs in version 10.4 of Final Cut Pro X or higher.
Applying LUTs in Final Cut Pro X
Step 1
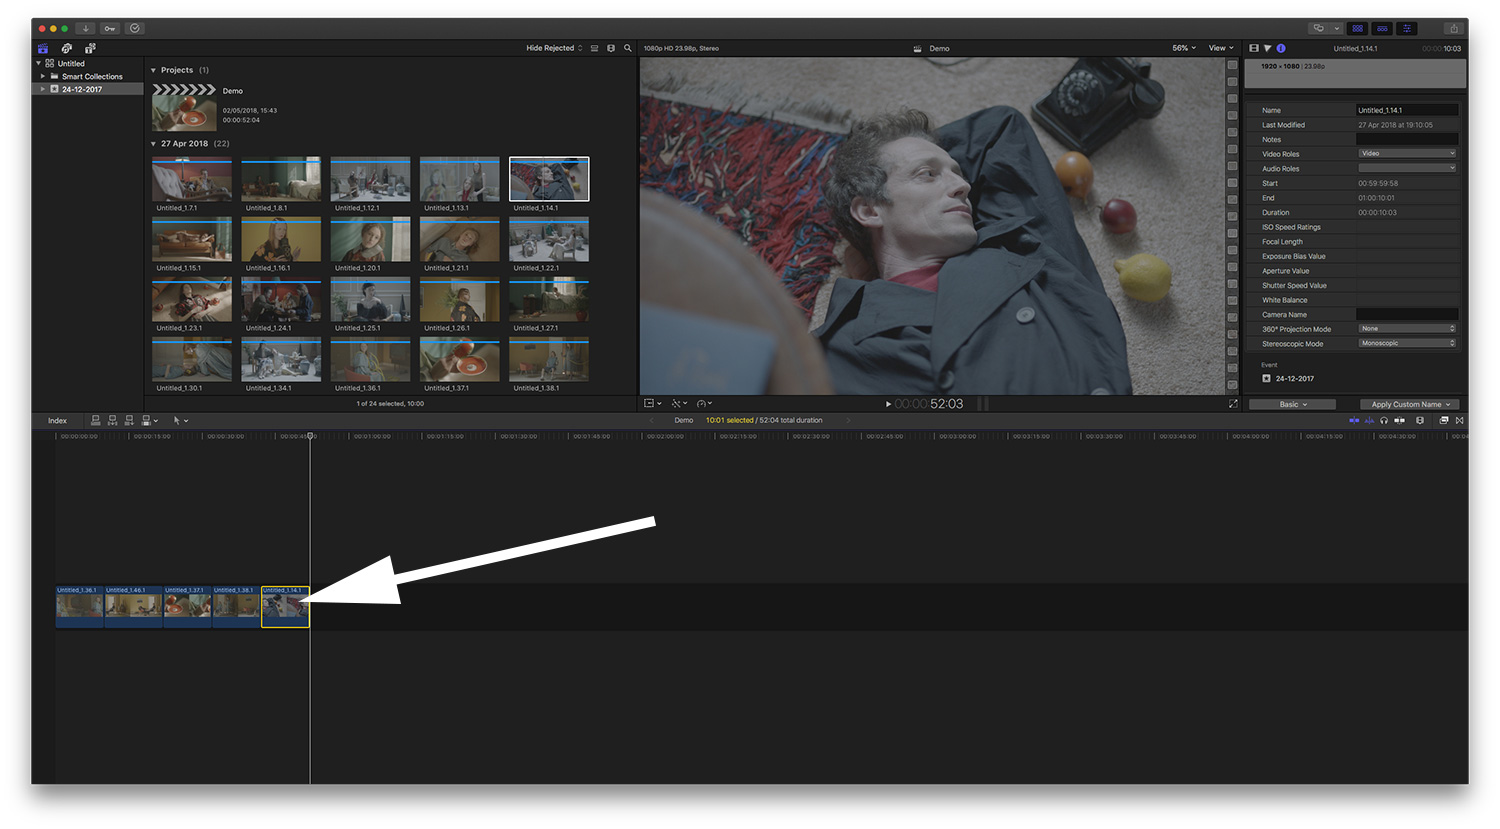
Select the clip on your timeline.
Step 2
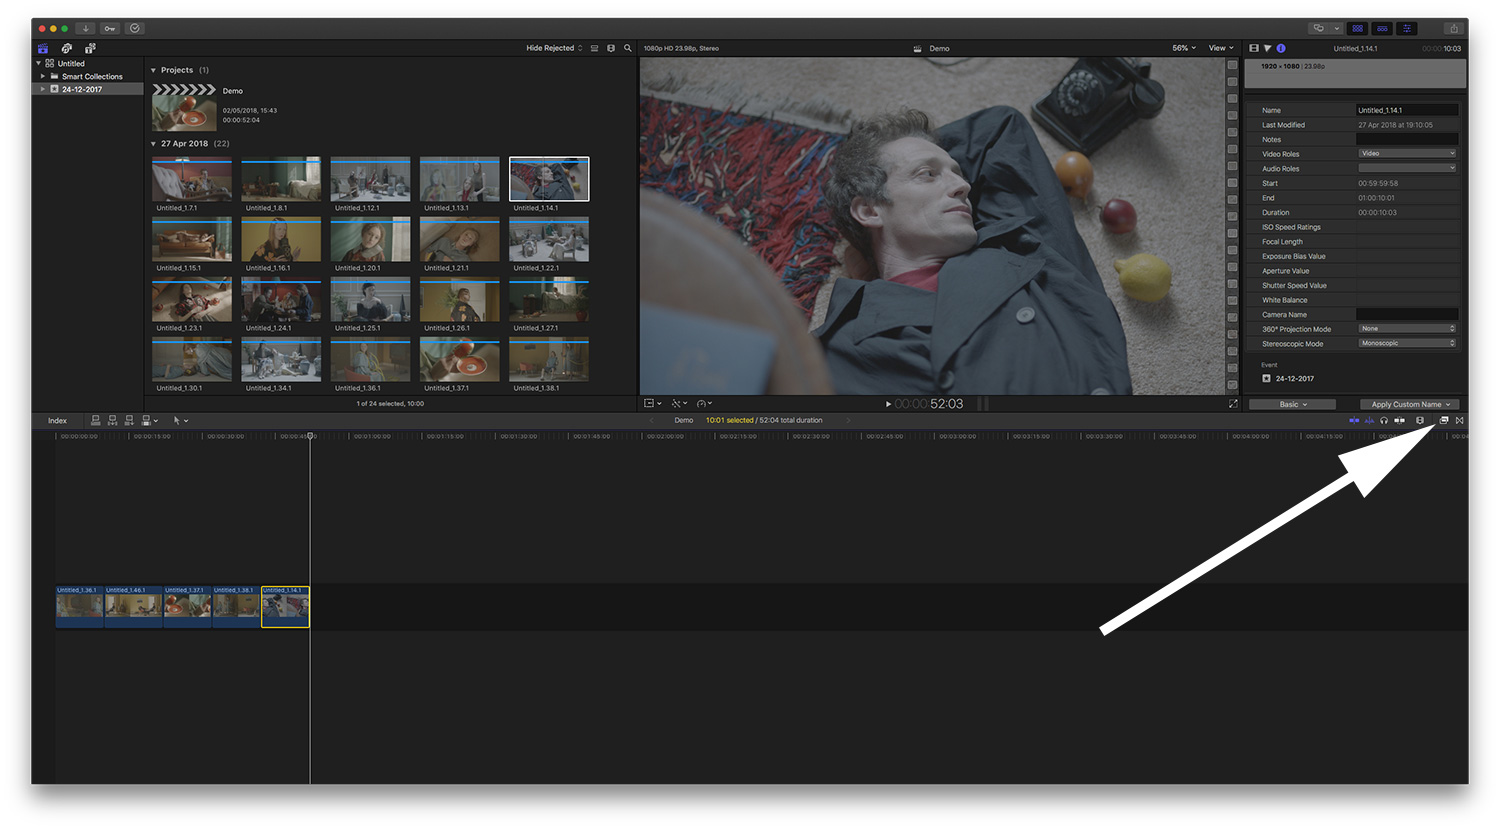
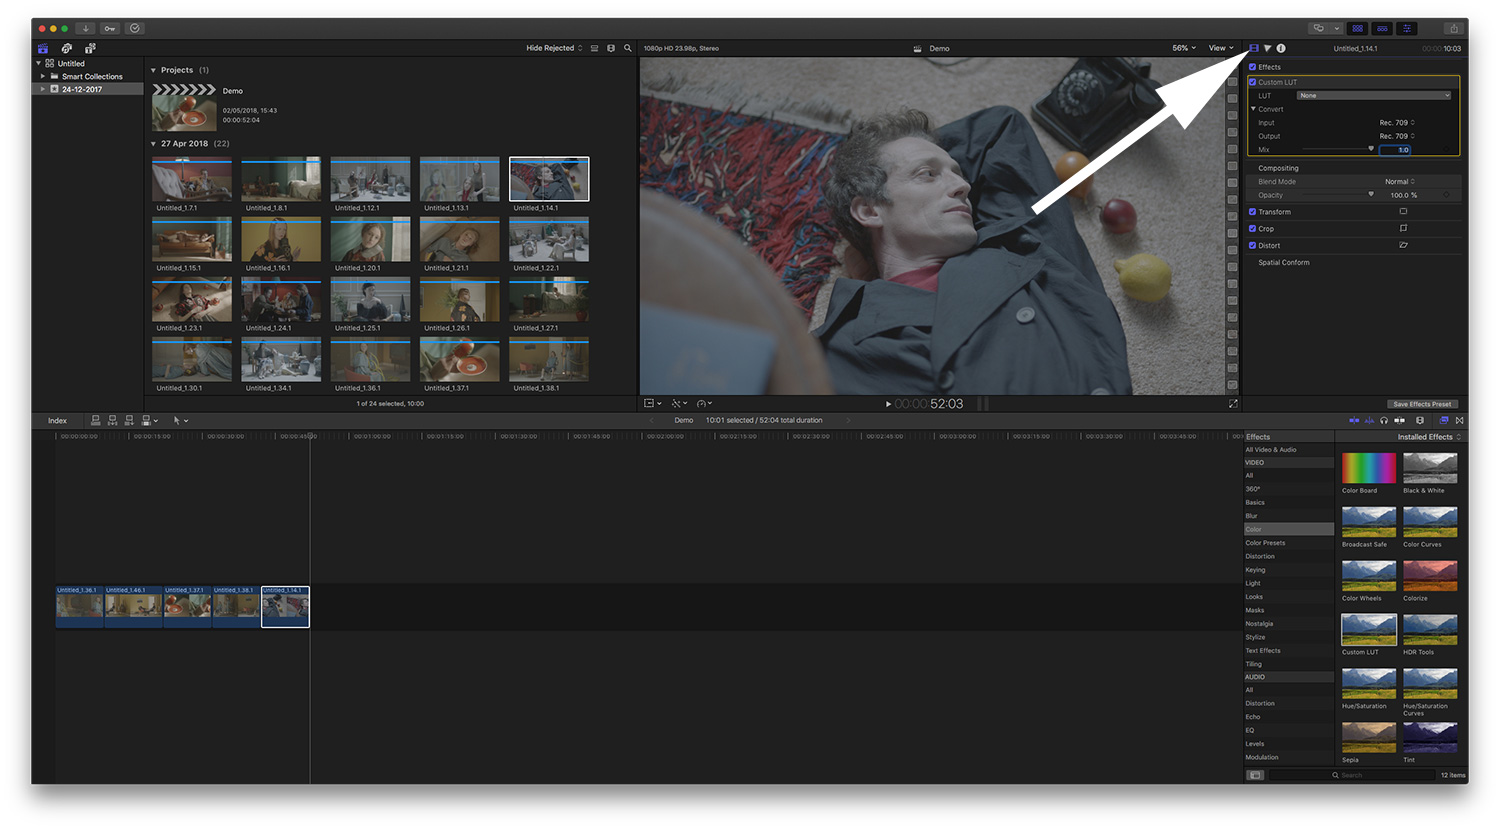
Access the Effects Browser.
Step 3
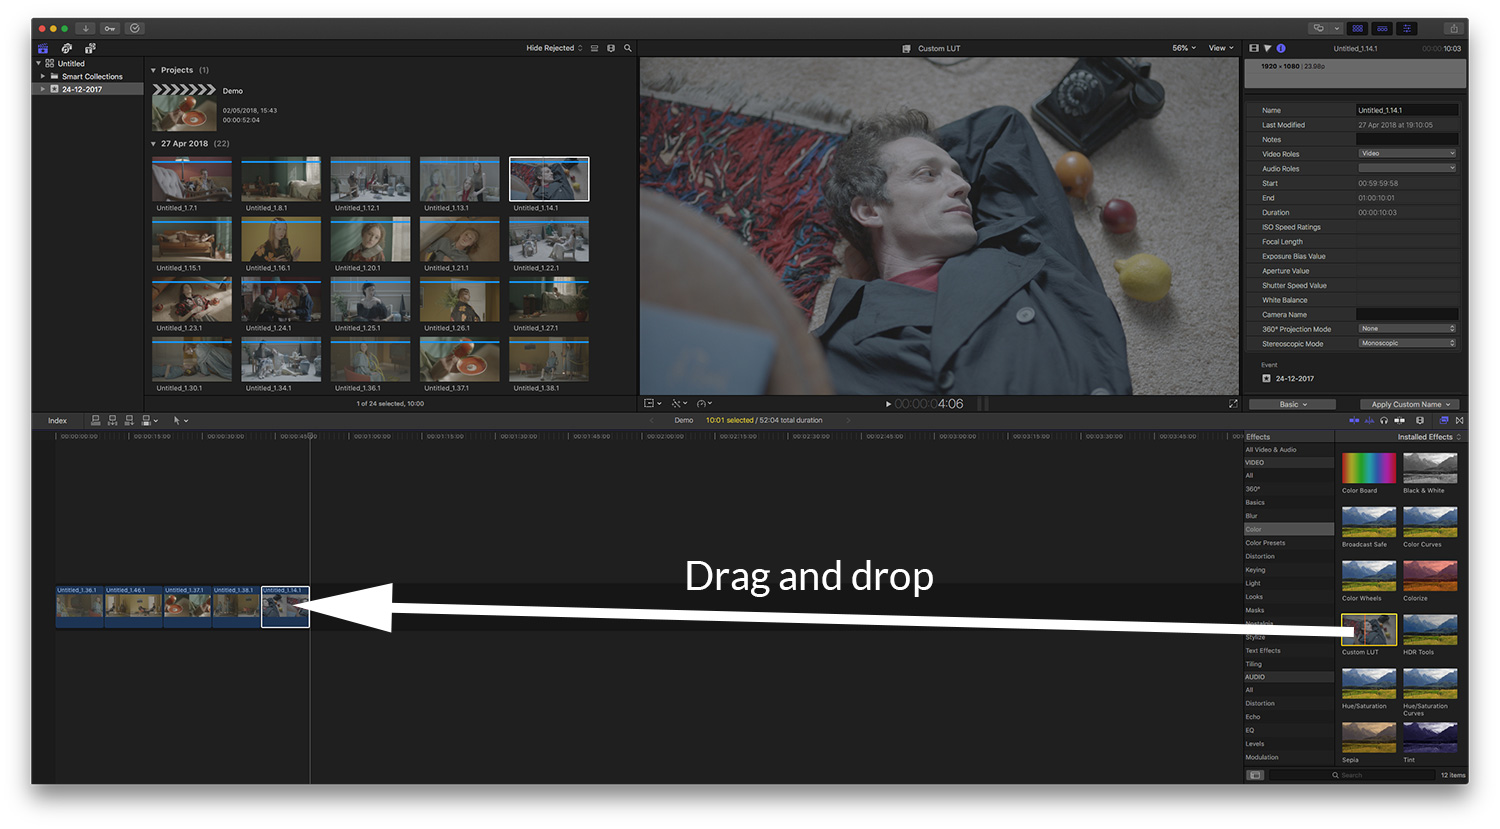
In the Effects Browser, under Color category select Custom LUT and drag it onto your clip.
Step 4
Access the Video Inspector.
Step 5
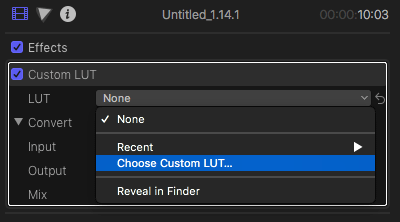
Use the Custom LUT pop up menu and choose “Choose Custom LUT…”
Step 6
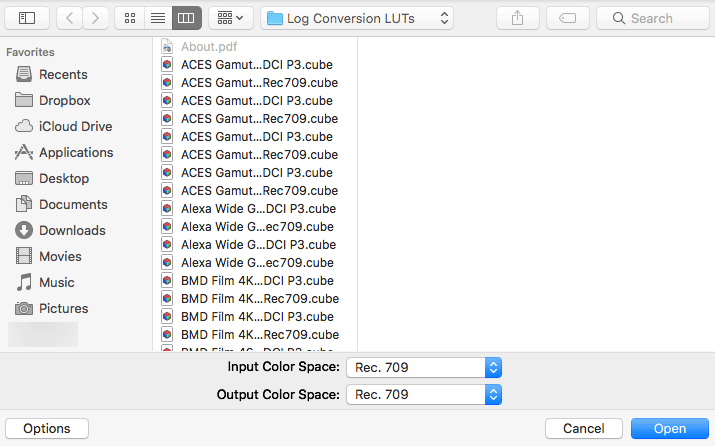
Browse for the LUT on your hard drive and select Open.
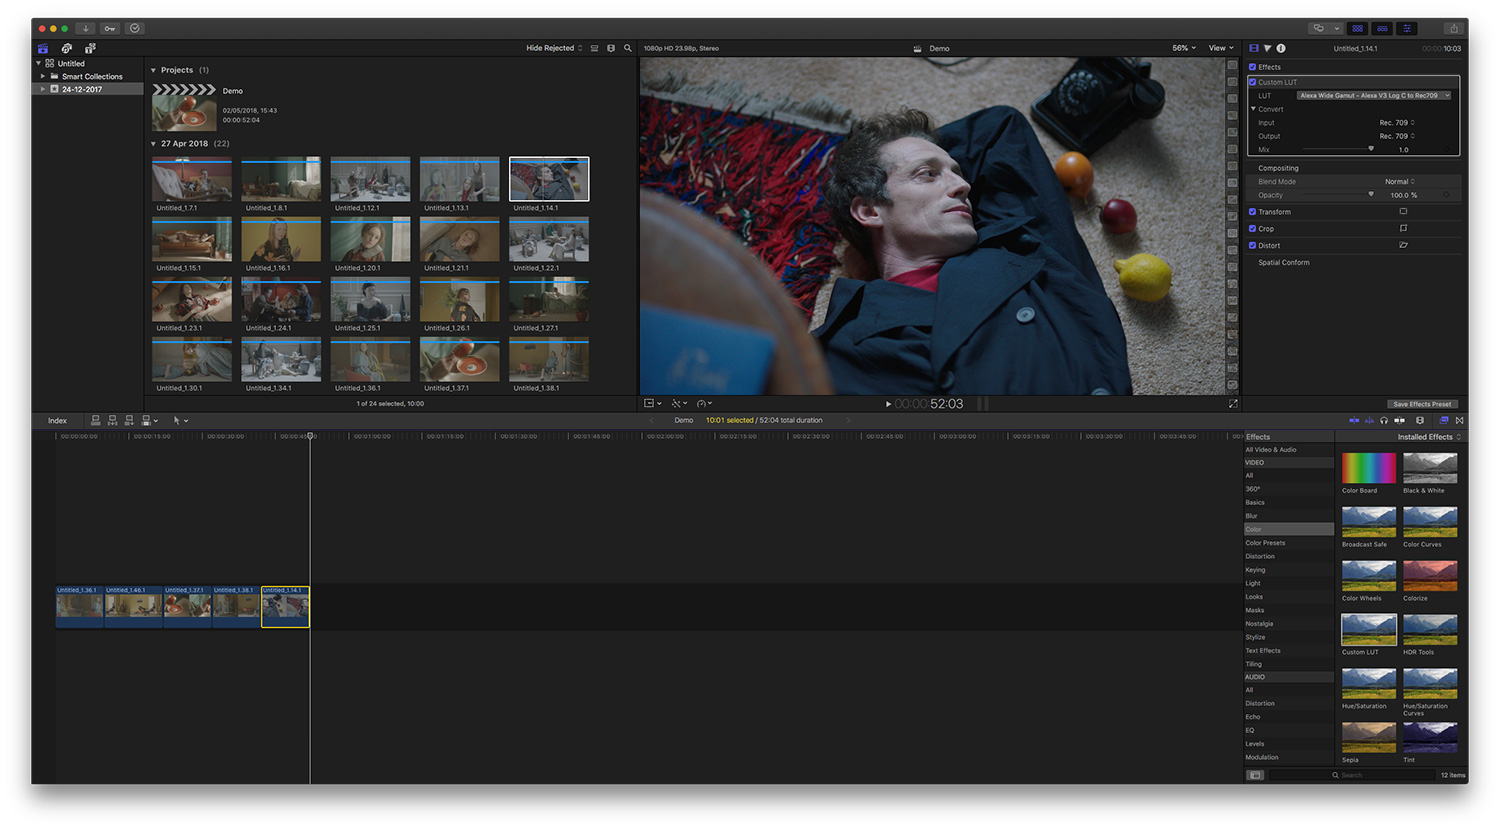
LUT is applied.
Step 7
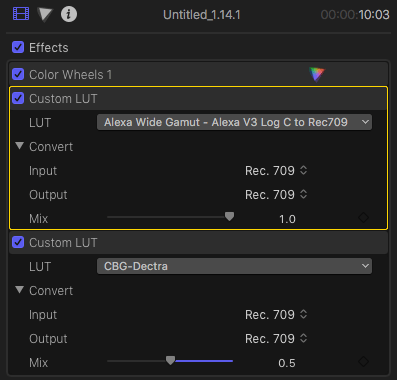
If you need to, you can stack LUTs on top of each other. Typically you would want to stack a log conversion LUT with a creative LUT in Rec709 form. To stack LUTs repeat the steps in this document and add additional LUT.
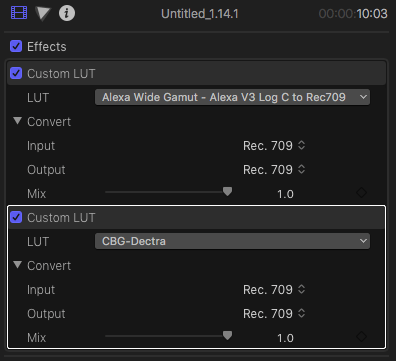
LUTs are applied in the order they appear.
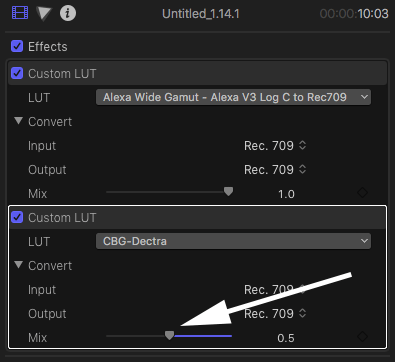
You can adjust the opacity of the LUTs applied by adjusting the Mix slider.
Step 8
As LUTs in Final Cut Pro X are applied as effects you can change their order easily so they appear before or after other effects. For example you may want your LUTs to appear after your color correction settings. In that case you would simply drag and drop the Custom LUT effect to appear after your color corrections.
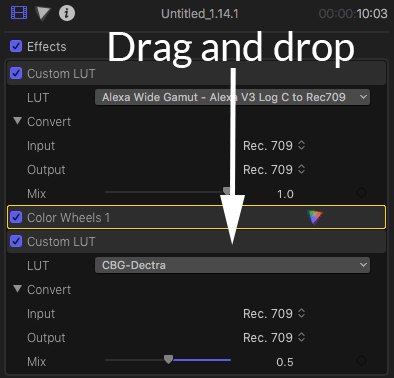
Effects are reordered.