Introduction
There are several ways you can apply 3D LUTs in Adobe Premiere Pro. Please note however, that only Premiere Pro CC and above support 3D LUTs natively. In this document we’ll cover two options of applying a 3D LUT to your footage inside Premiere Pro. Please note that Premiere Pro refers to applying a 3D LUT as Lumetri Color.
Adding a Lumetri Color effect to the clip
1. Load your project
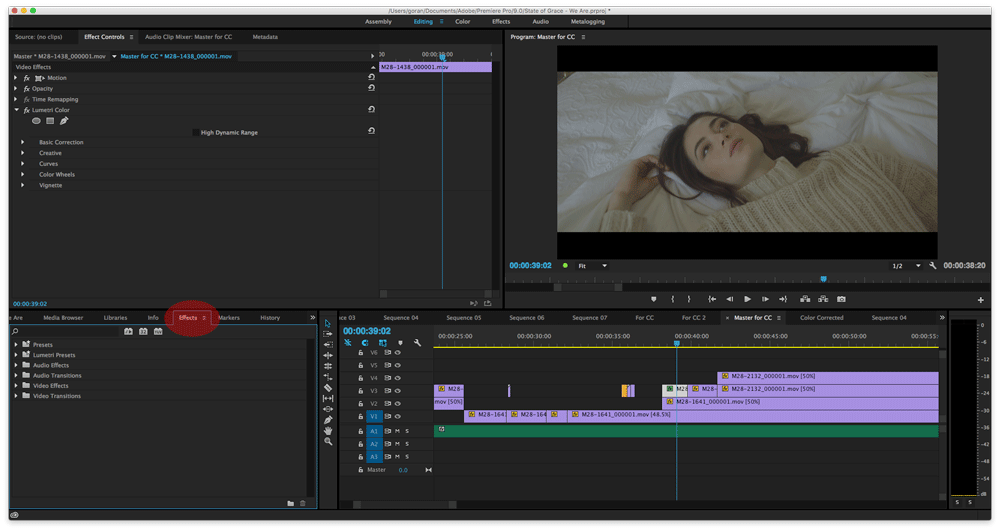
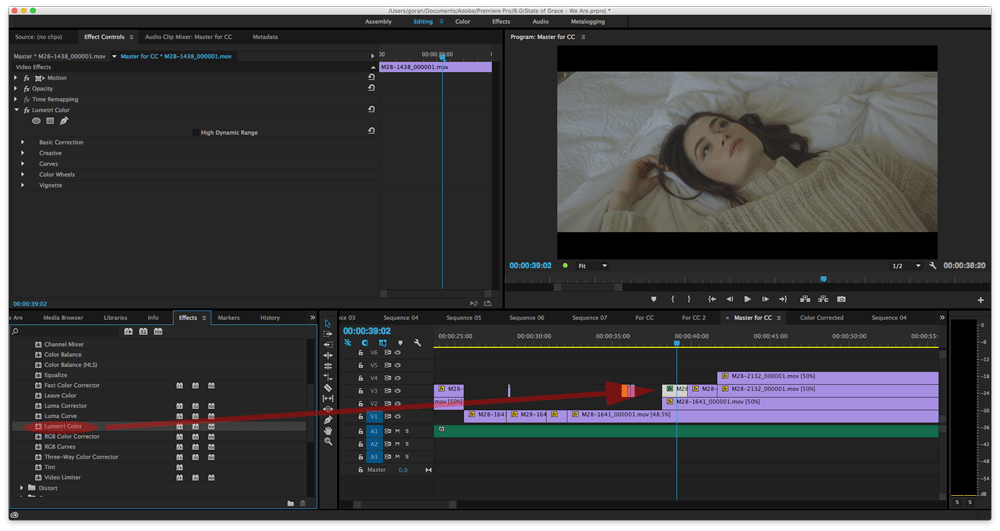
2. Open the Effects tab
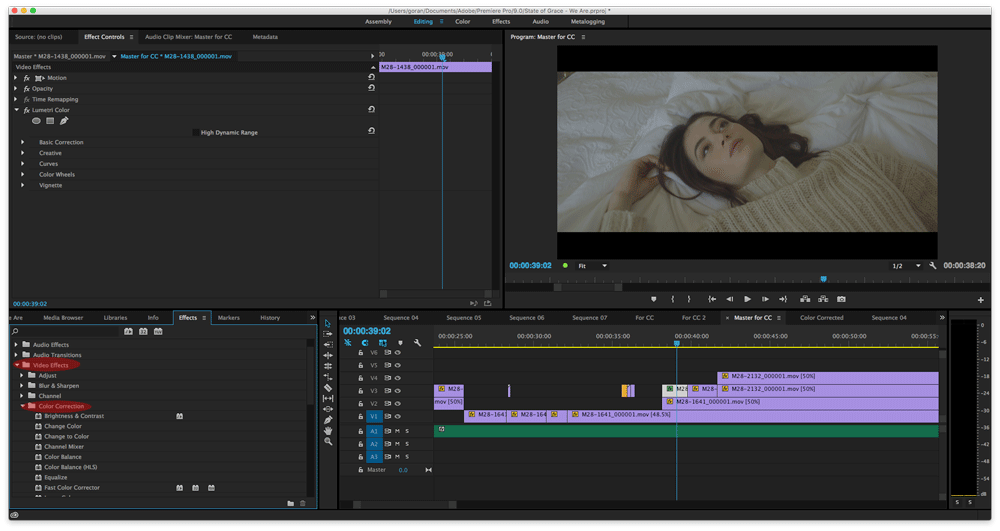
3. Go to Video Effects > Color Correction > Lumetri Color
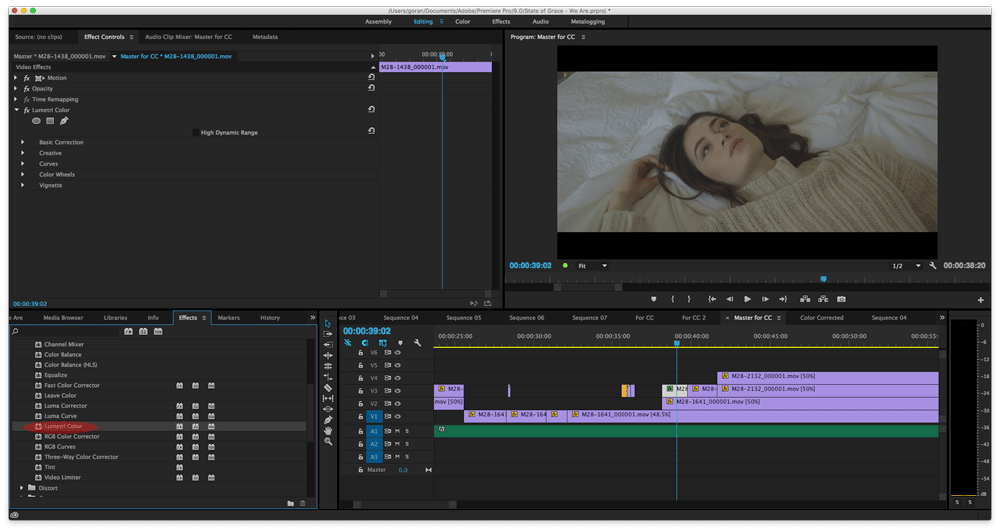
4. Drag the Lumetri Color effect onto your clip
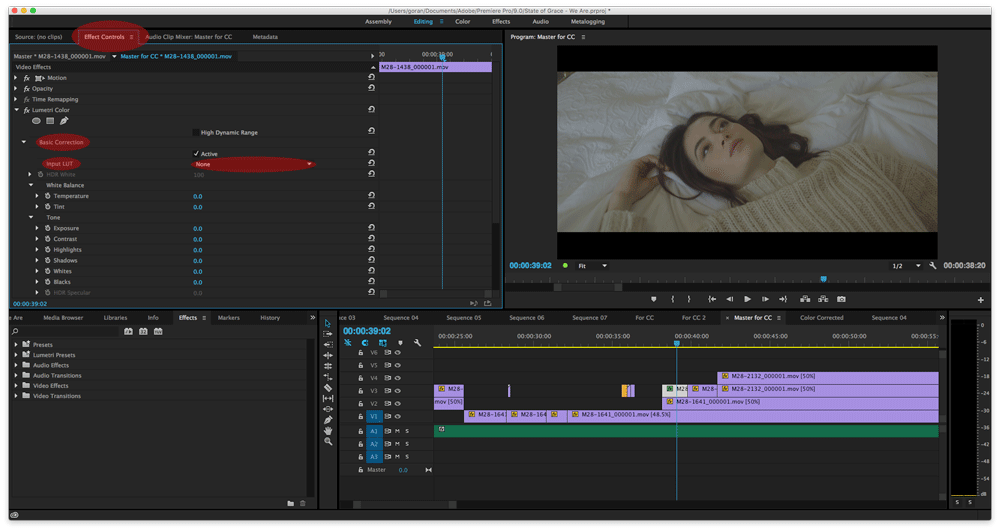
5. Under Effects Control load the 3D LUT you’d like to apply to your footage. Please note that if you have older versions of Premiere Pro, the interface and steps from this point on may look a bit different but the concept is the same.
6. If you’re loading a Log normalization LUT, go to Basic Correction > Input LUT > Browse and choose the desired log normalization LUT.
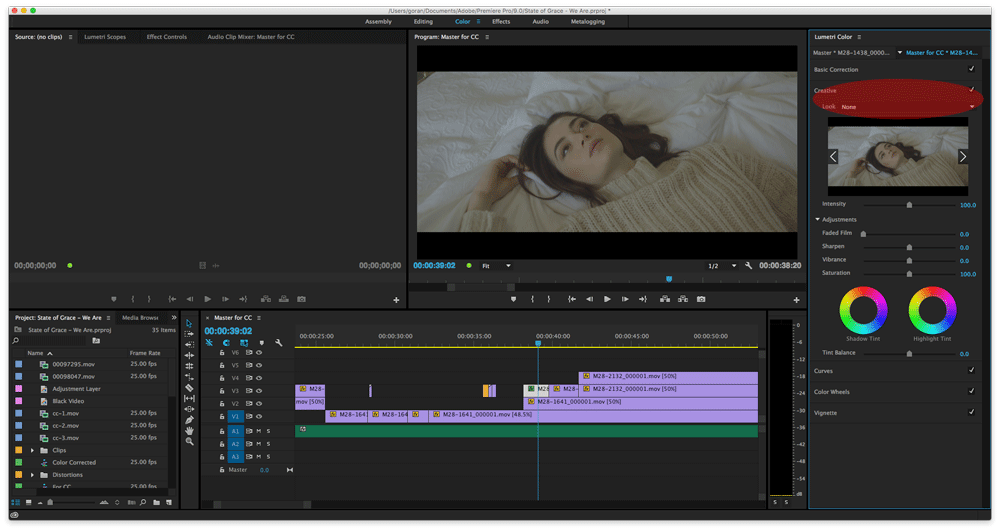
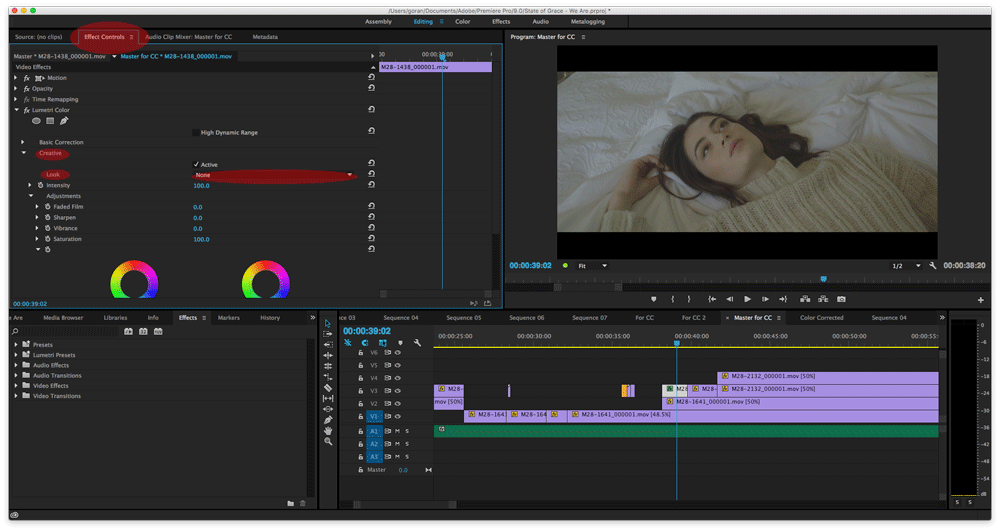
7. If you’re loading a creative LUT, go to Creative > Look > Browse and choose the desired creative LUT.
8. Your LUT is applied
Using the Color interface tab (Premiere Pro CC 2015 or later)
1. Load your project
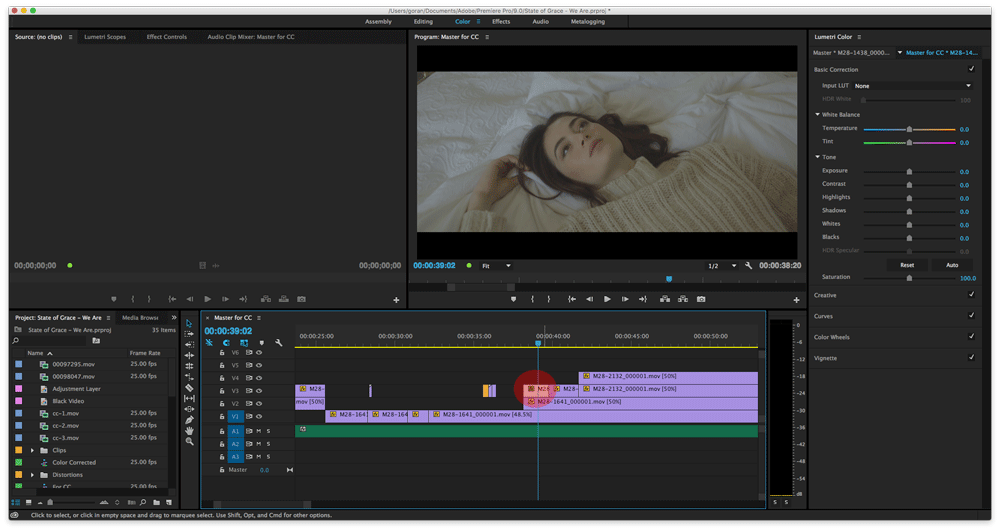
2. Click on the Color interface tab or go to Window > Workspaces > Color or press Alt + Shift + 3.
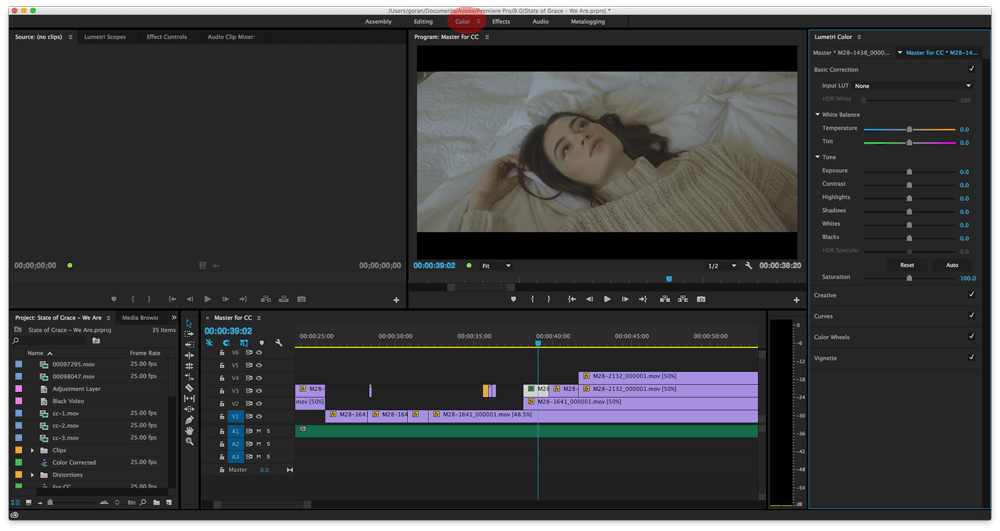
3. Select your clip
4. If you’re loading a Log normalization LUT, go to Basic Correction > Input LUT > Browse and choose the desired log normalization LUT.
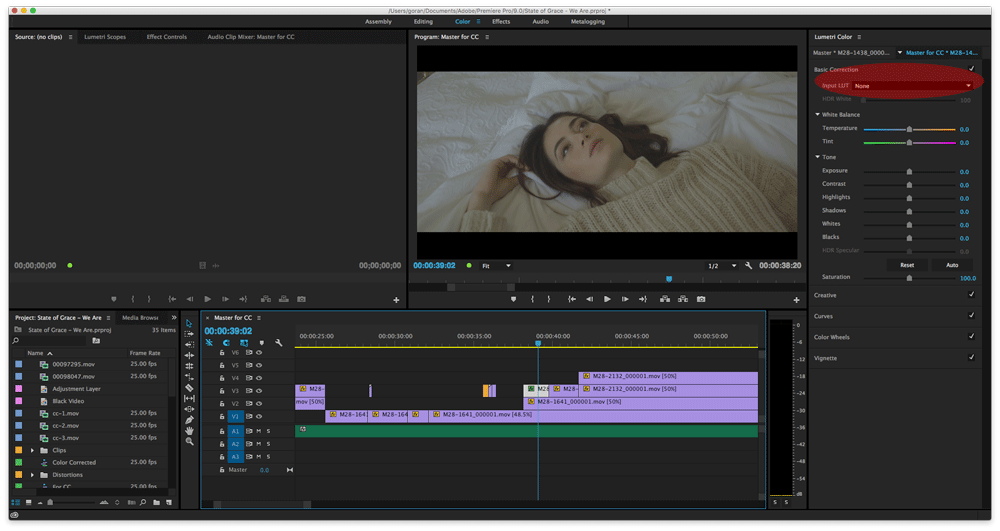
5. If you’re loading a creative LUT, go to Creative > Look > Browse and choose the desired creative LUT.