Hey folks!
We are happy to announce that as of version X4 of the excellent Alien Skin Exposure software you can use our LUTs as part of your workflow.
Alien Skin Exposure is an award-winning RAW photo editor and organizer that enables you to create beautiful images and master your workflow by putting some very powerful editing tools in your hands. And now, with support for 3D LUTs, it’s even better. RAW editing capabilities and our cinematic color grading 3D LUTs – it’s a match made in heaven.
We’re happy to announce that all of our LUTs work natively in the Alien Skin Exposure 4 app and that you can easily take advantage of real 3D color edits available in our LUTs to edit your best Raw and non Raw photos.
How to apply LUTs in Alien Skin Exposure X4?
The following video shows how easy it is to apply a 3D LUT in Alien Skin Exposure X4.
If you would rather read some text instructions, follow these steps to learn how to apply a LUT to your photos in Alien Skin Exposure X4.
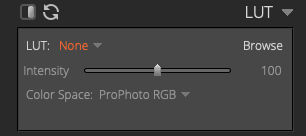
- Select ‘LUT’ under list of available tools

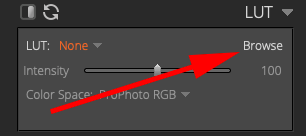
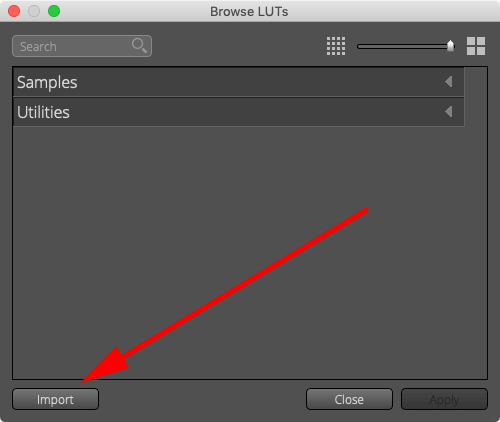
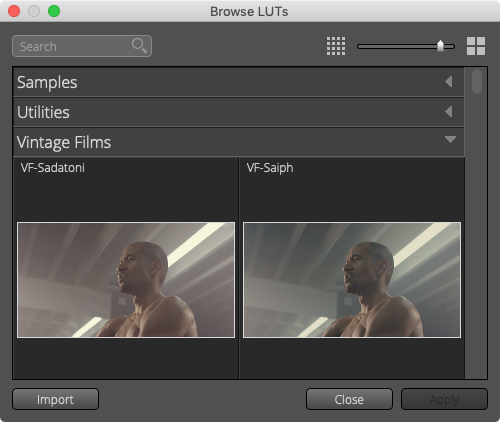
- Click on ‘Browse’
- Click on ‘Import’

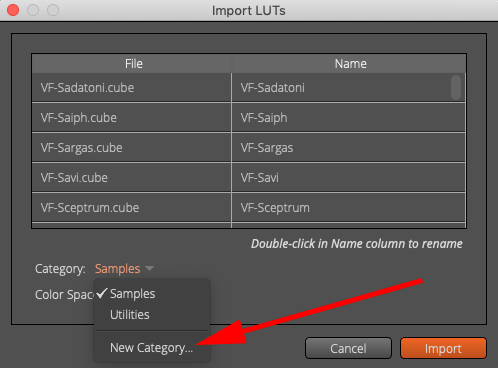
- Navigate to the folder on your hard drive in which your Lutify.me LUTs reside and select the LUTs to import. Make sure you are loading LUTs in .cube format from your package, specifically from the ‘Standard (Rec709 and DCI P3) LUTs’ folder.

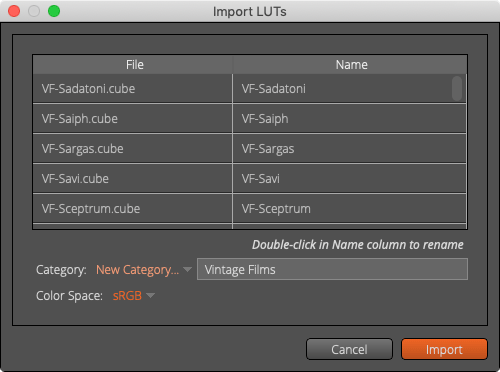
- In the dialog that opens select into which category you would want to import the selected LUTs. Click on the drop down arrow and select the ‘New Category’ option. We recommend naming the categories according to their names in your package. For example, ‘Vintage Films’ for vintage LUTs.


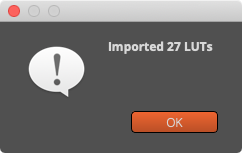
- Wait for confirmation

- Your LUTs are ready to be used.

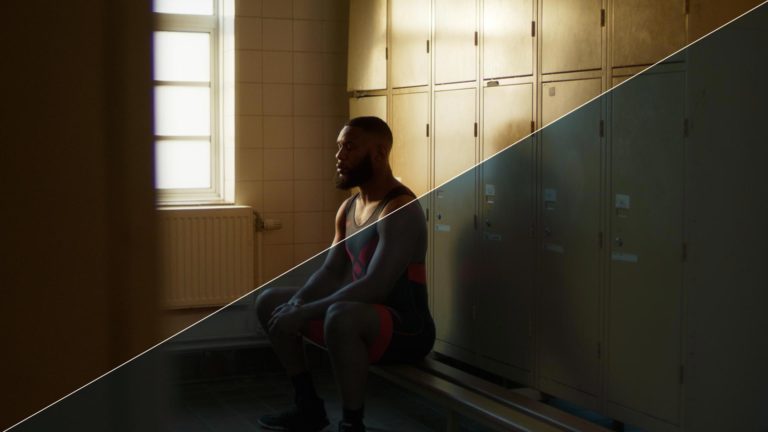
Here’s a quick before and after image of applying the “Morpheous” teal and orange LUT.
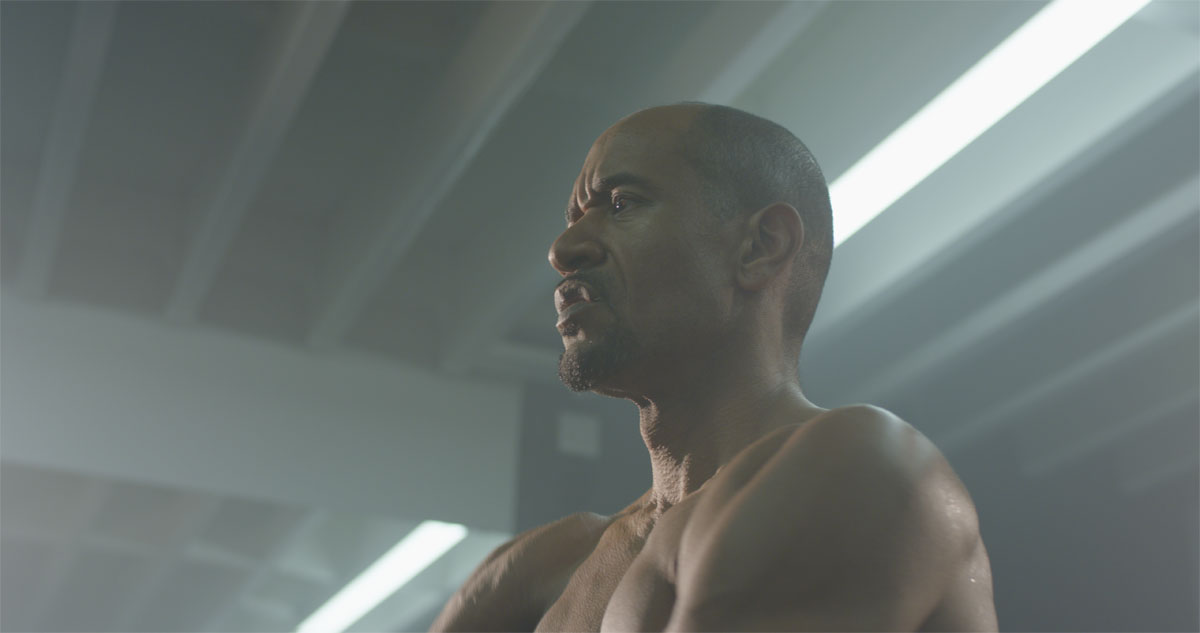
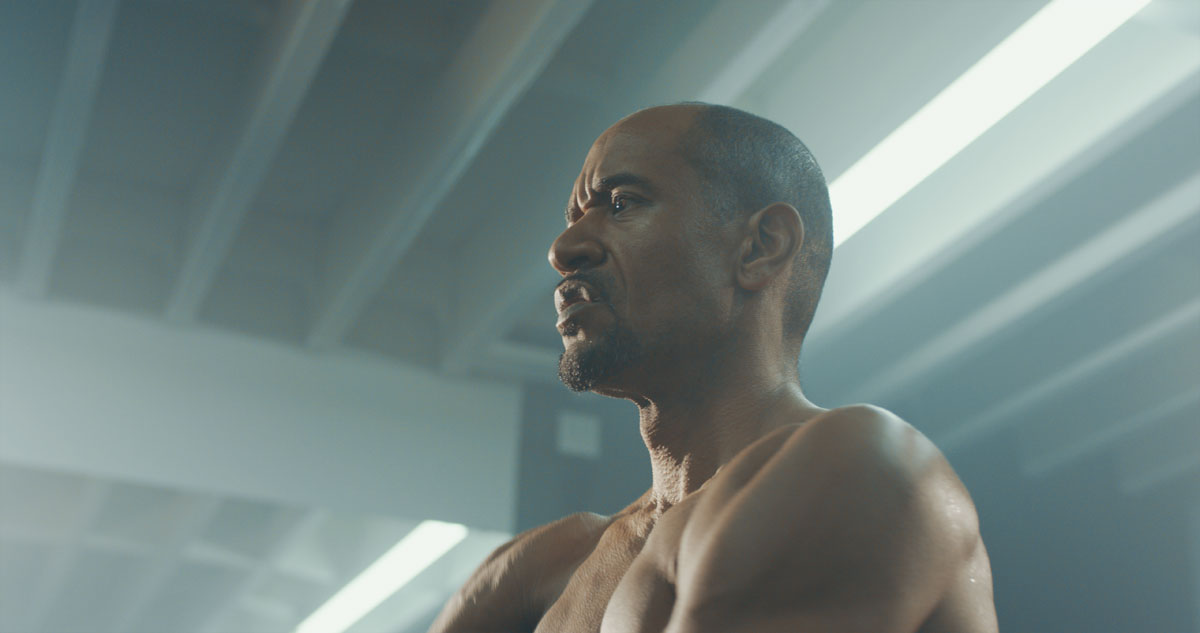 Image by Raw.film.
It is very important that you first colour correct and balance your image before applying a 3D LUT. All of our 3D LUTs are calibrated to work correctly with properly exposed and balanced images. This means you should balance and correct any exposure, white balance and contrast issues prior to applying one of the LUTs.
You should aim for neutral white balance for the lighting conditions under which your image was shot and make sure there’s plenty of information in image’s shadows and highlights. If your image was shot under mixed lighting conditions, select the most appropriate white balance for the mood you’re trying to convey.
Always exercise a good judgement in regards to colour correcting your image. You wouldn’t want to protect your highlights at all cost if that would mean underexposing your main subject for example. Alternatively, you wouldn’t want to open up your shadows at cost of overexposing your subject. Remember, a neutral starting point is one that is correct for the image you are editing and not an absolute starting point.
Also, you should make sure you select a LUT that is appropriate for the lighting conditions of your image. A warm LUT won’t work properly for an image shot under cloudy and cold conditions just as cold LUT will not work in sunny conditions. As a rule of thumb if a LUT defies the laws of nature you should use a different LUT as the out coming grade will most likely feel unnatural.
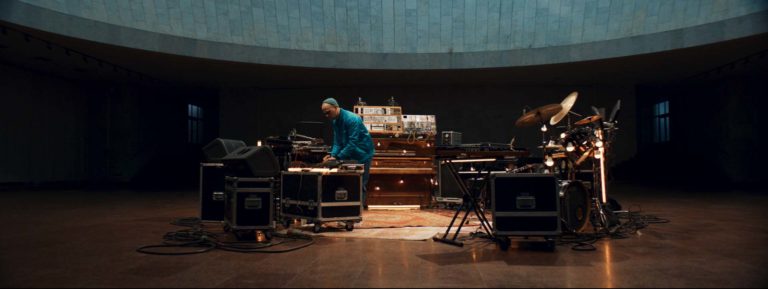
We’re very excited about the creative possibilities Alien Skin Exposure X4 and our 3D LUTs bring to the table. Here are some more before and after examples. Enjoy!
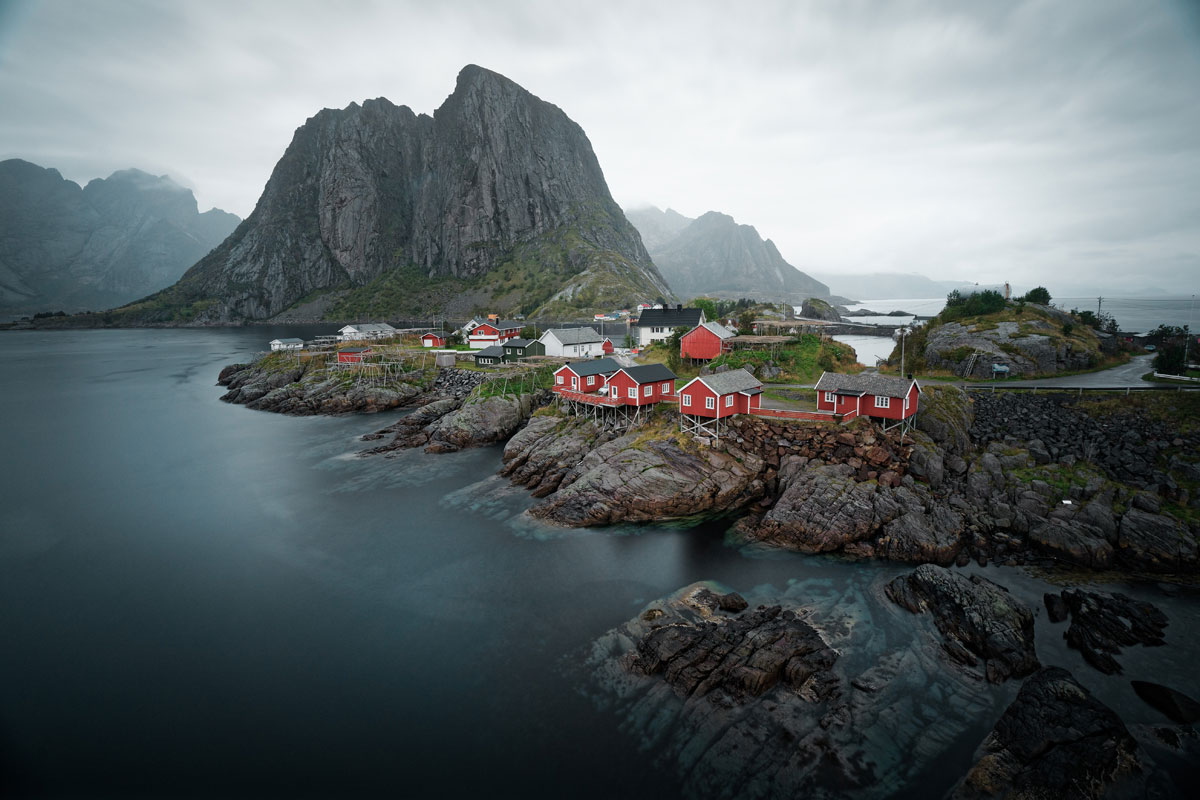
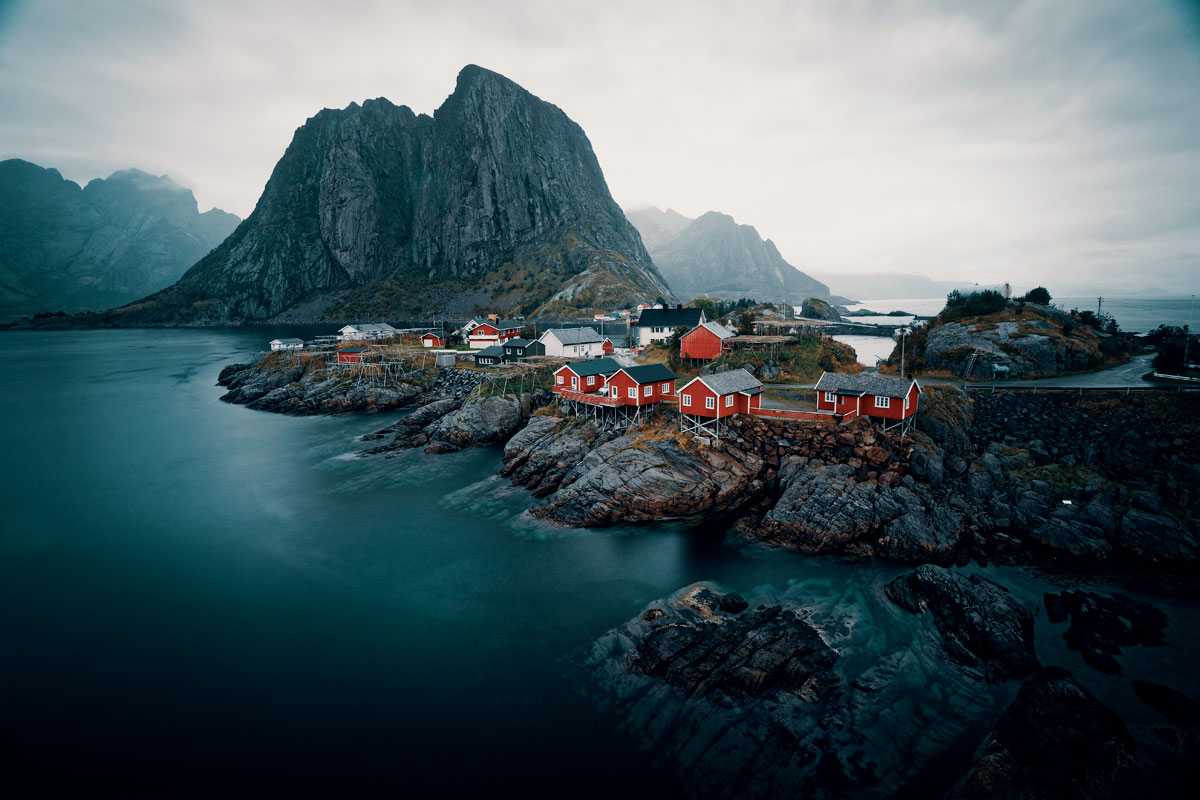 Image by Ansgar Scheffold
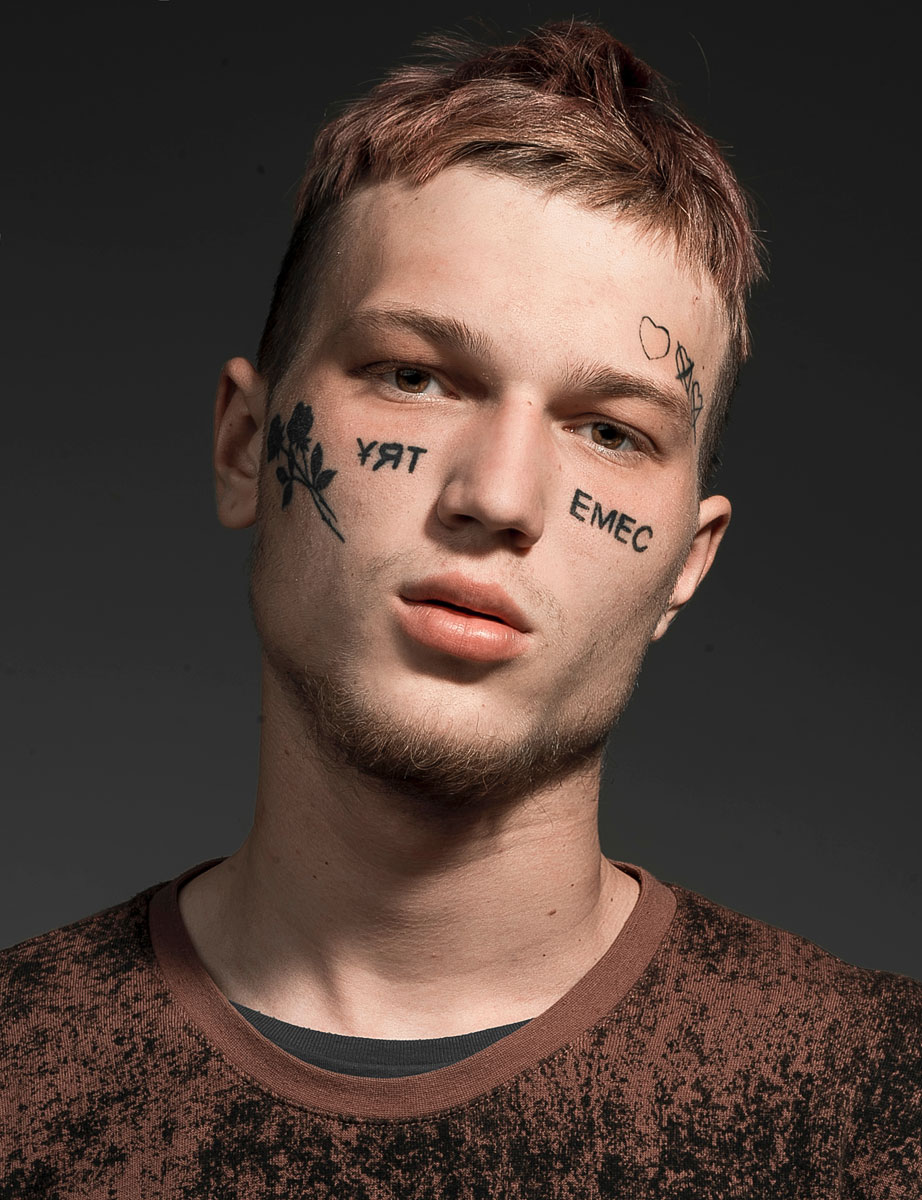
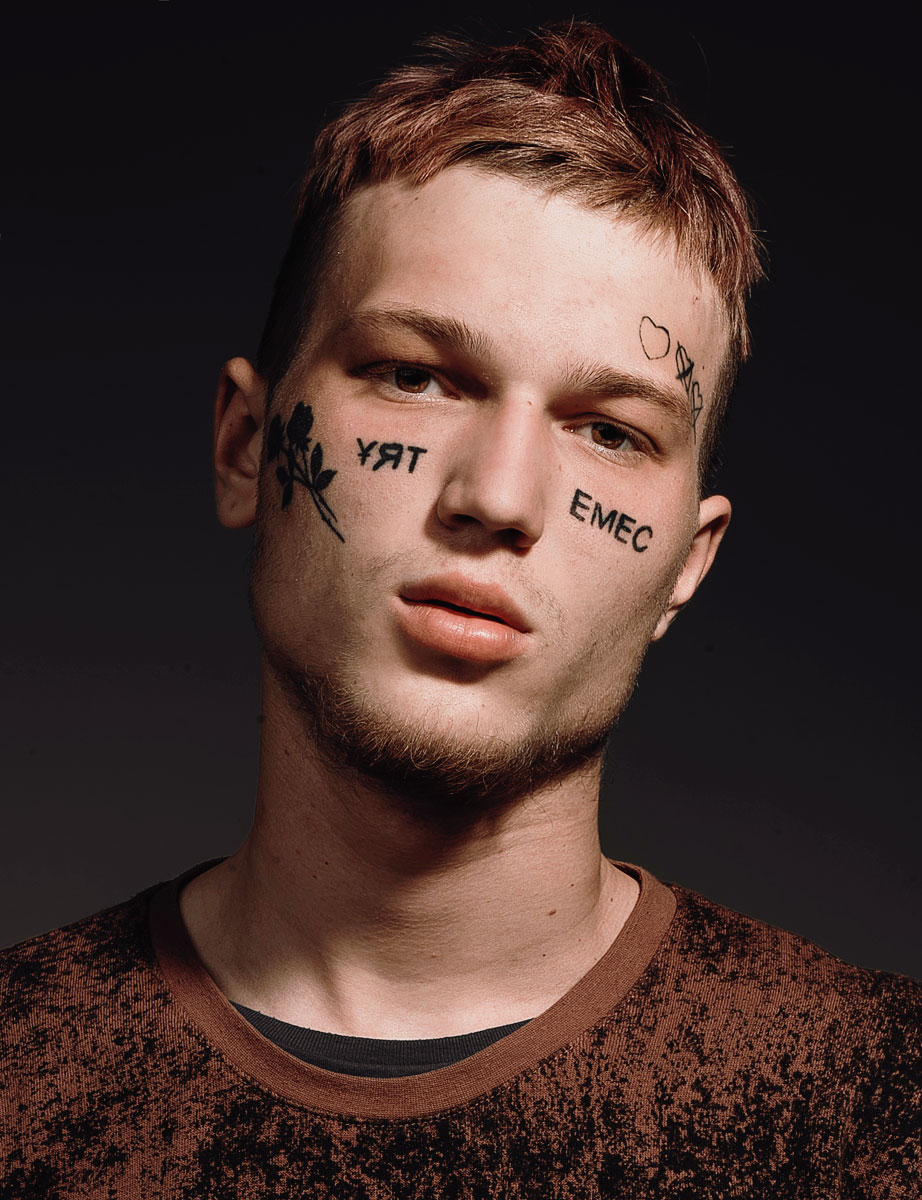 Image by Ospan Ali
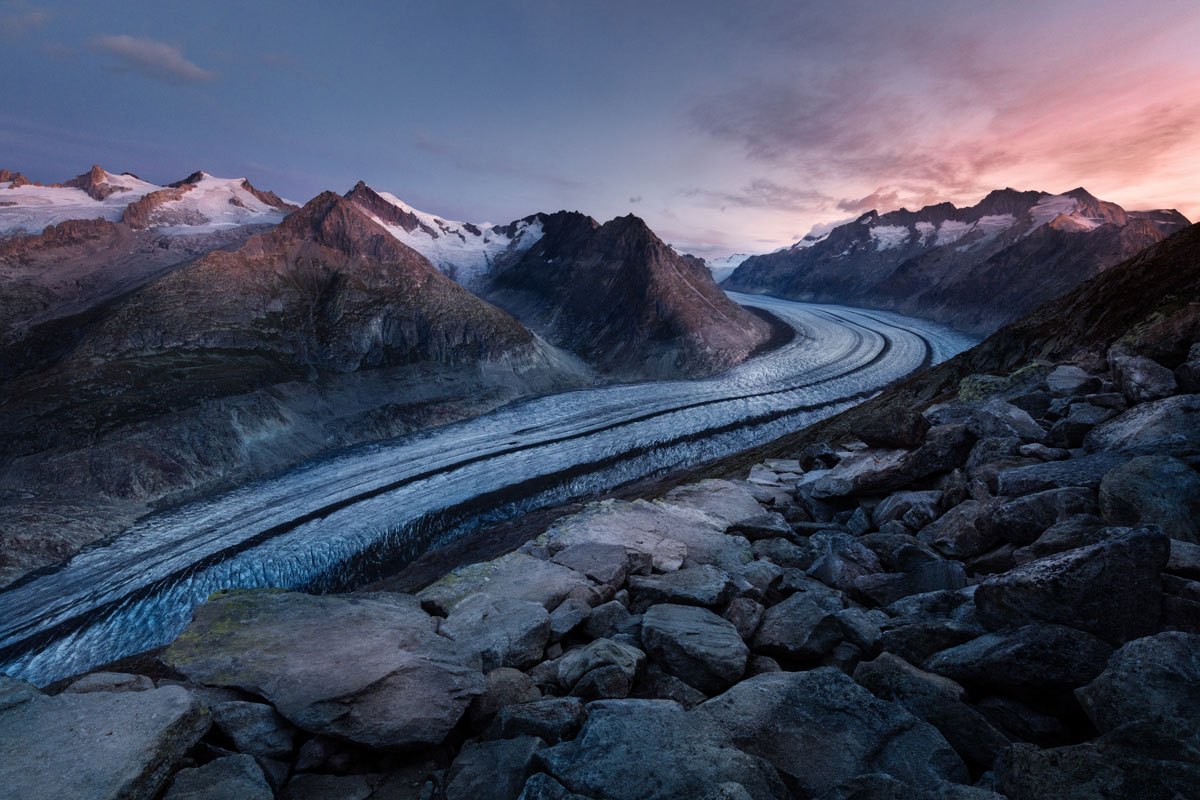
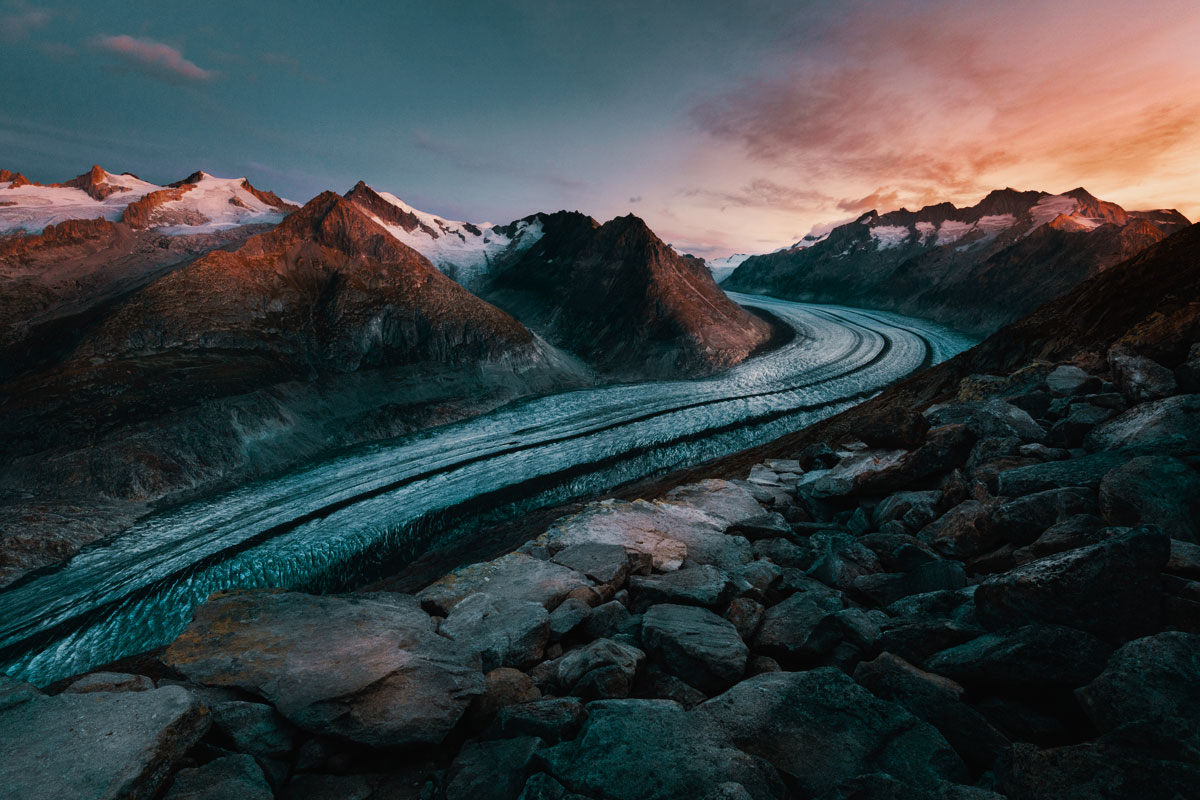 Image by Samuel Ferrara
As always, should you have any questions please contact us.